Thonny on Windows
These are instructions for Thonny on Windows. Click hereto choose another editor or operating system.
Step 1: Installing Thonny for Windows
Go to thonny.org.
Hover your mouse over the Windows text shown.
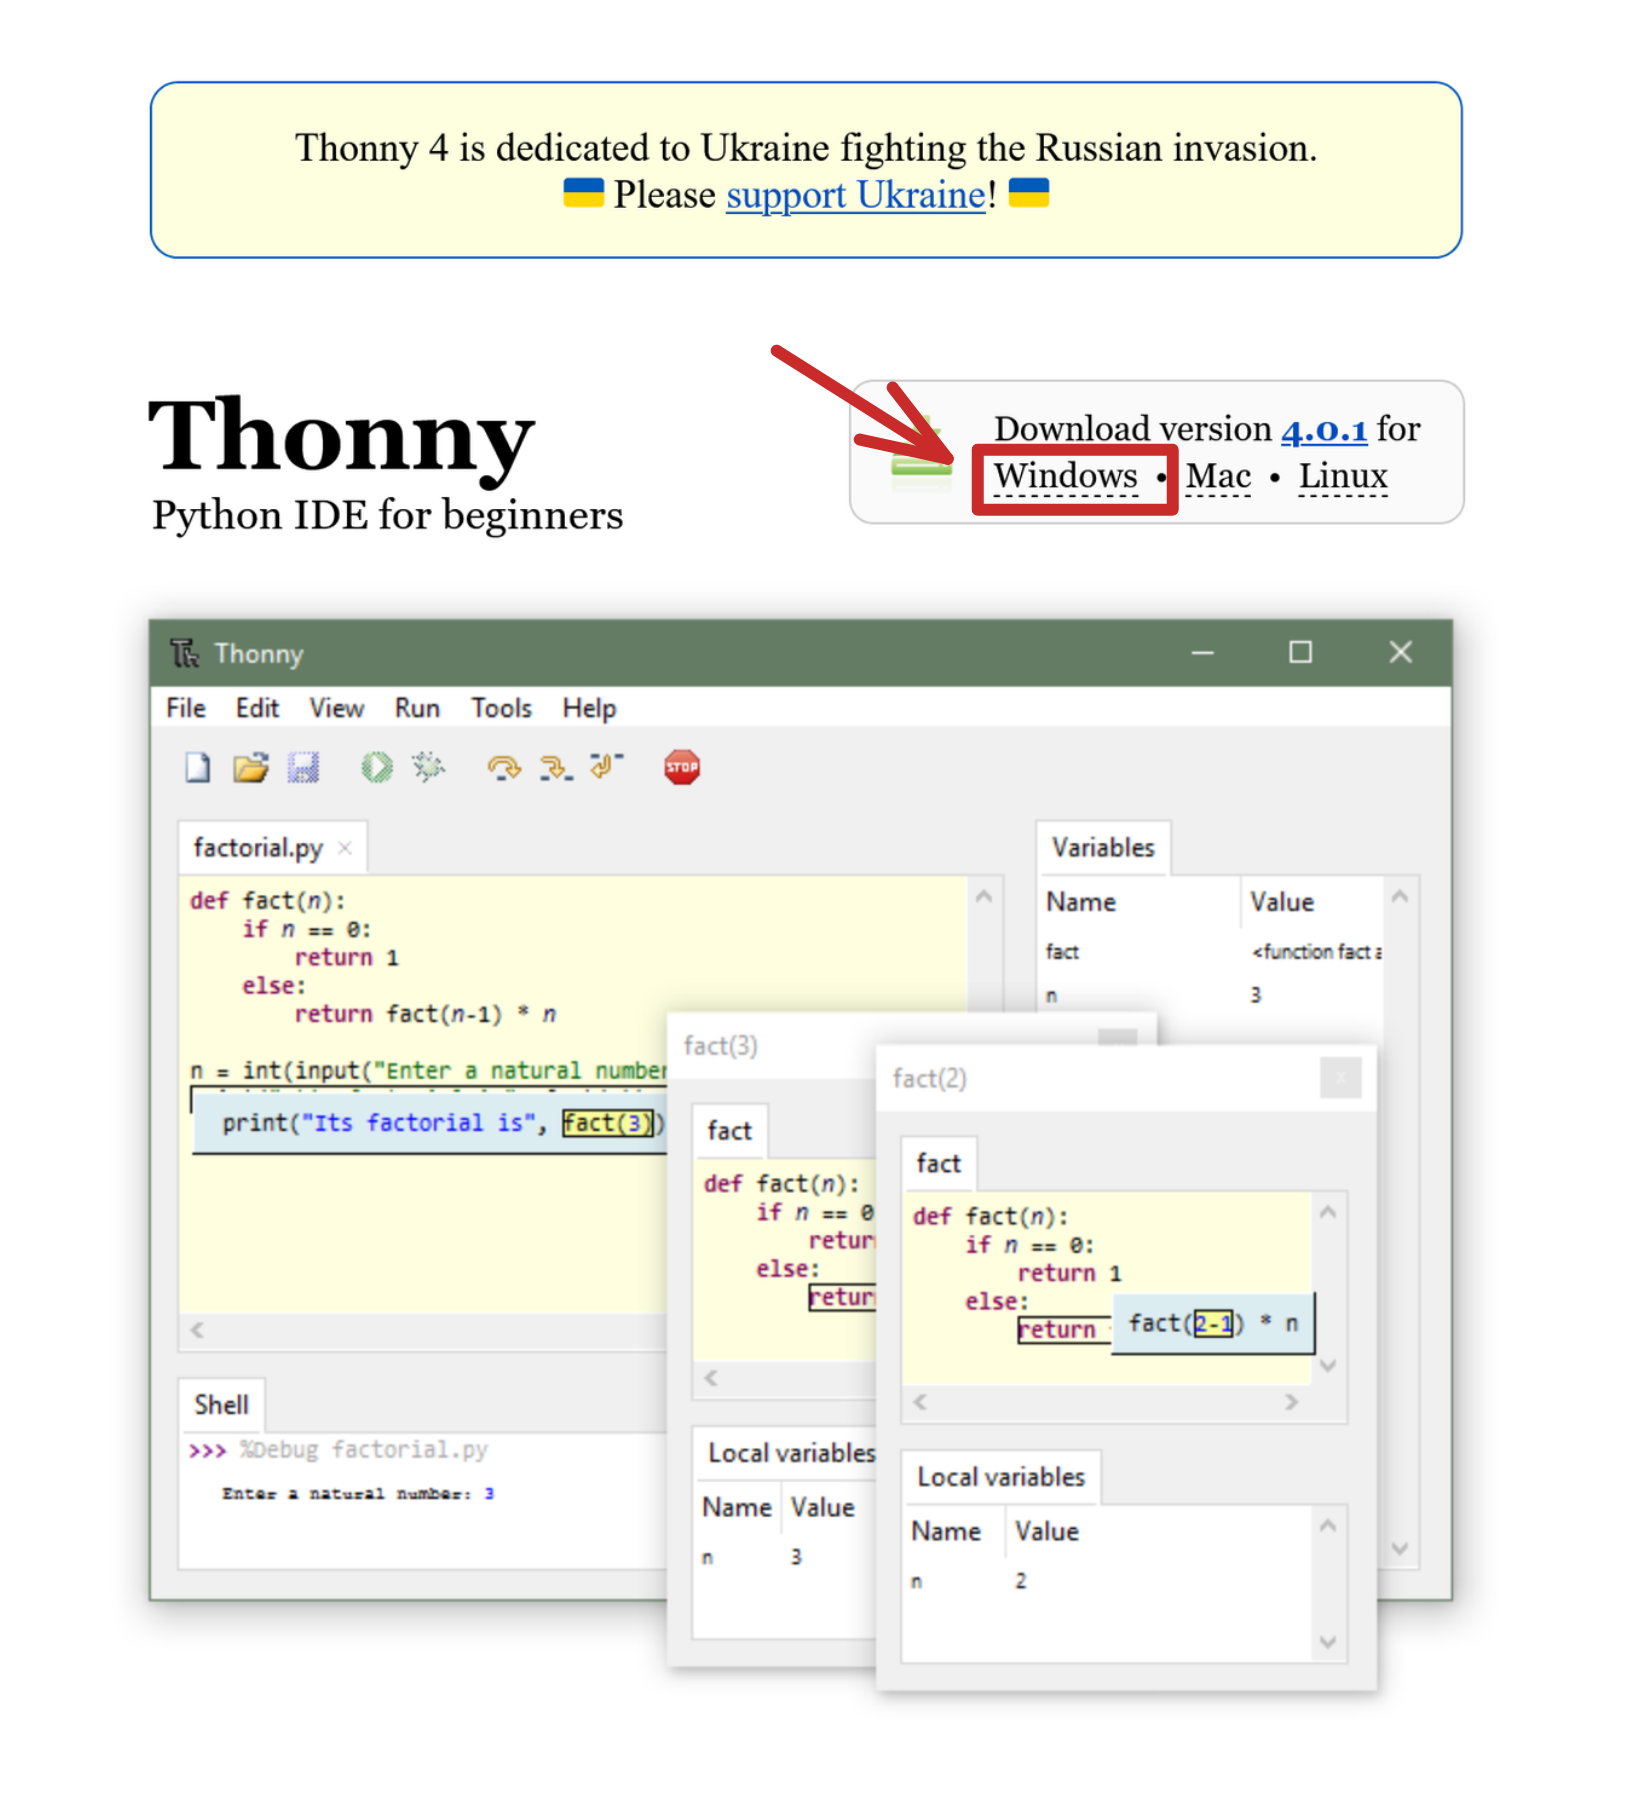
Select the first option.

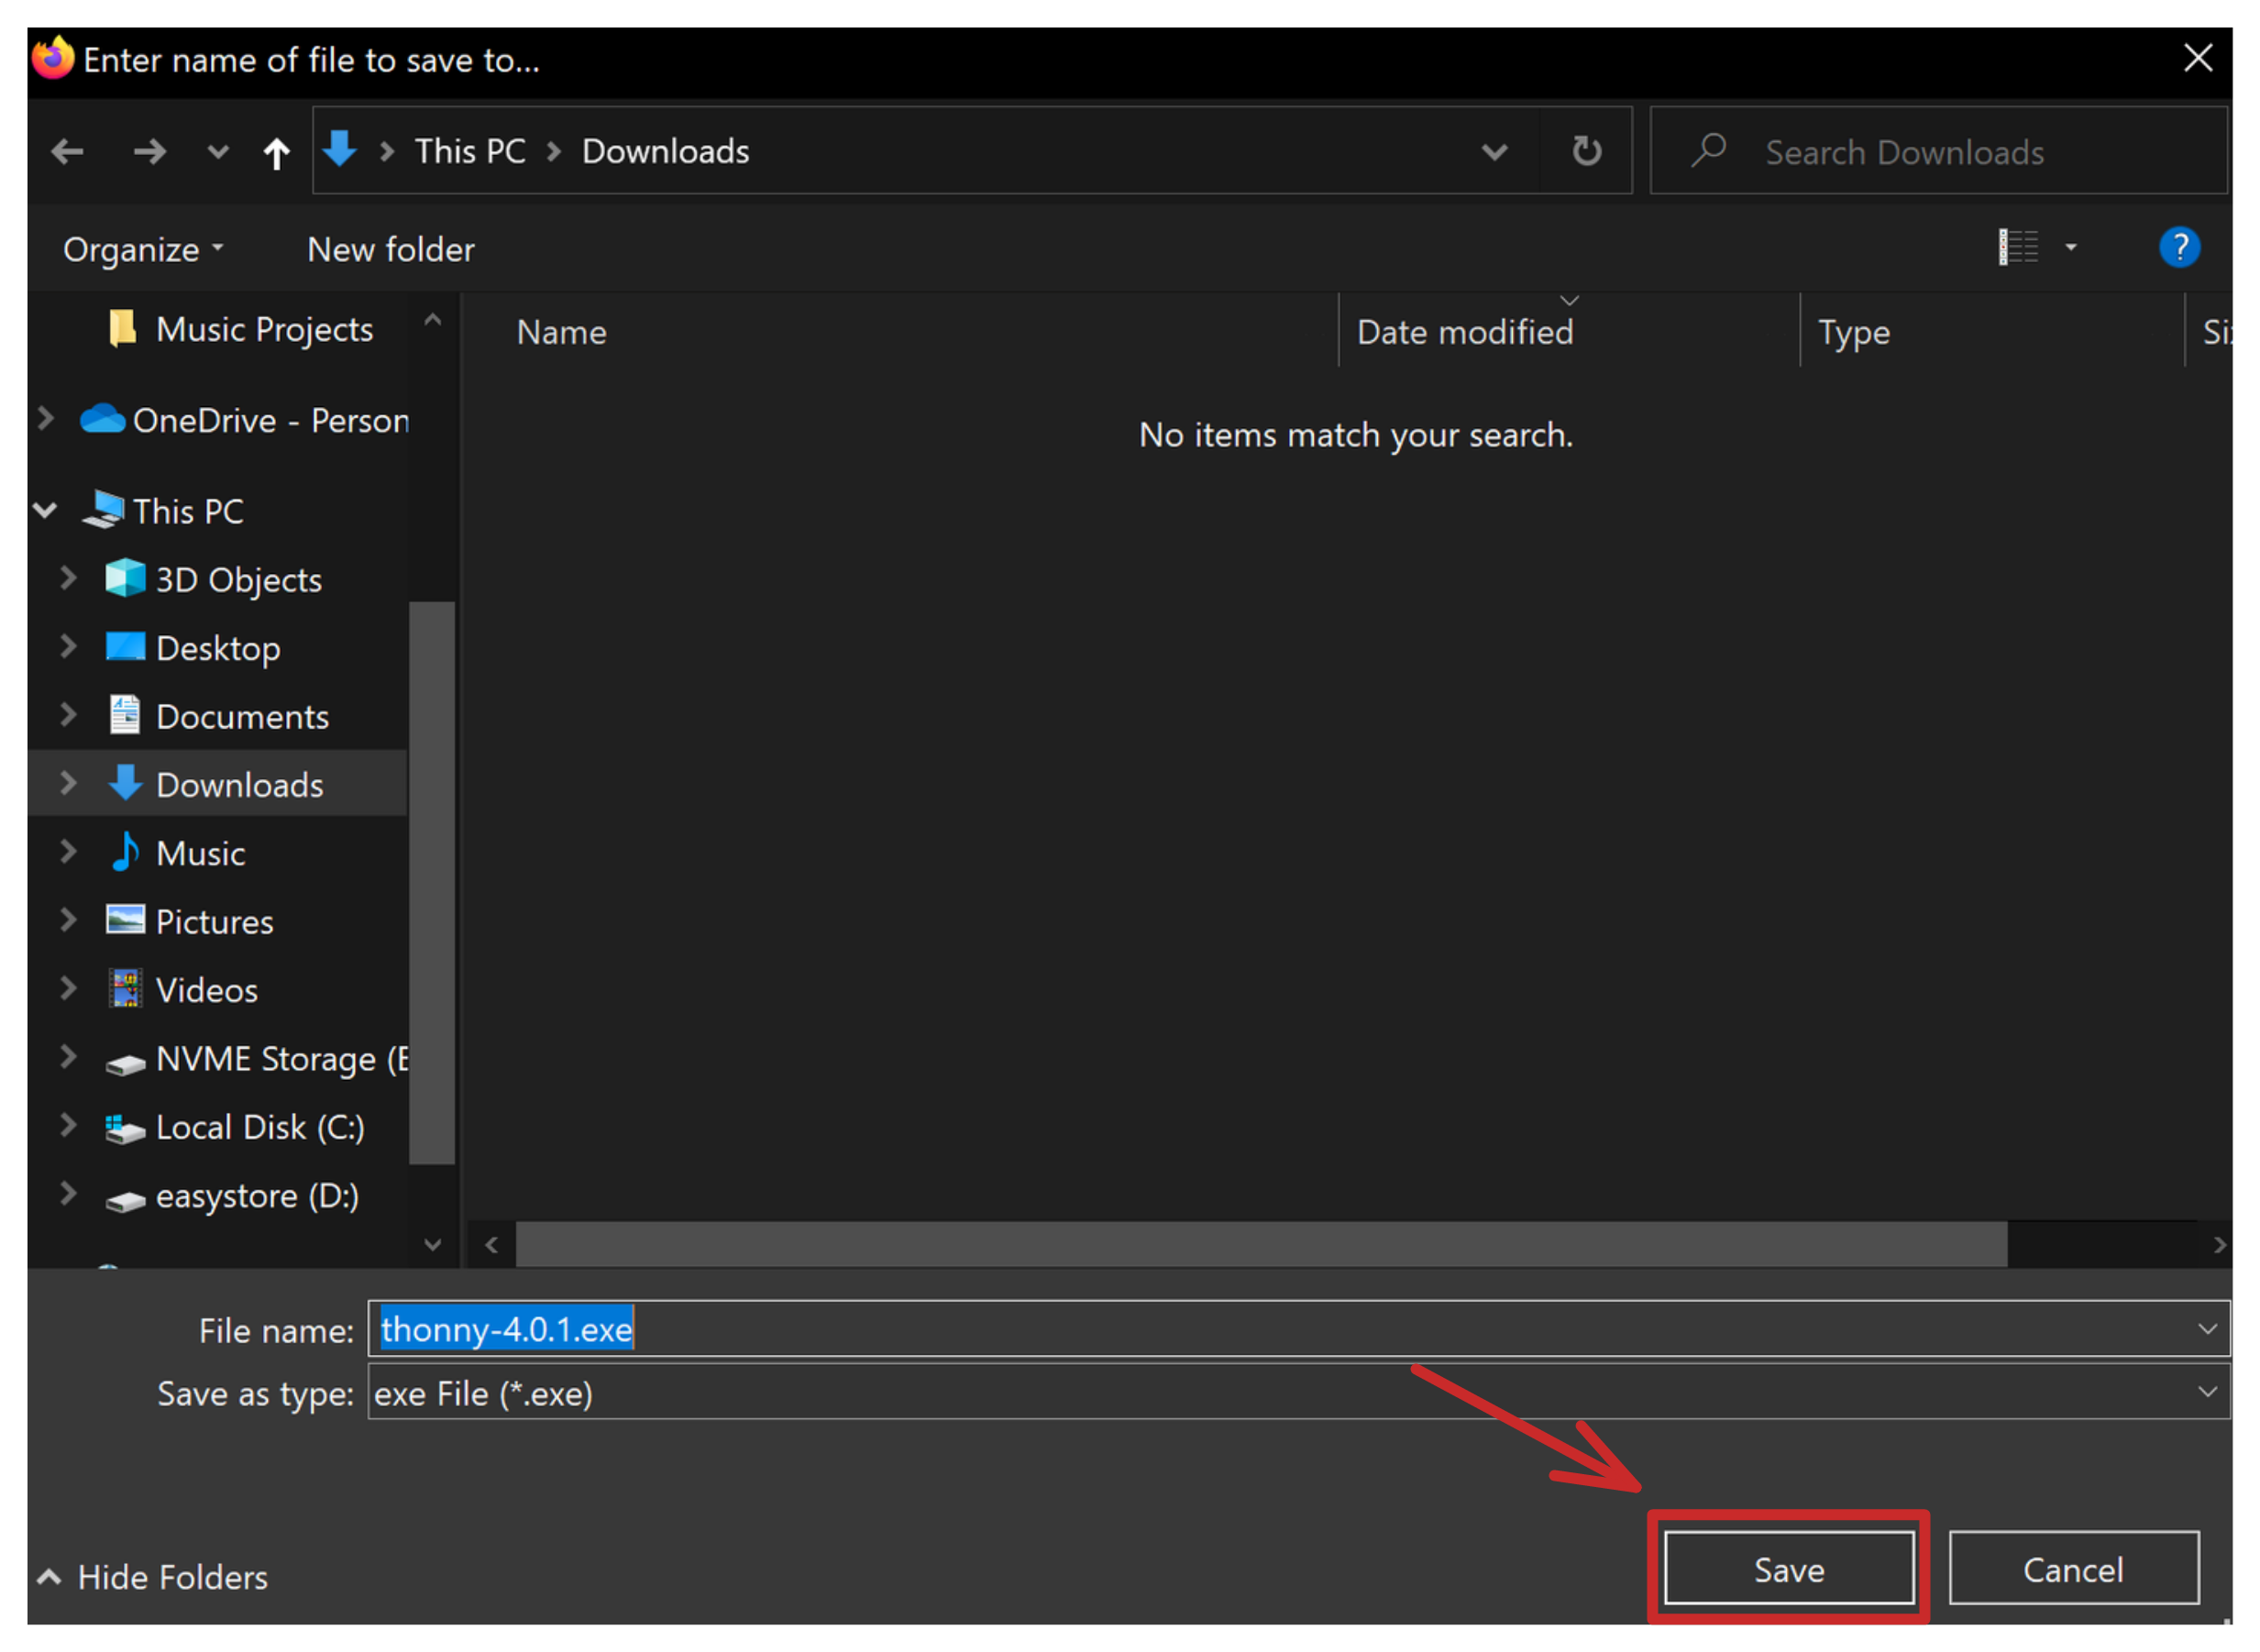
A download dialog box may open, if it does, select “Save.” You might not see this step, depending on your browser’s settings.
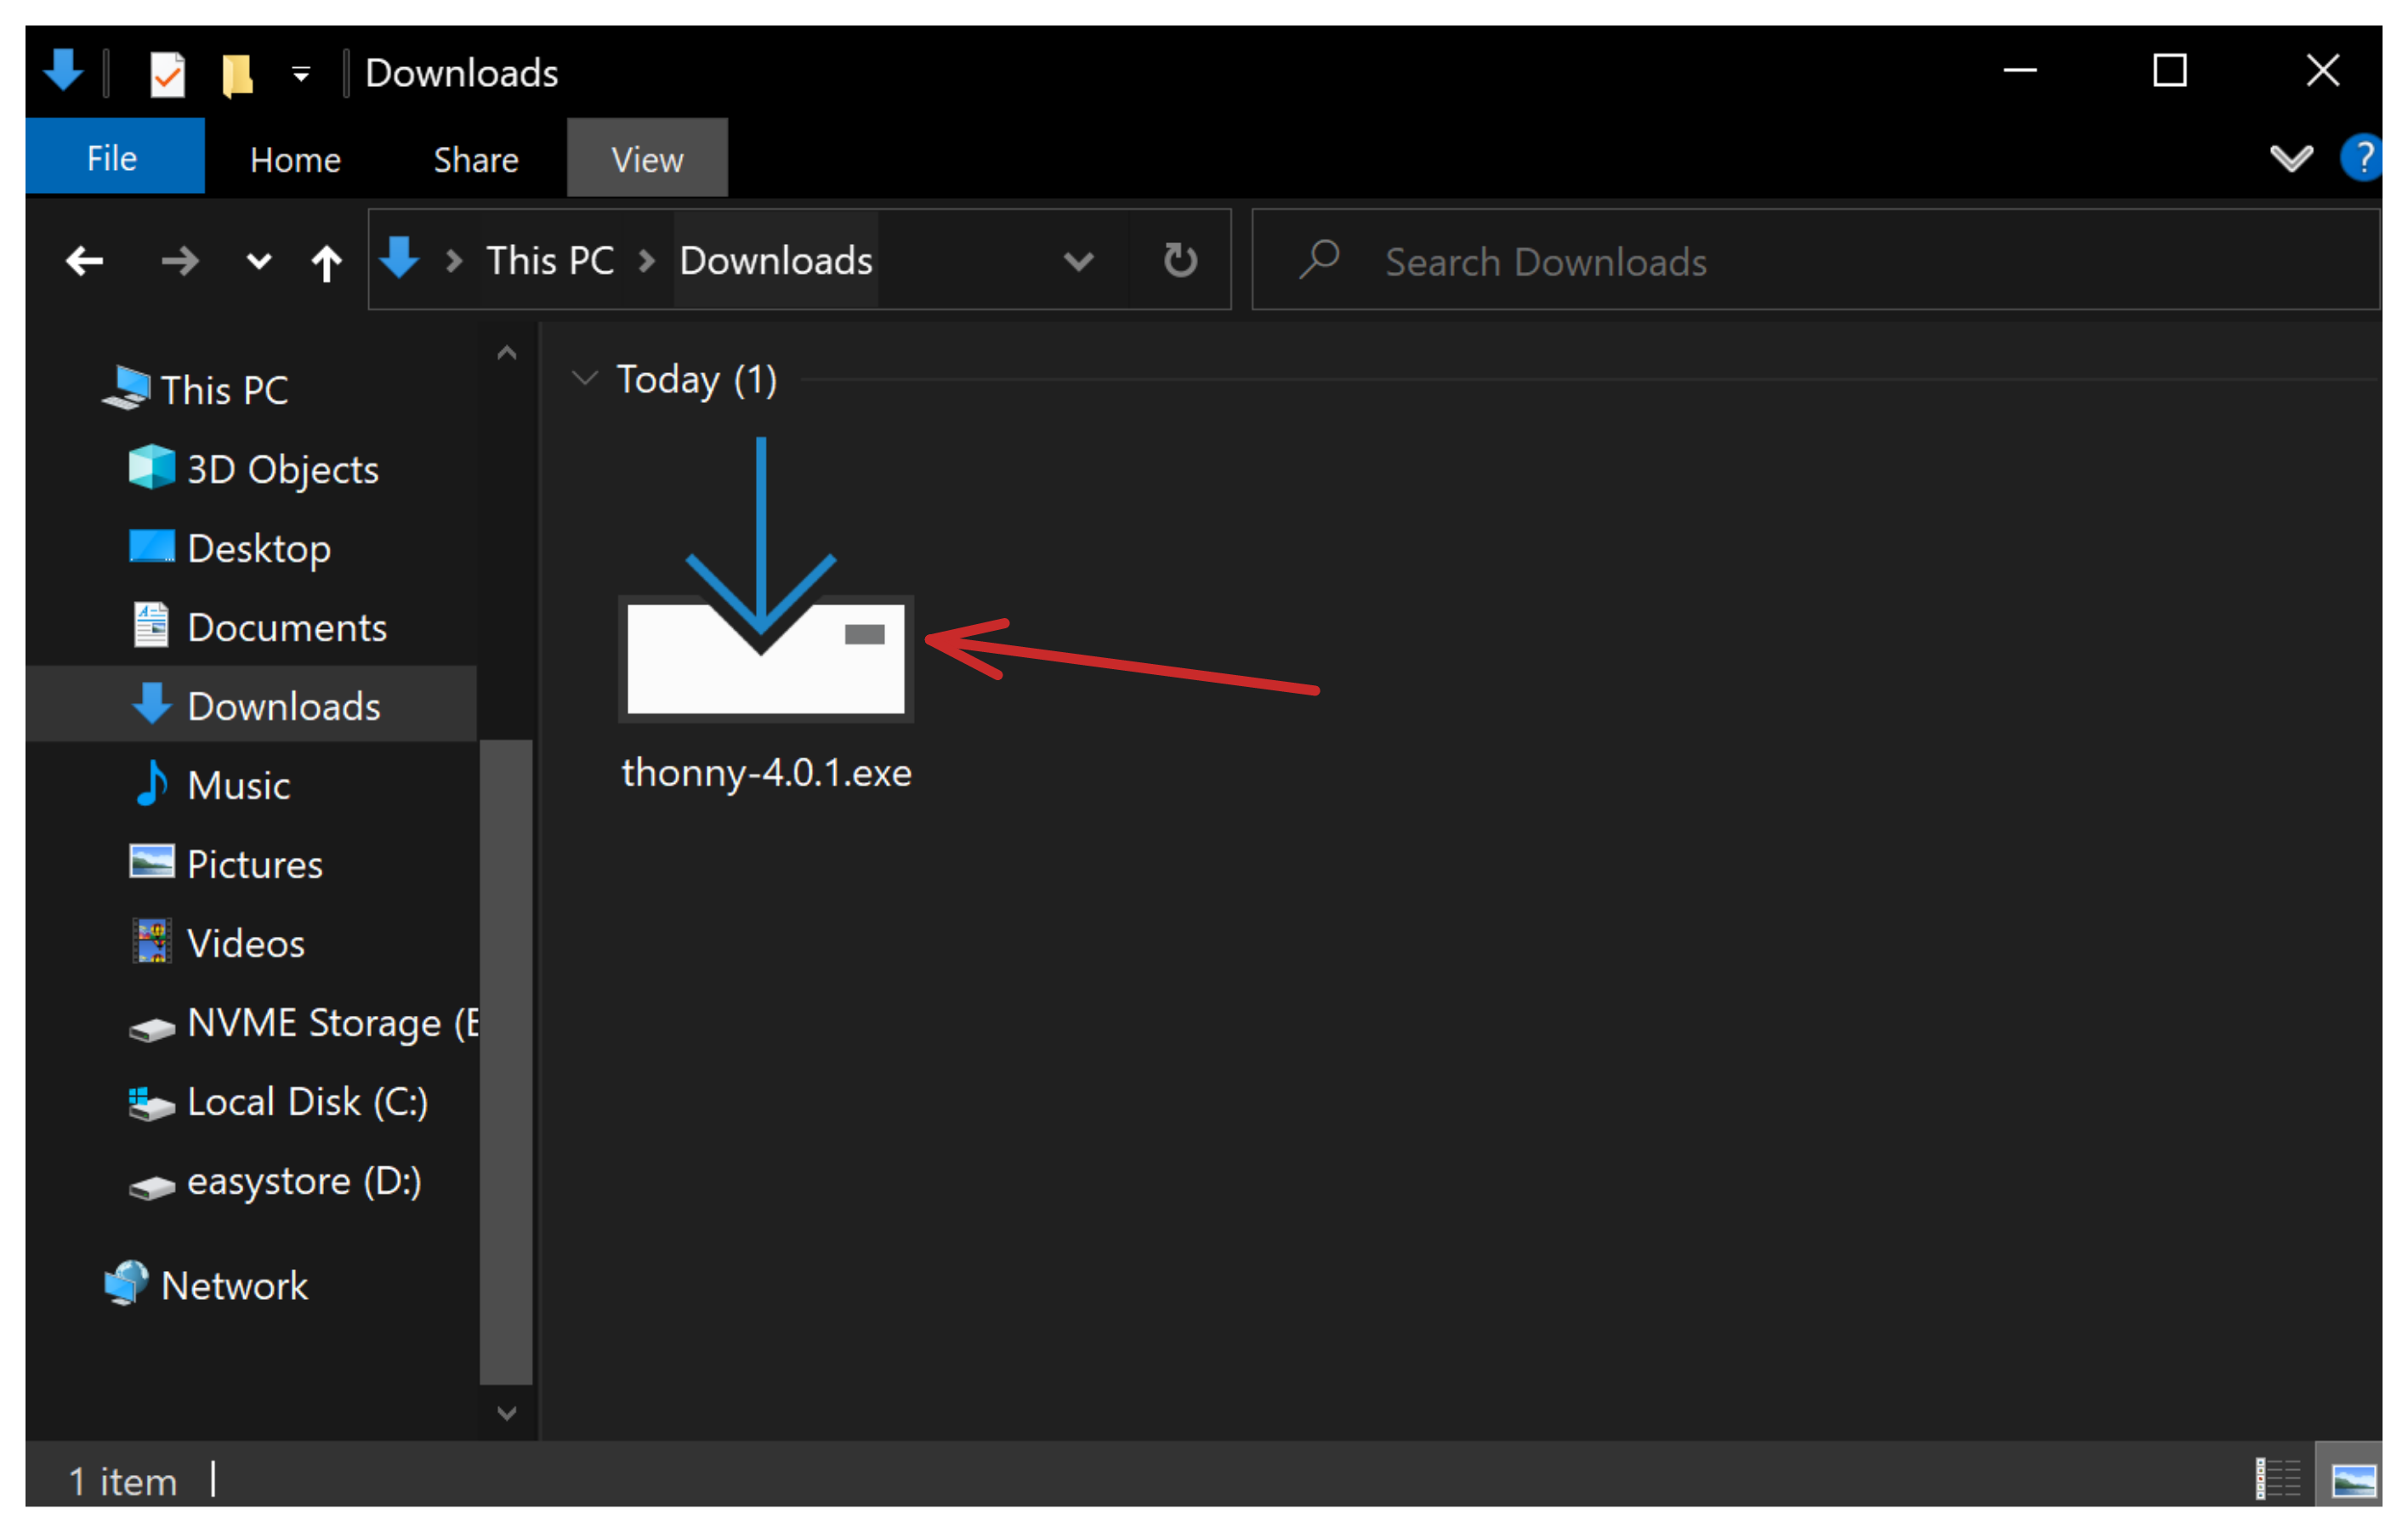
Navigate to your Downloads folder and launch the Thonny installer.
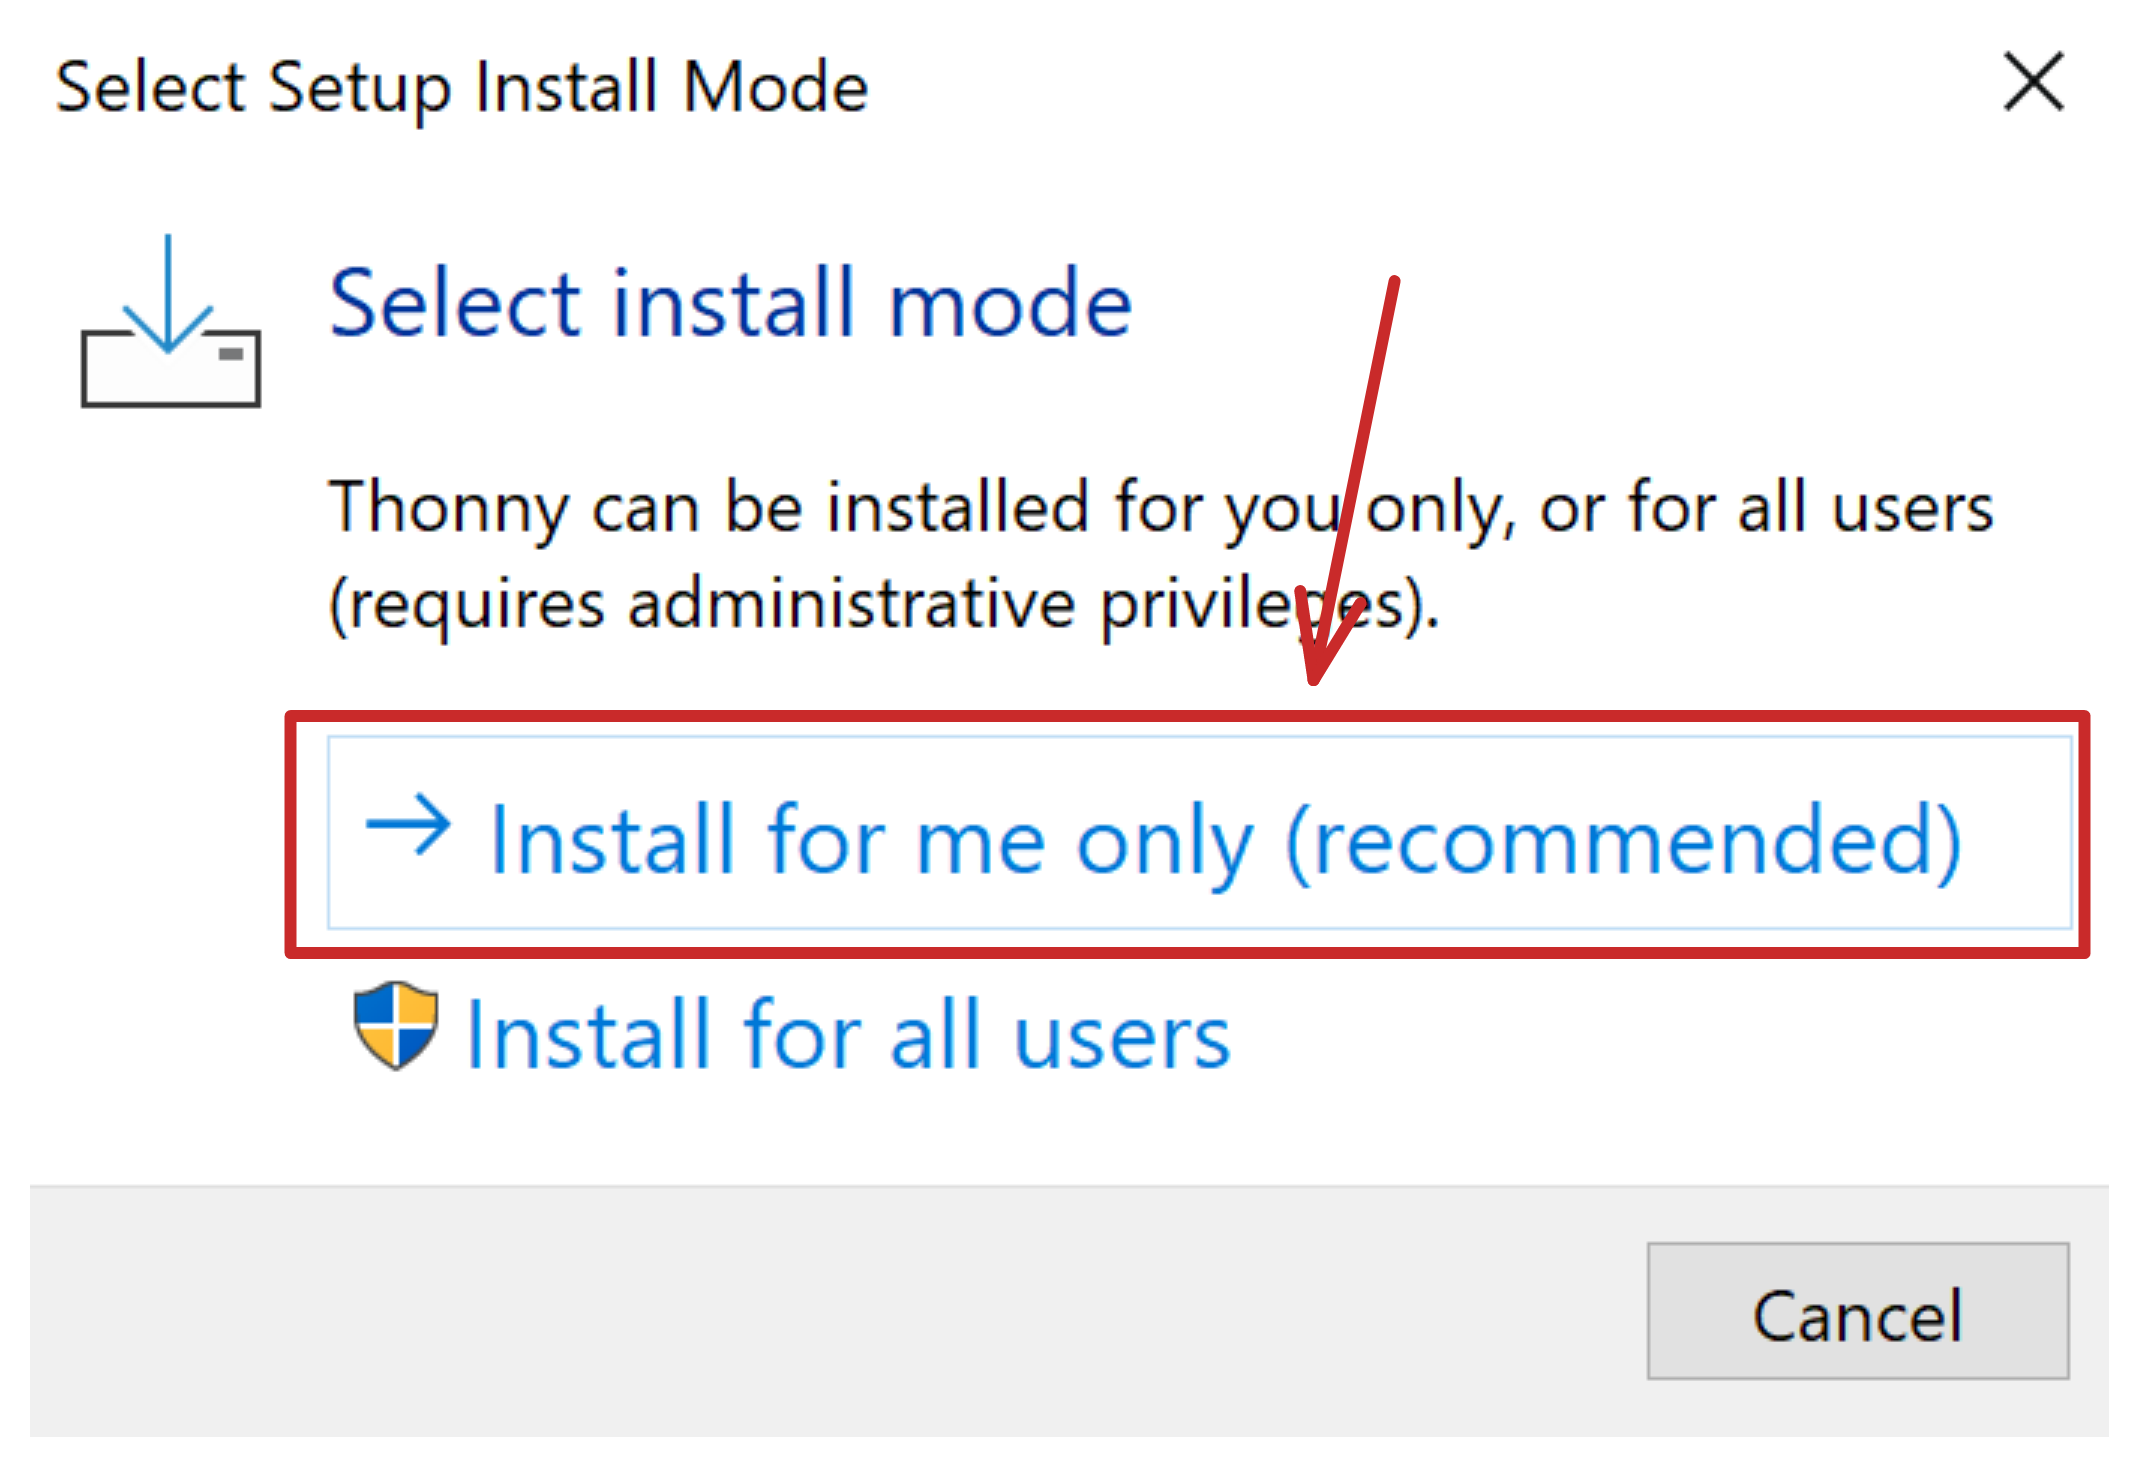
Installing for “Only You” is recommended.
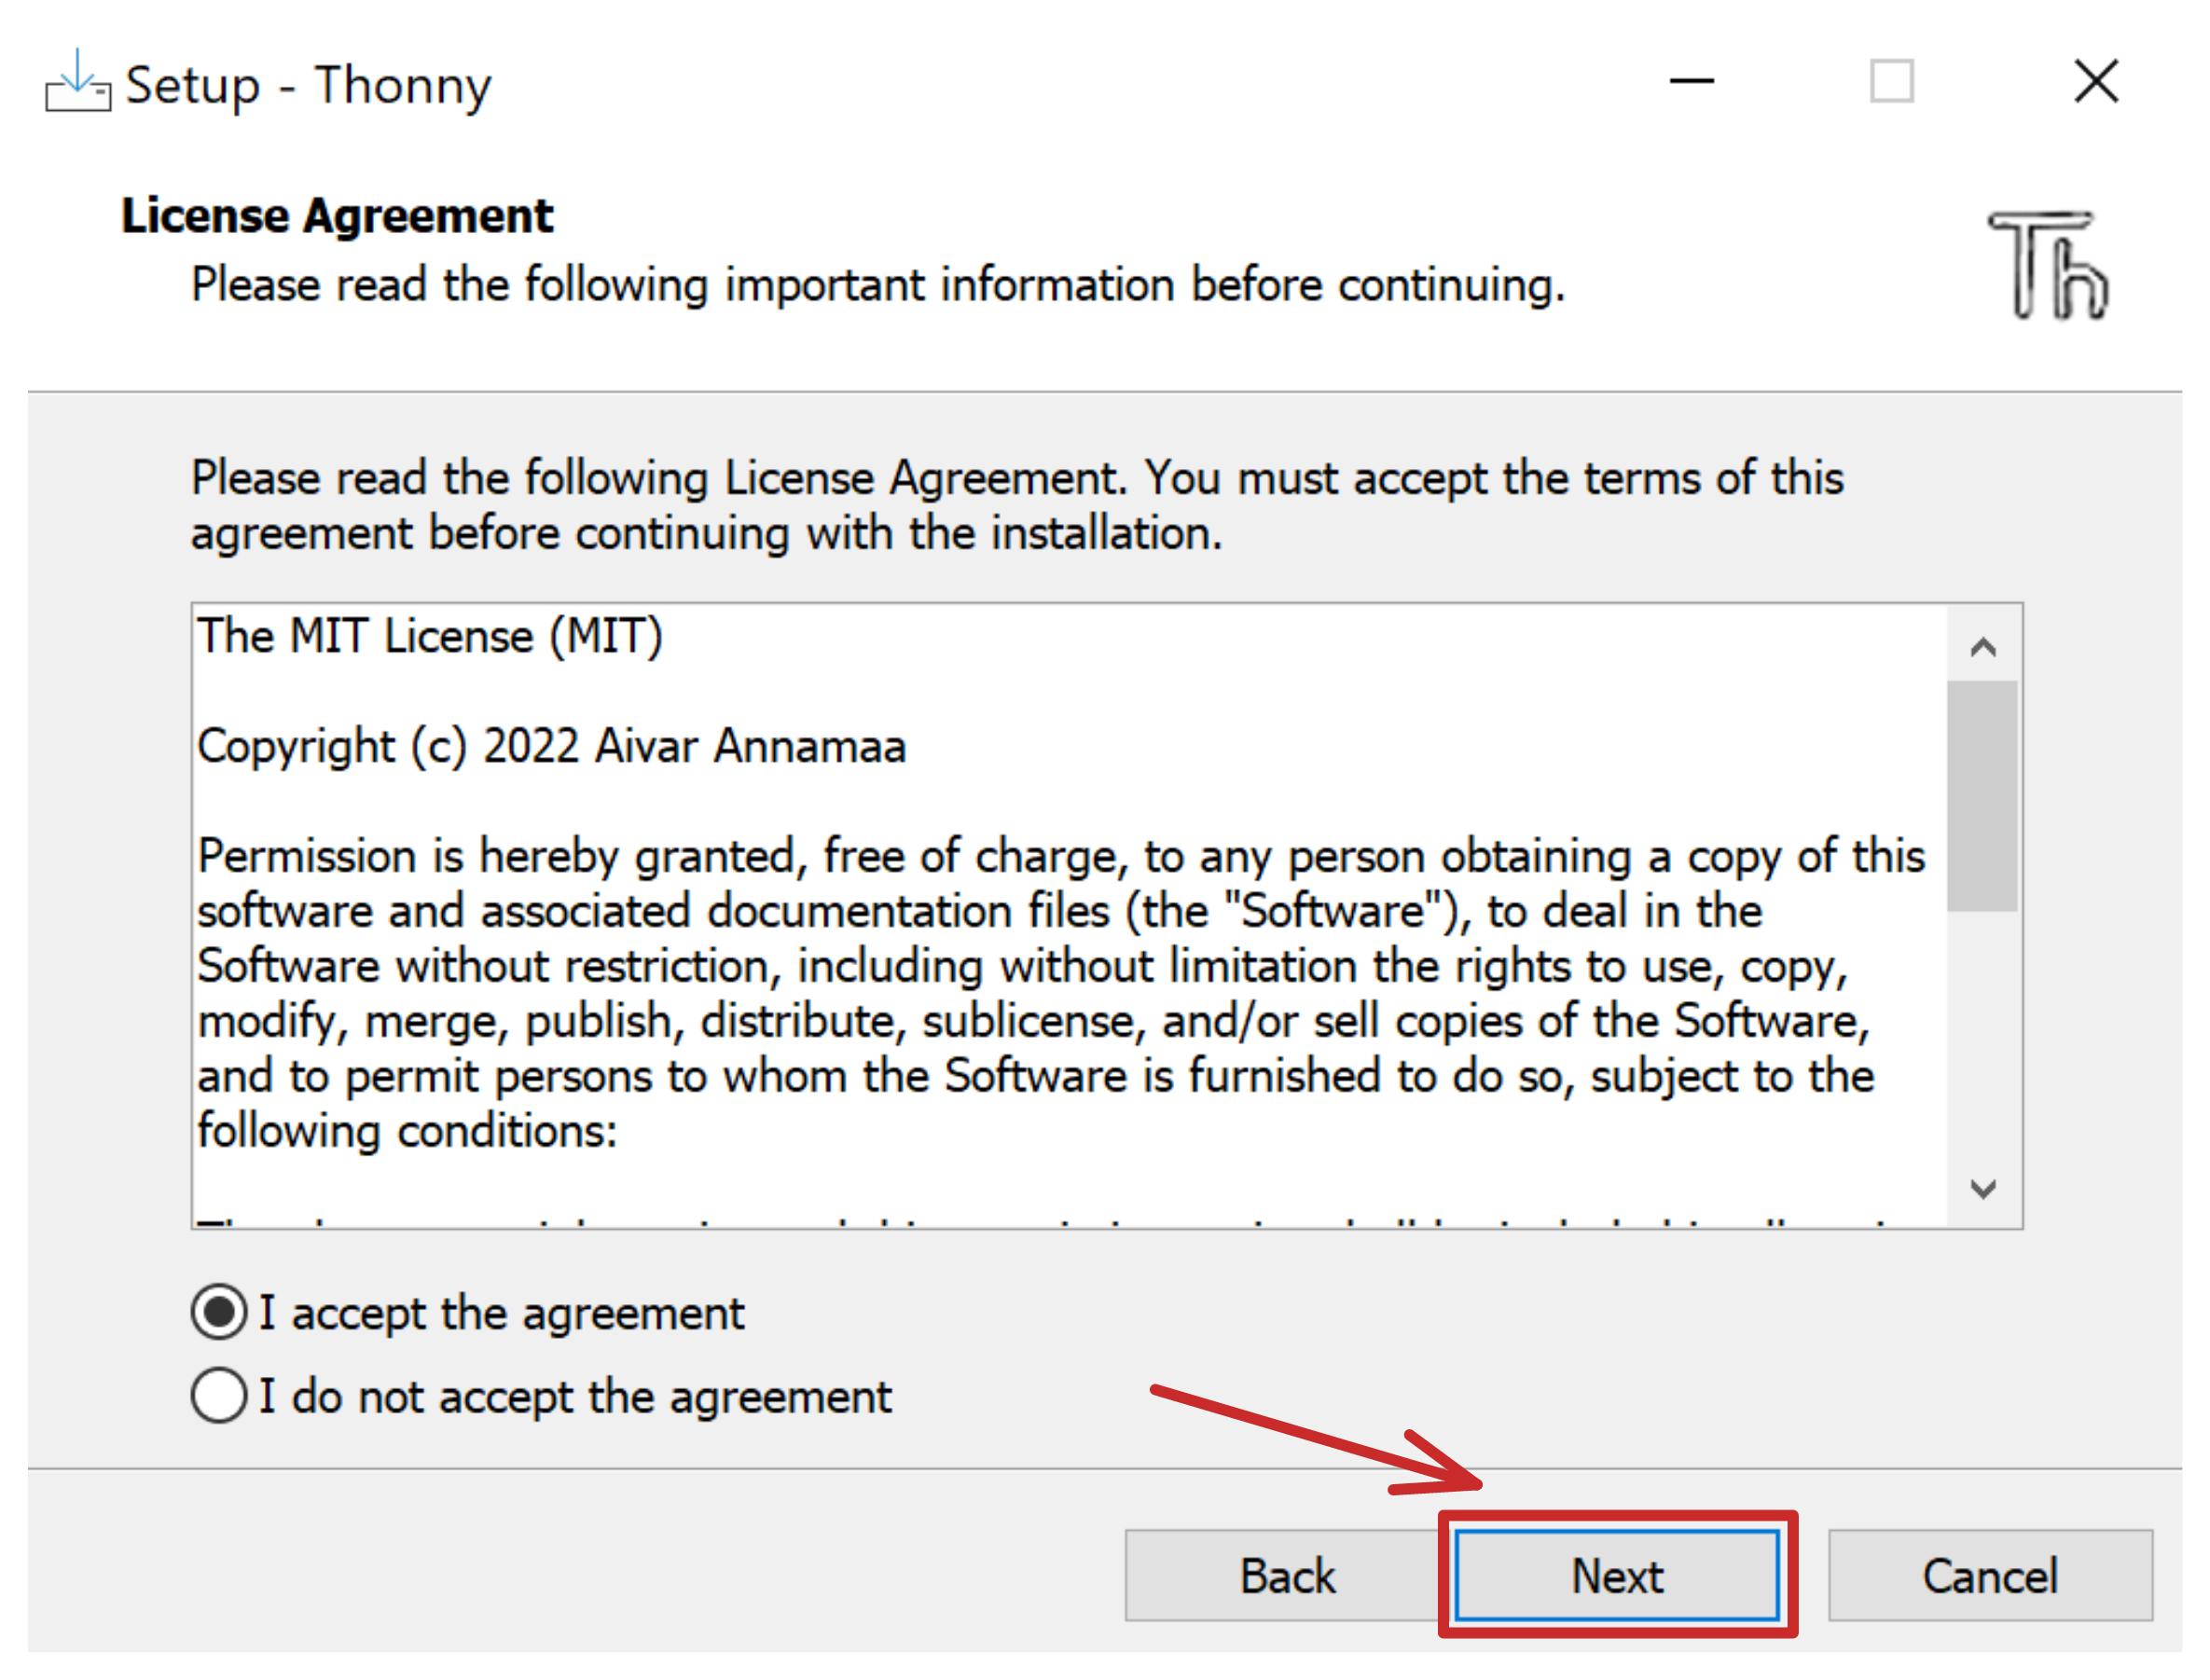
You must accept the license agreement to use the software.
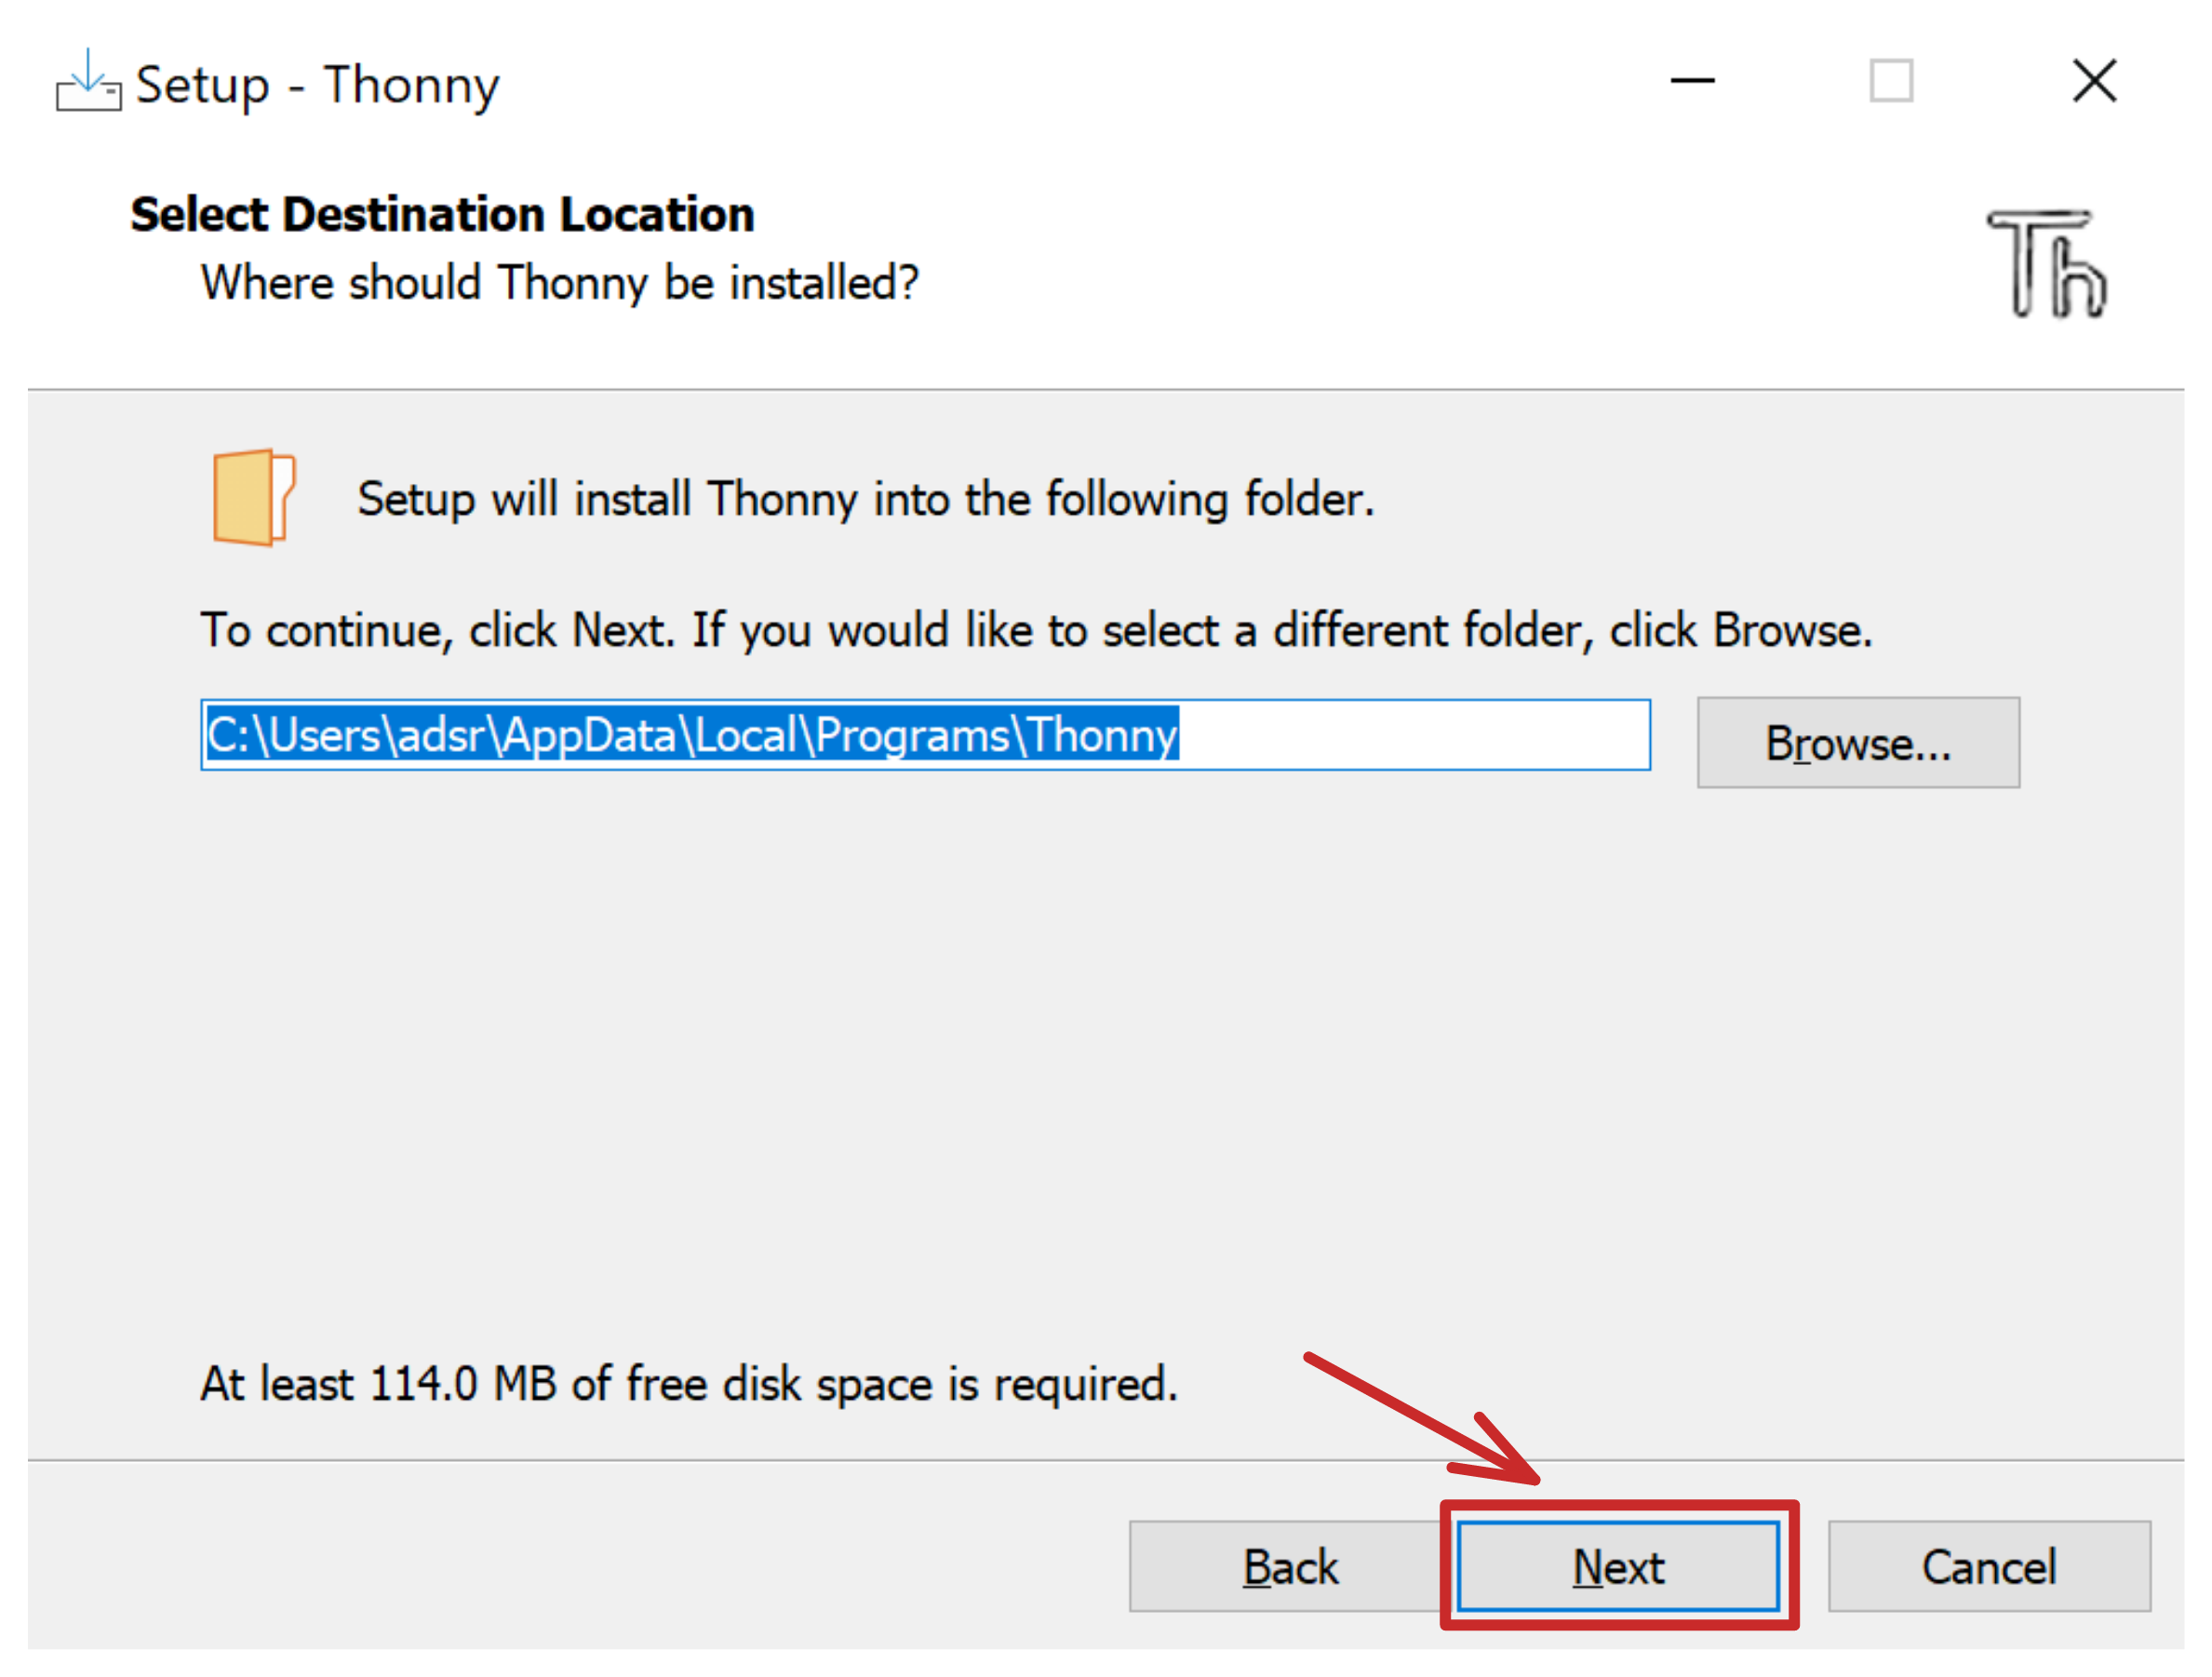
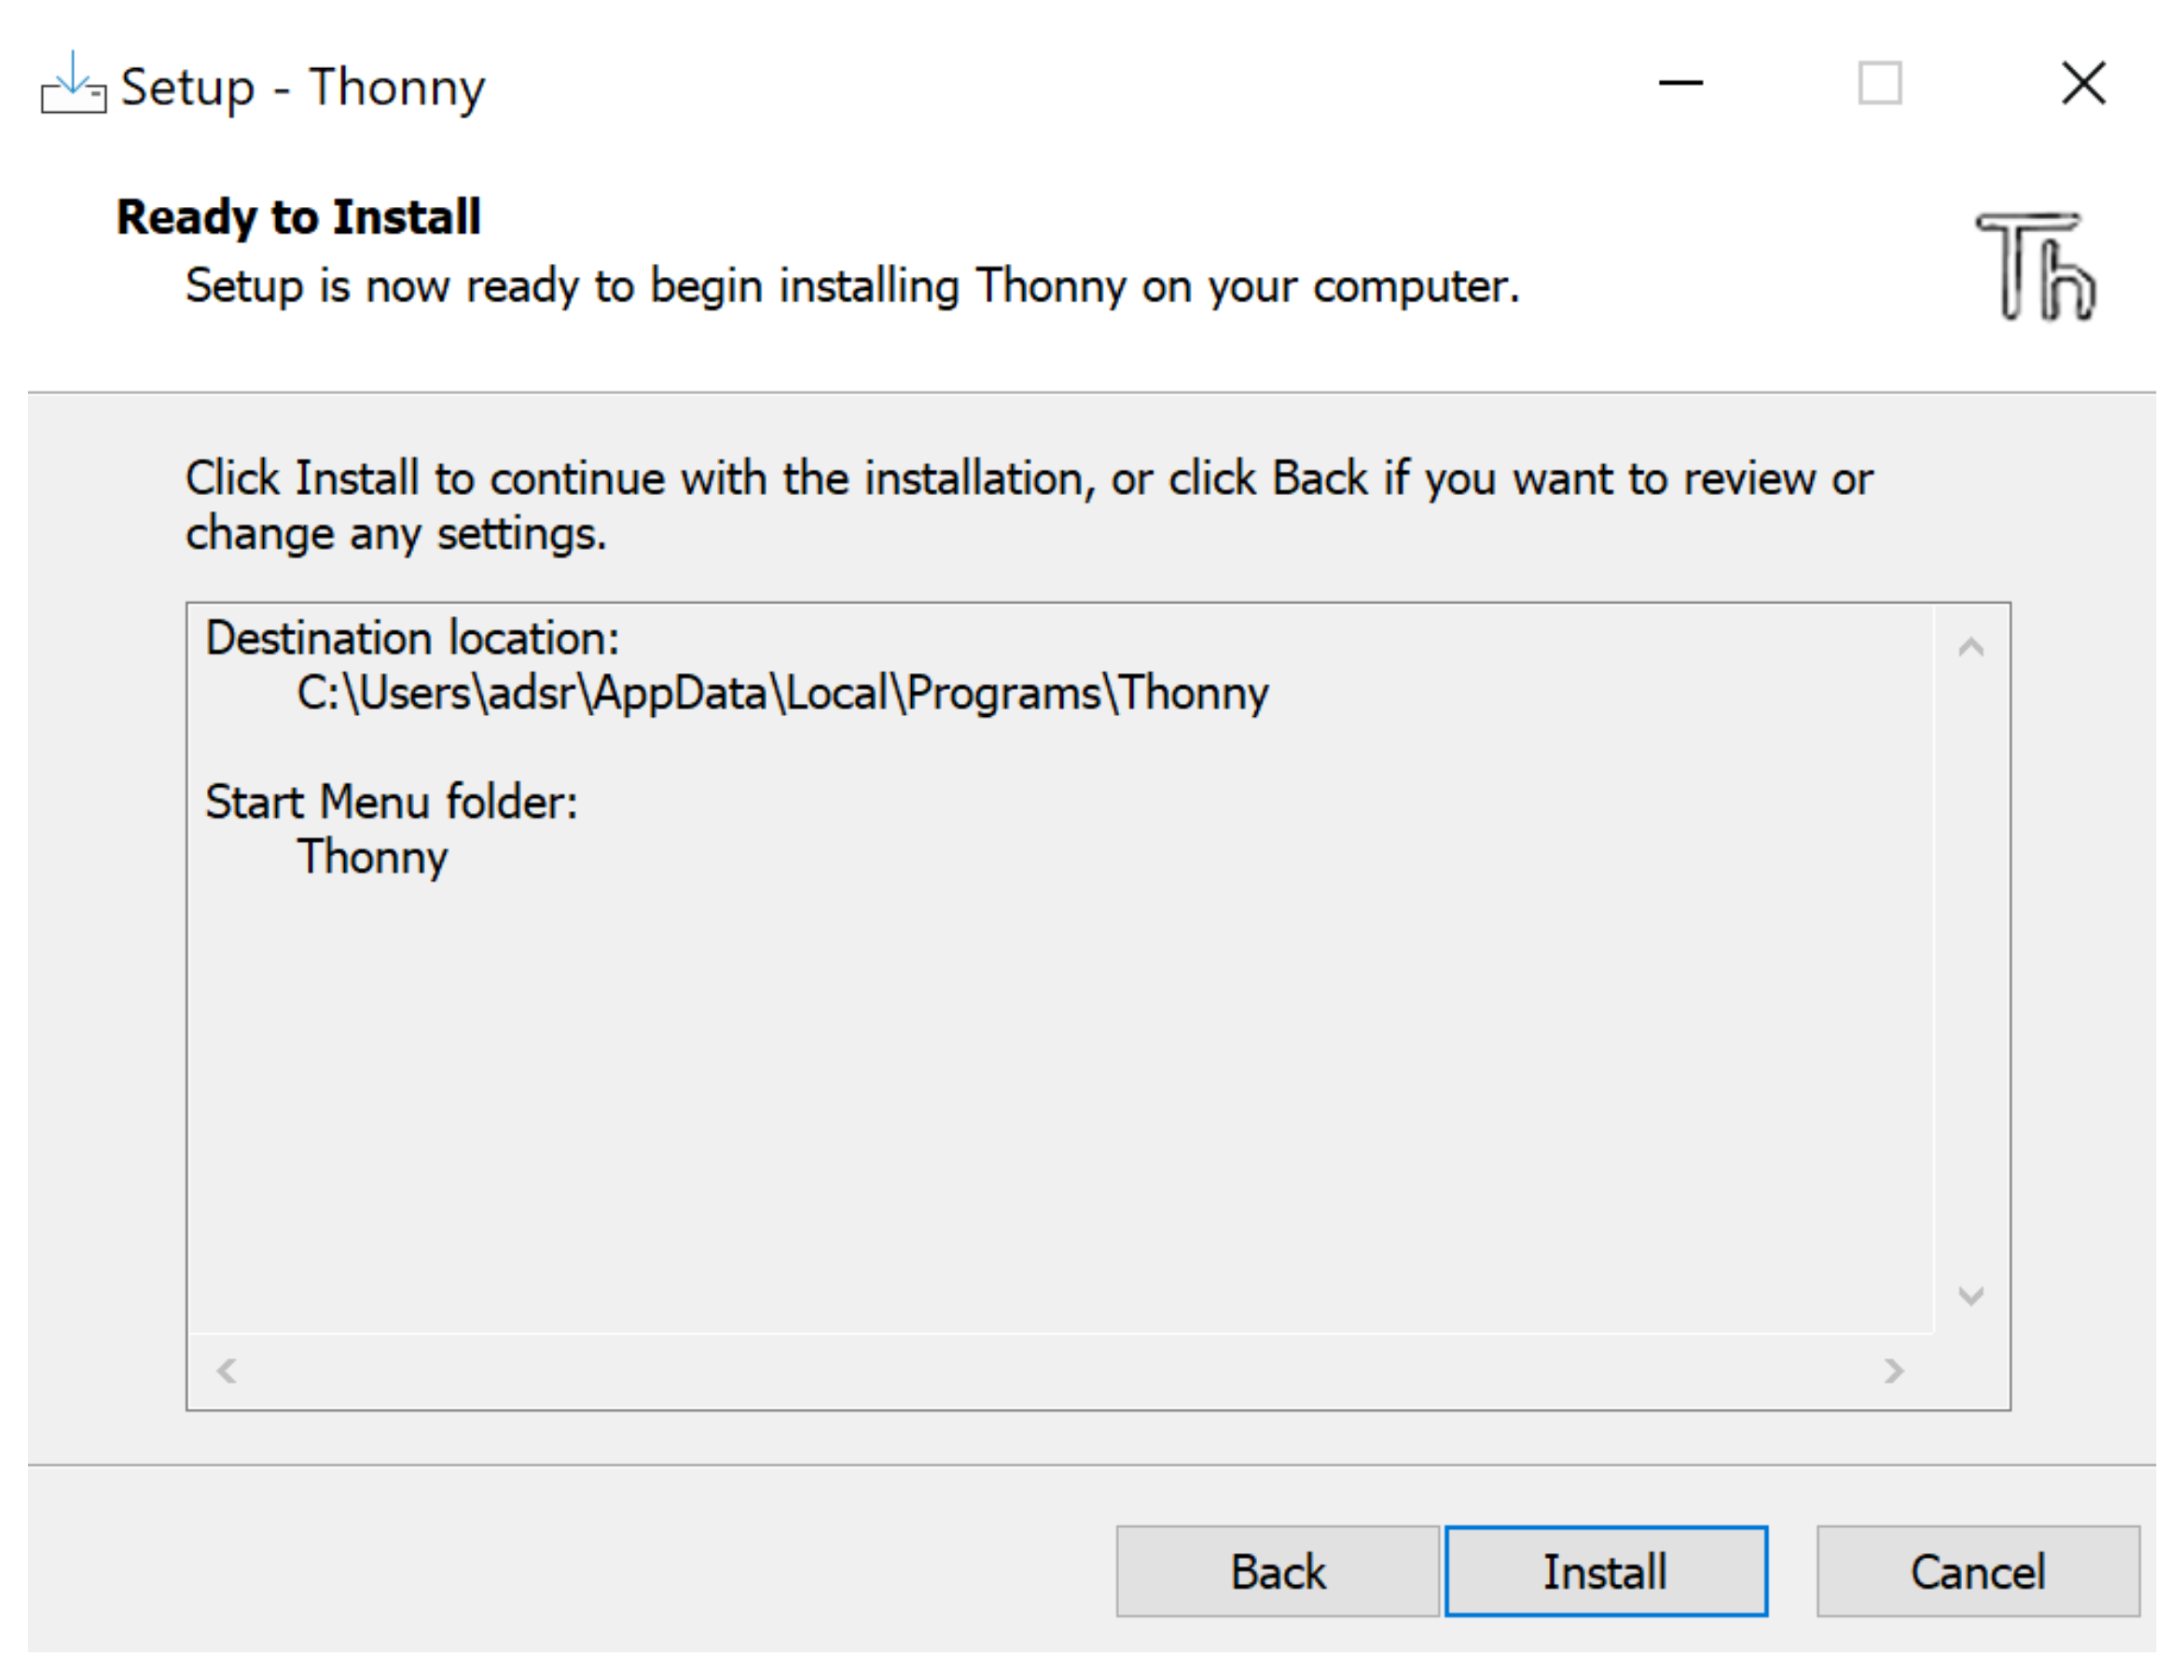
The default location here is fine.
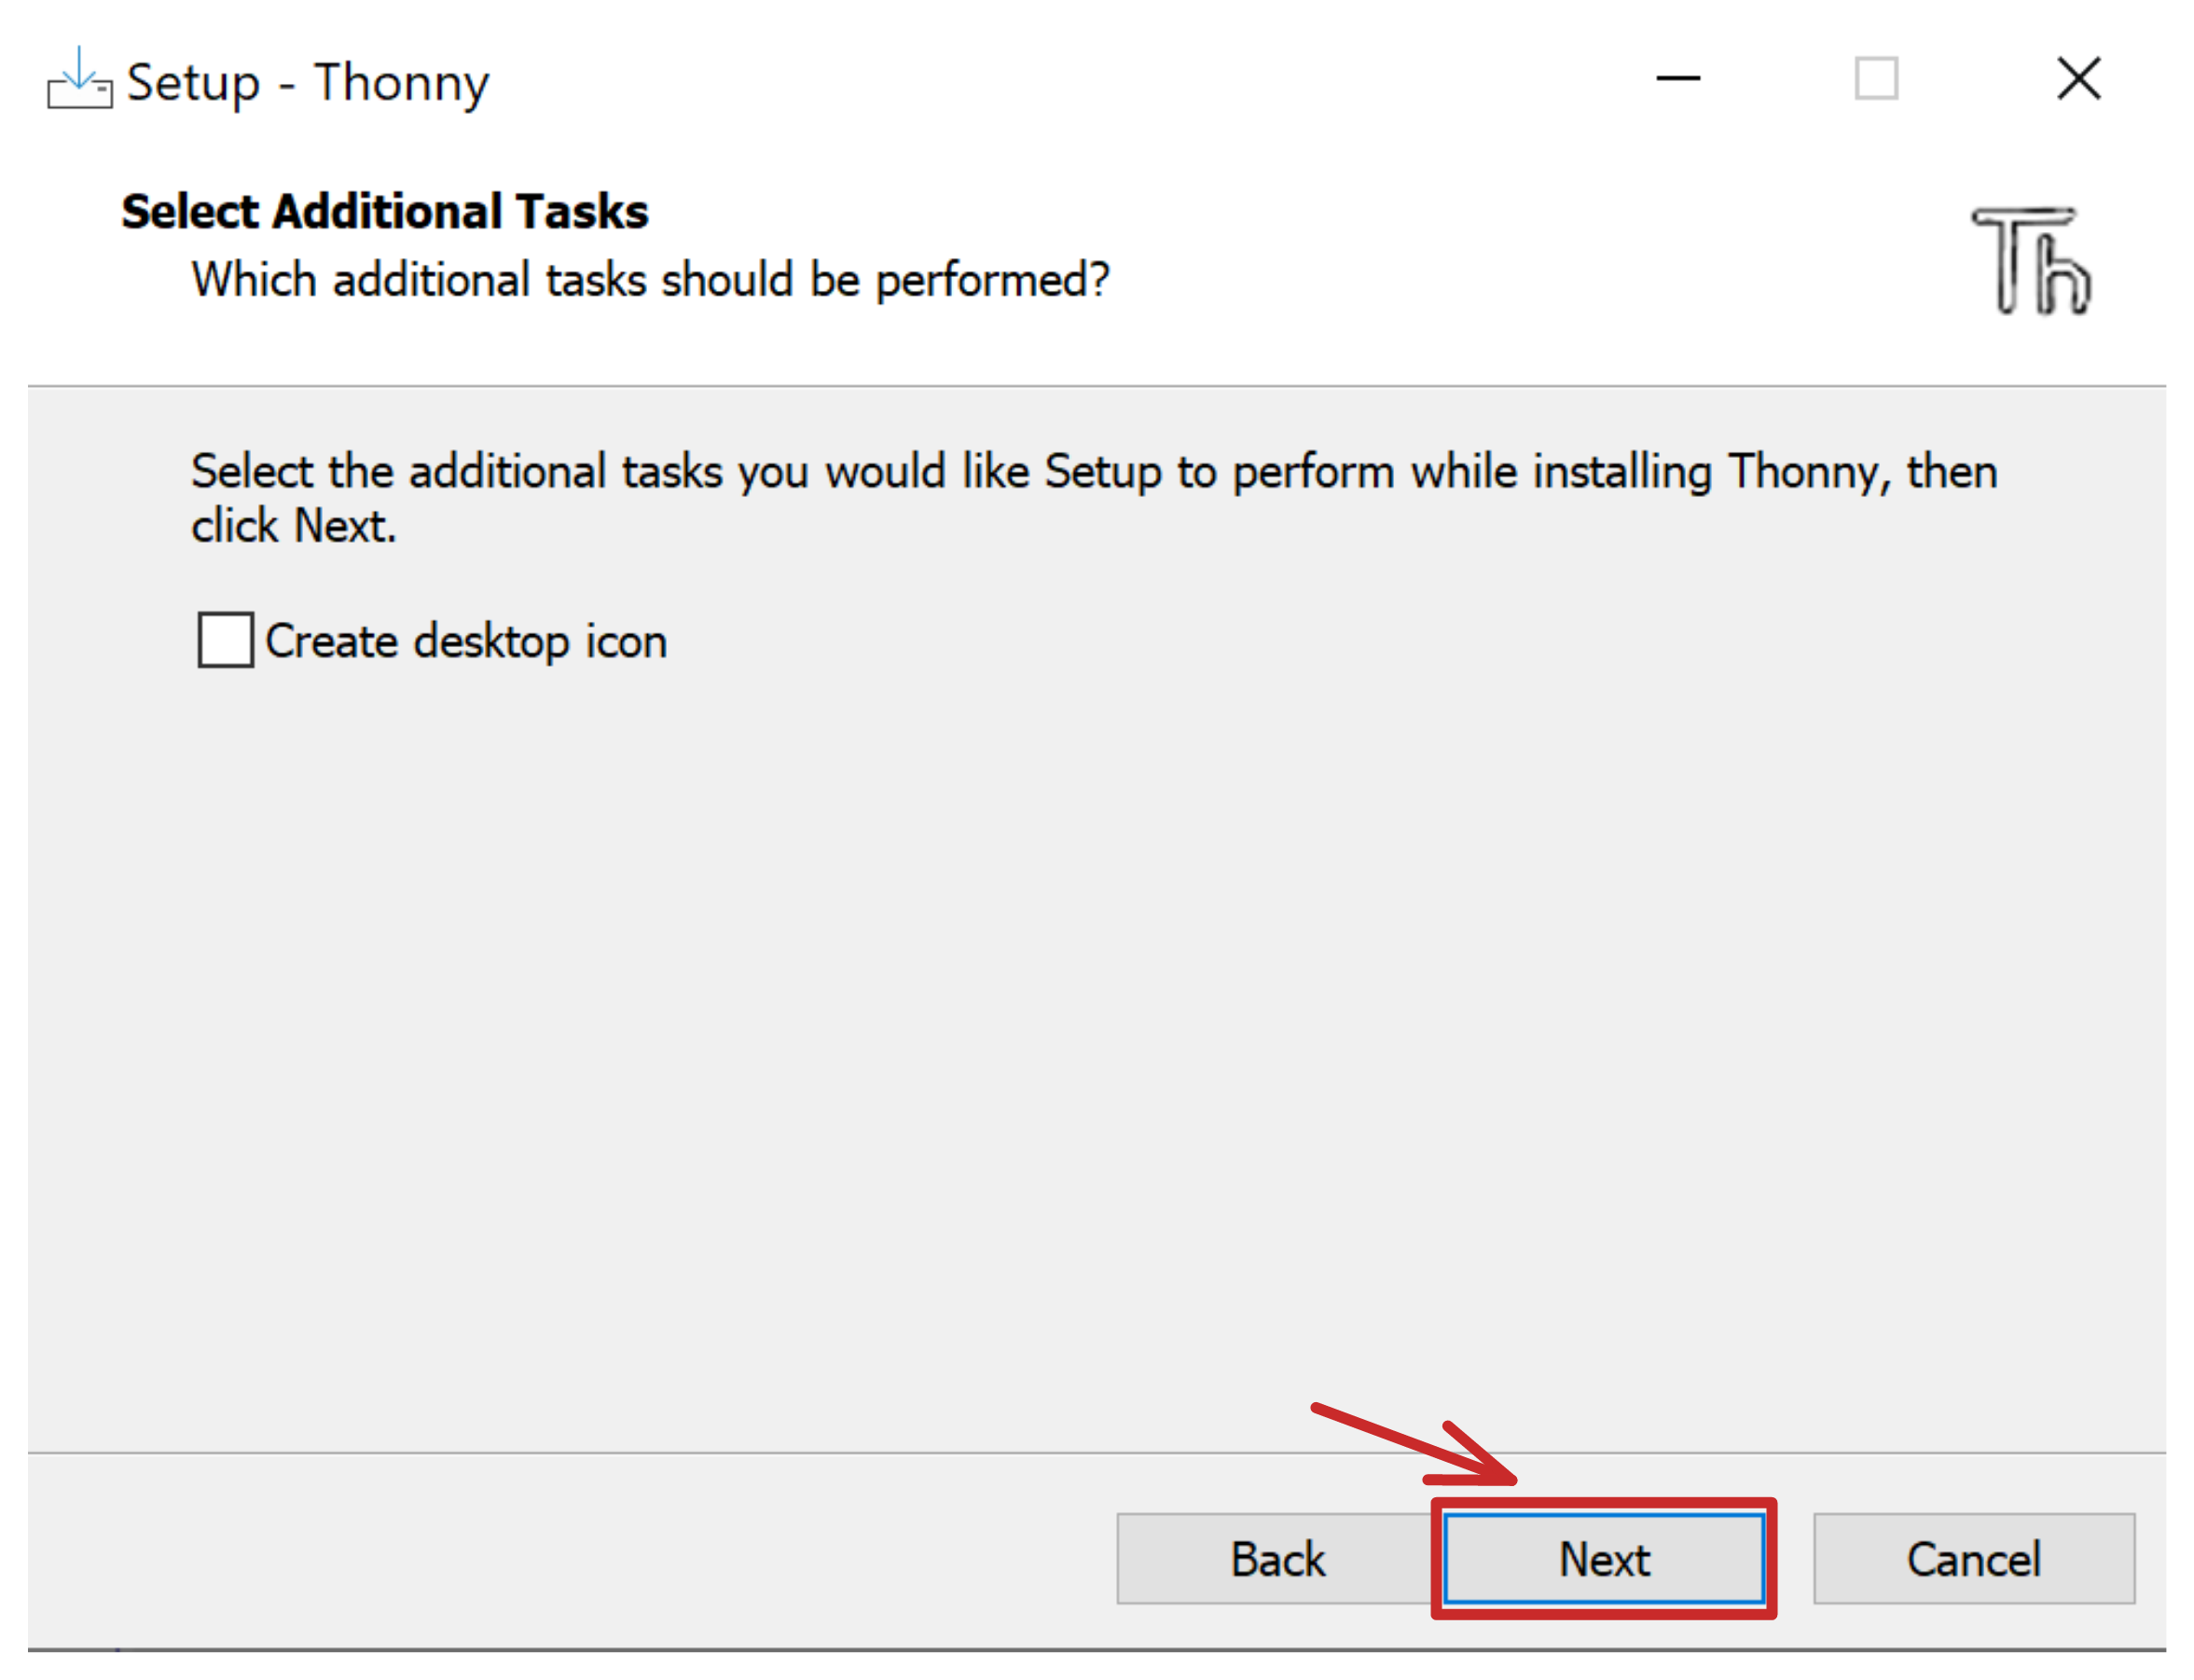
A desktop icon is optional.
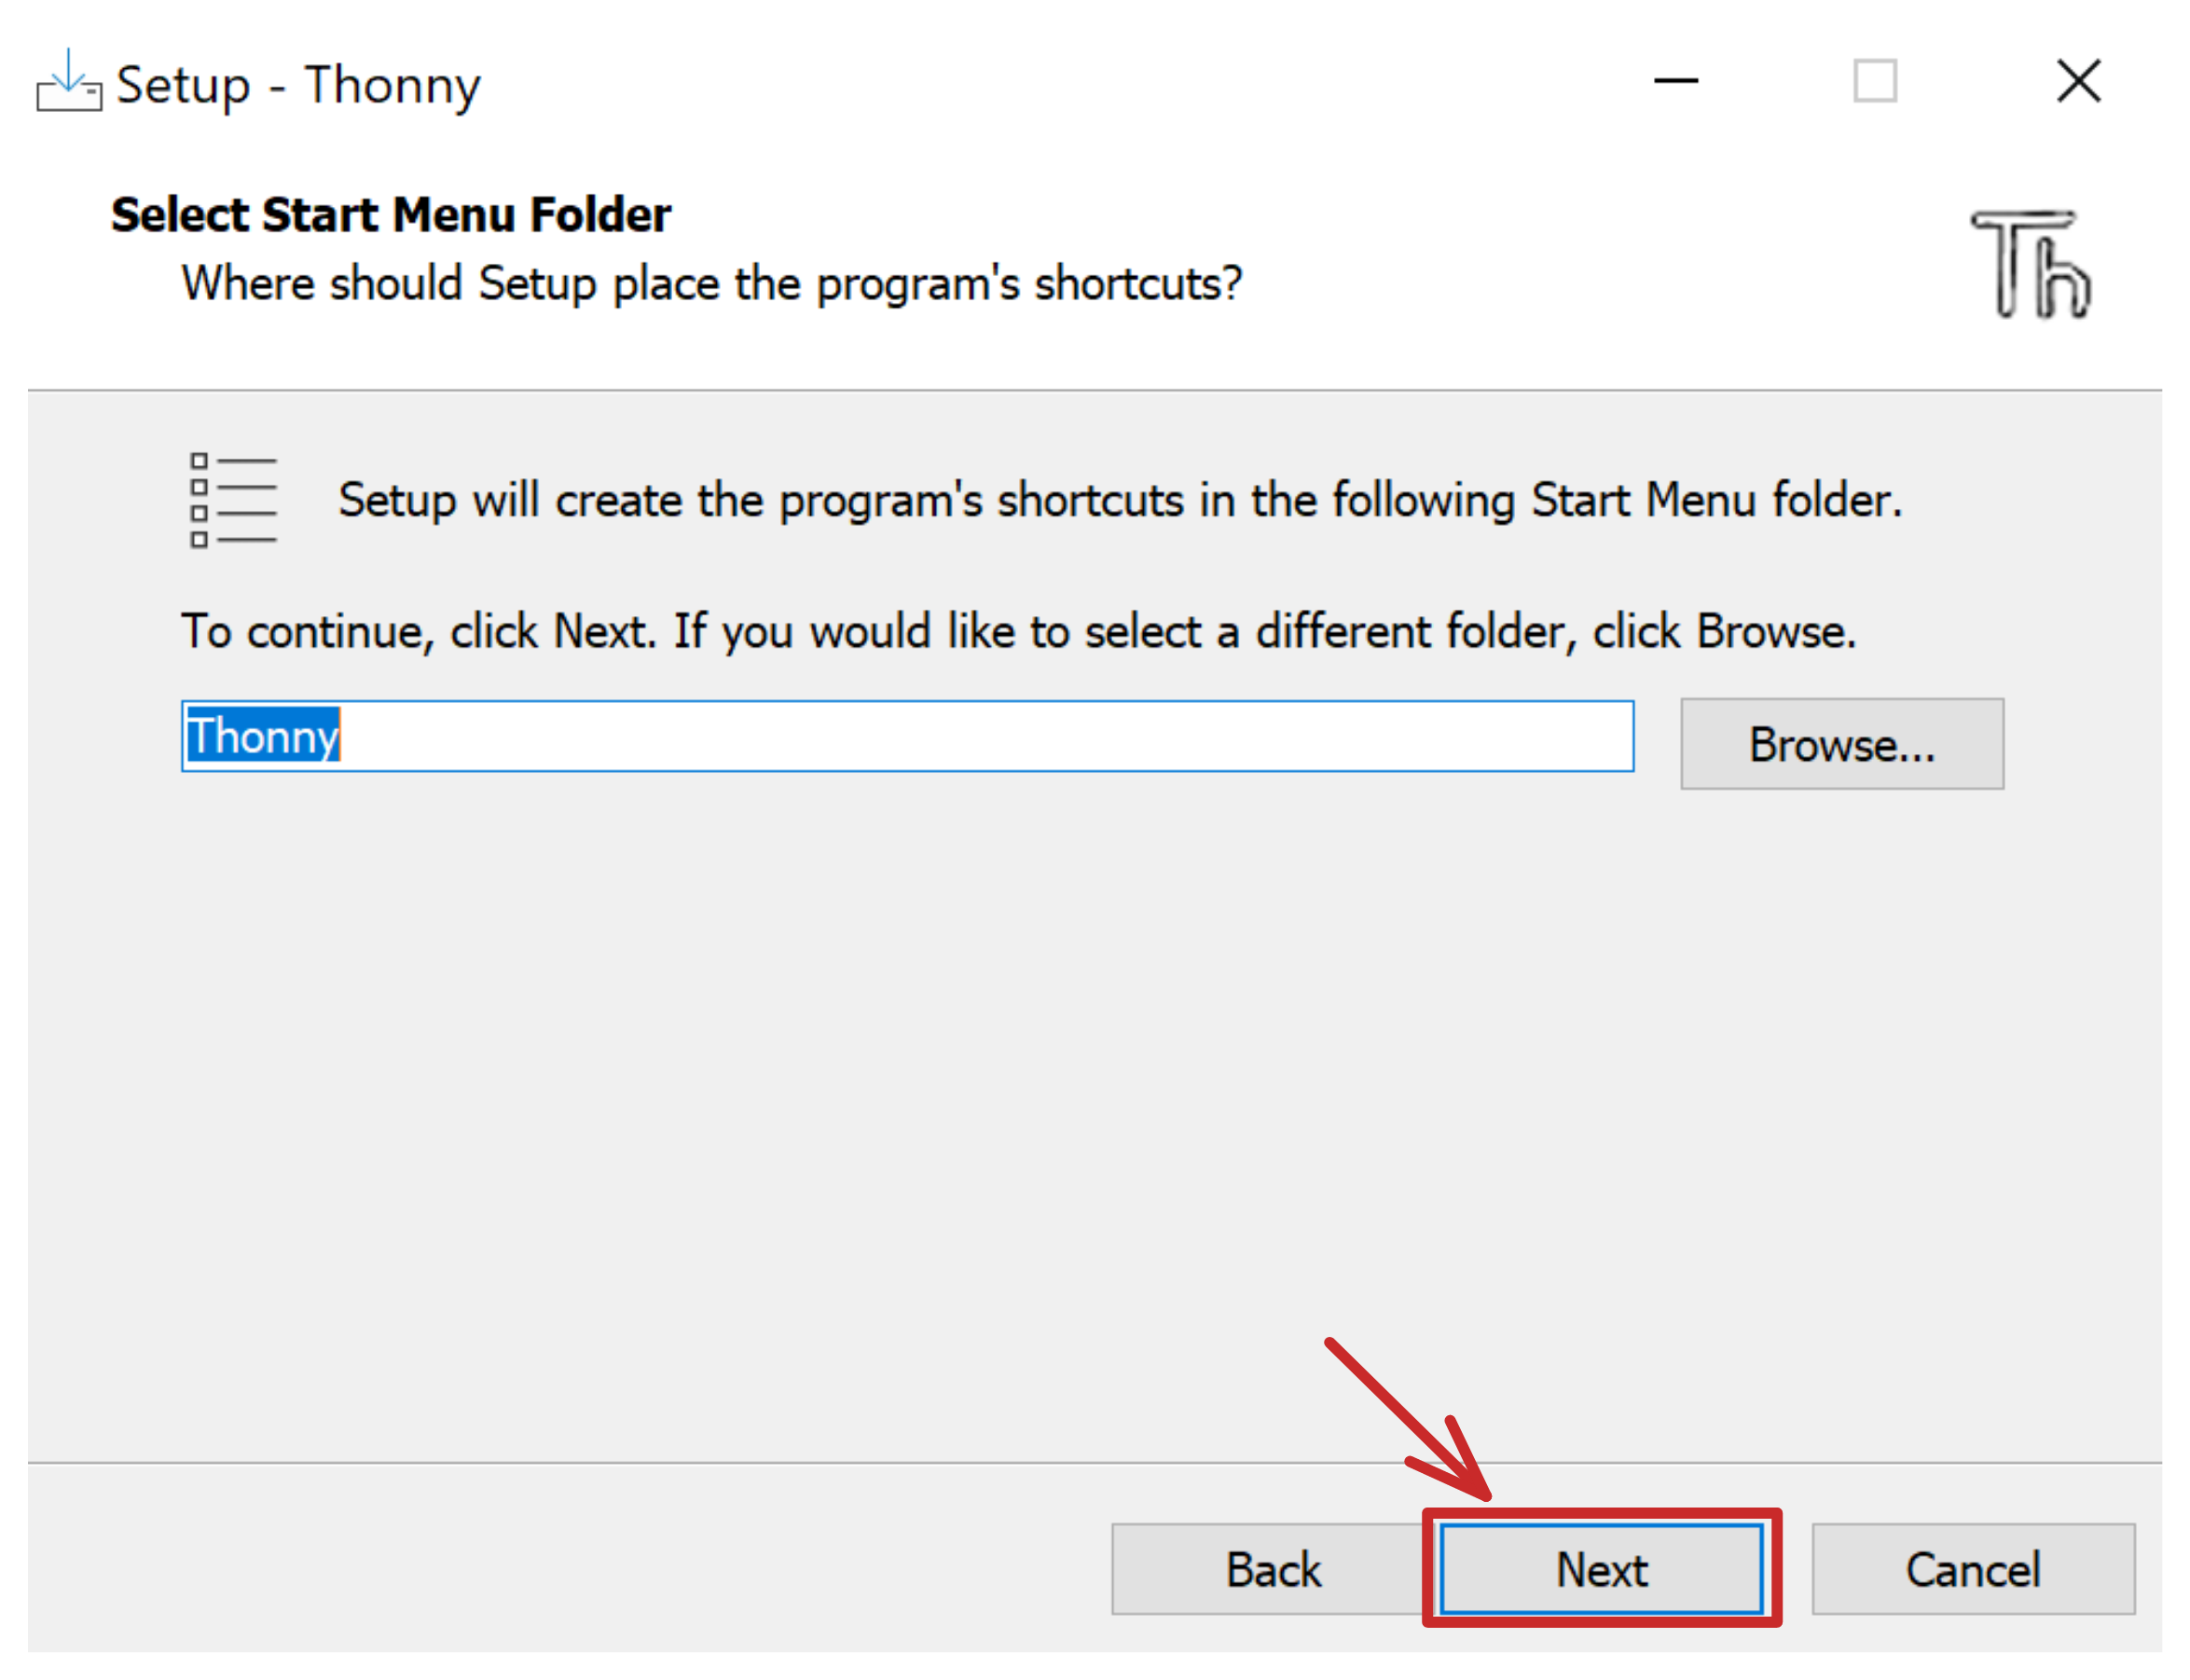
Proceed through the installation.

Step 2: Opening Thonny for Windows
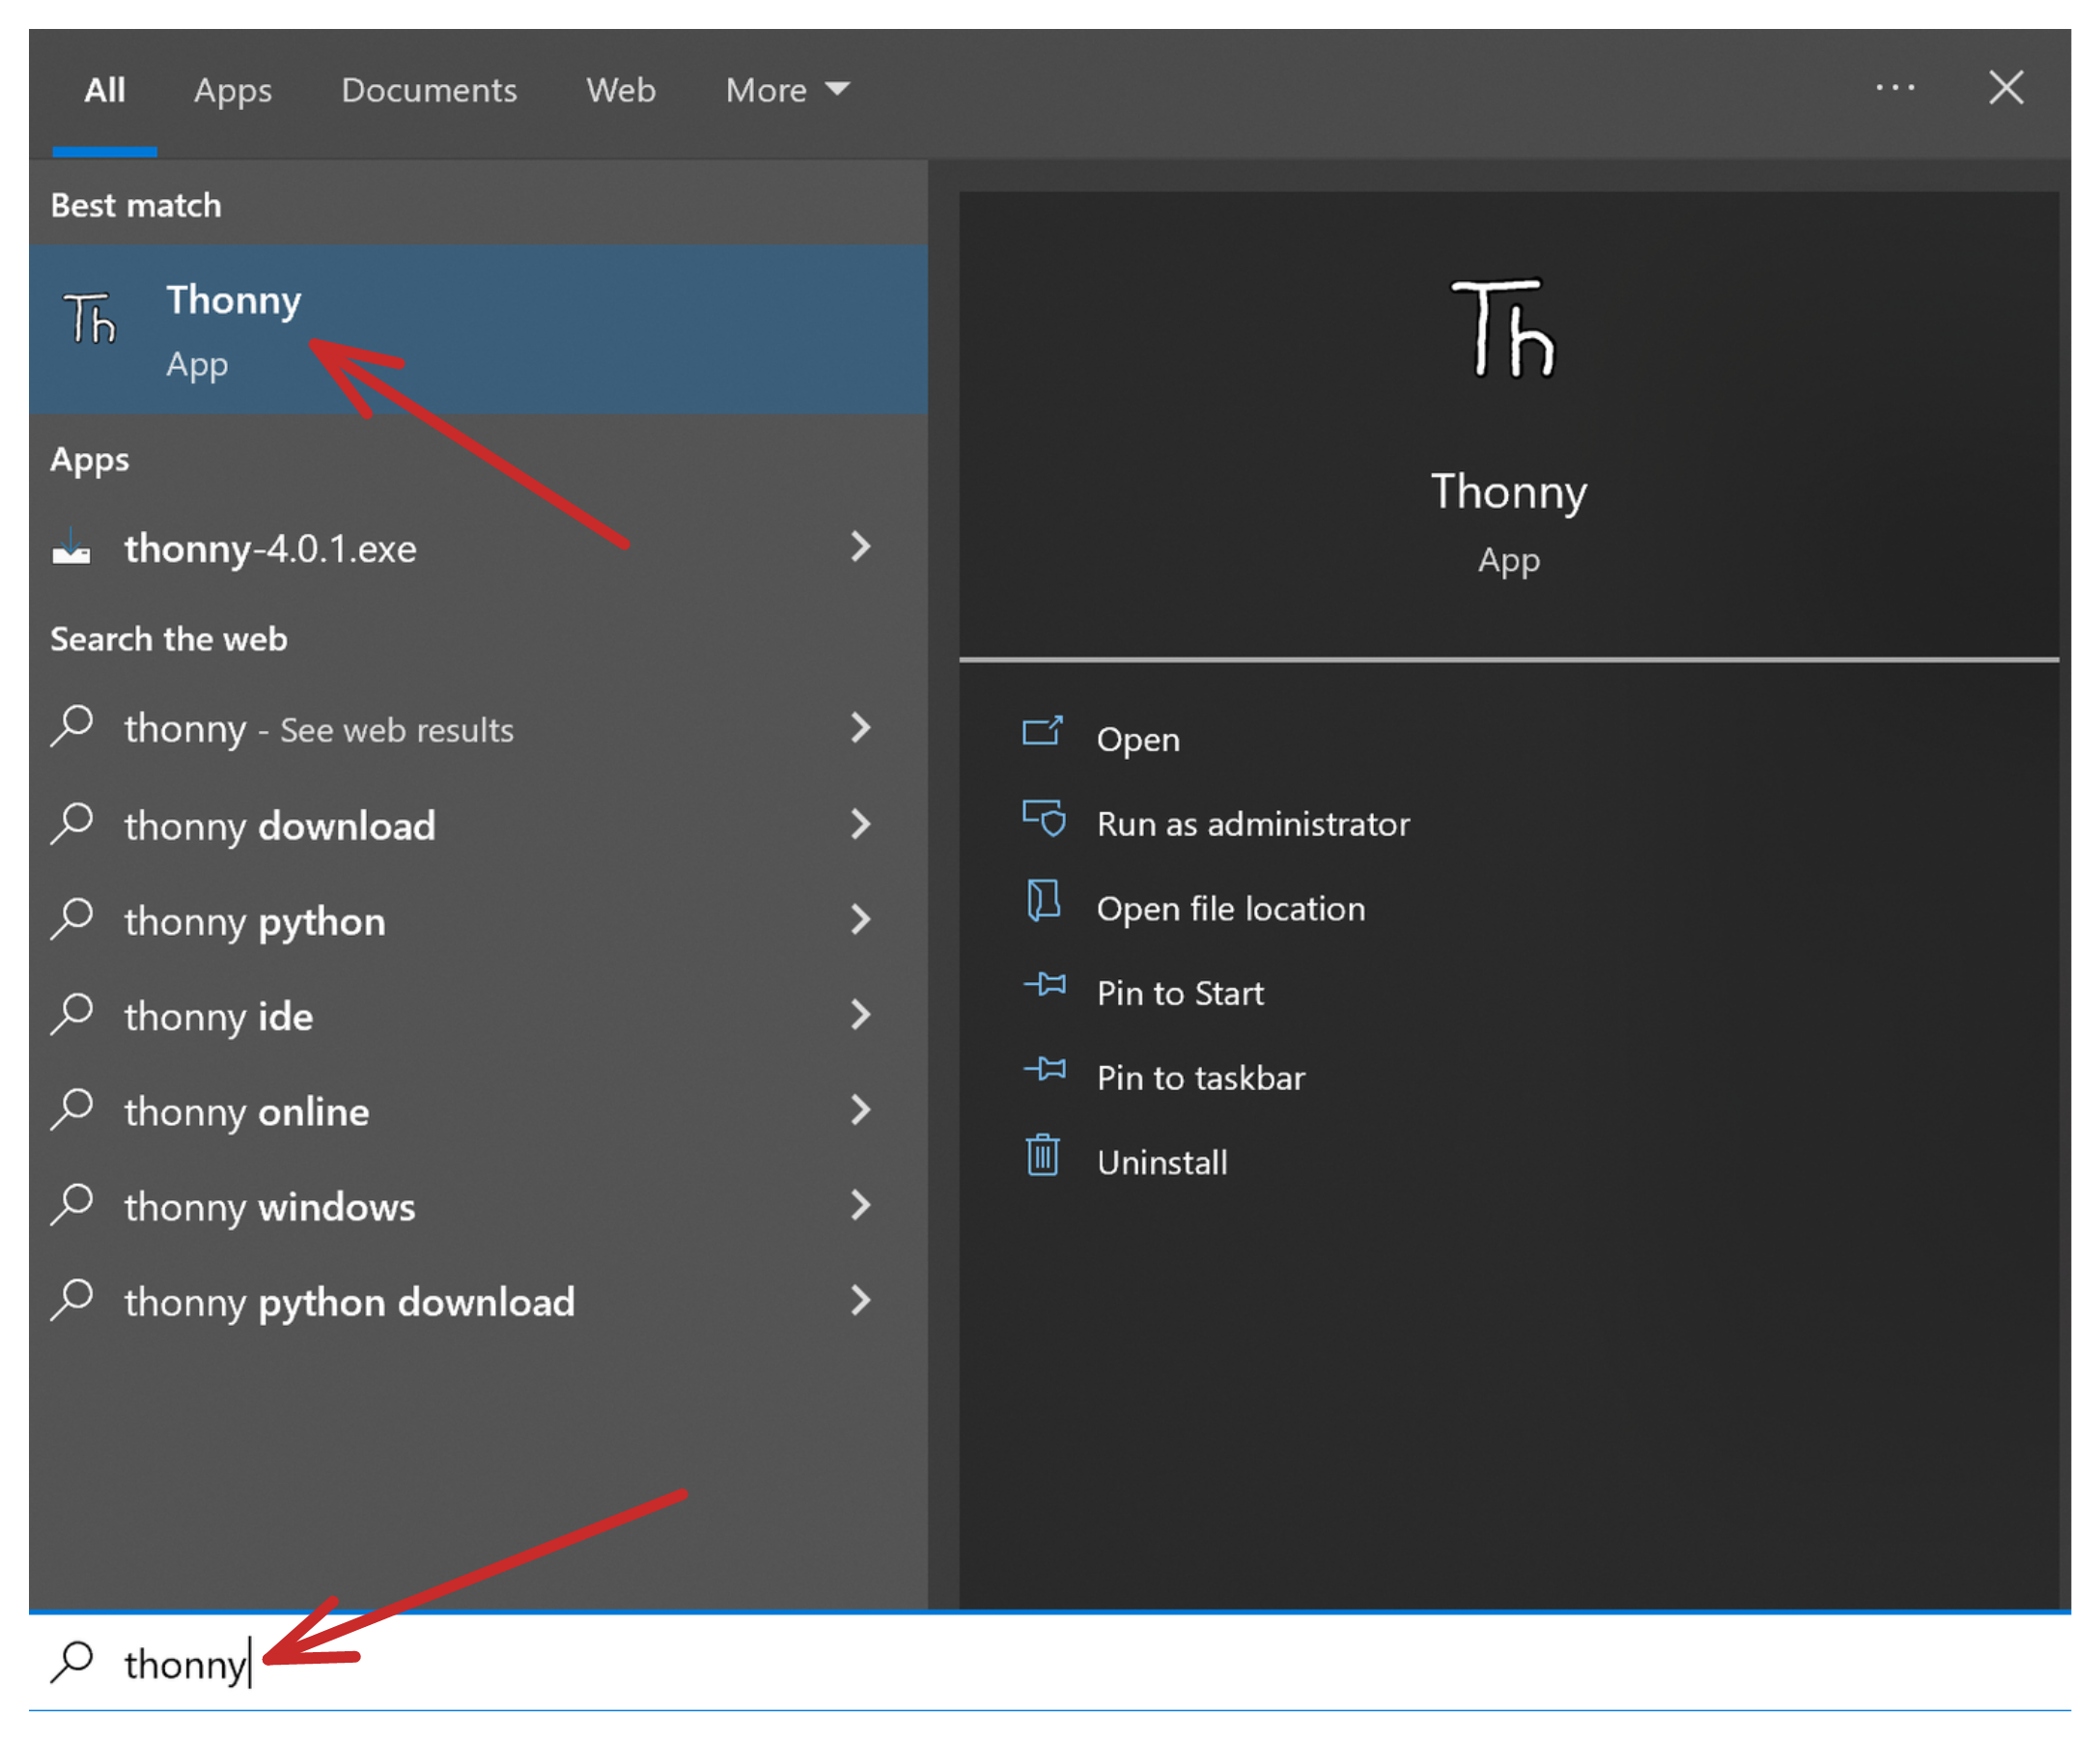
Launch the start menu, and type thonny. Click on Thonny.
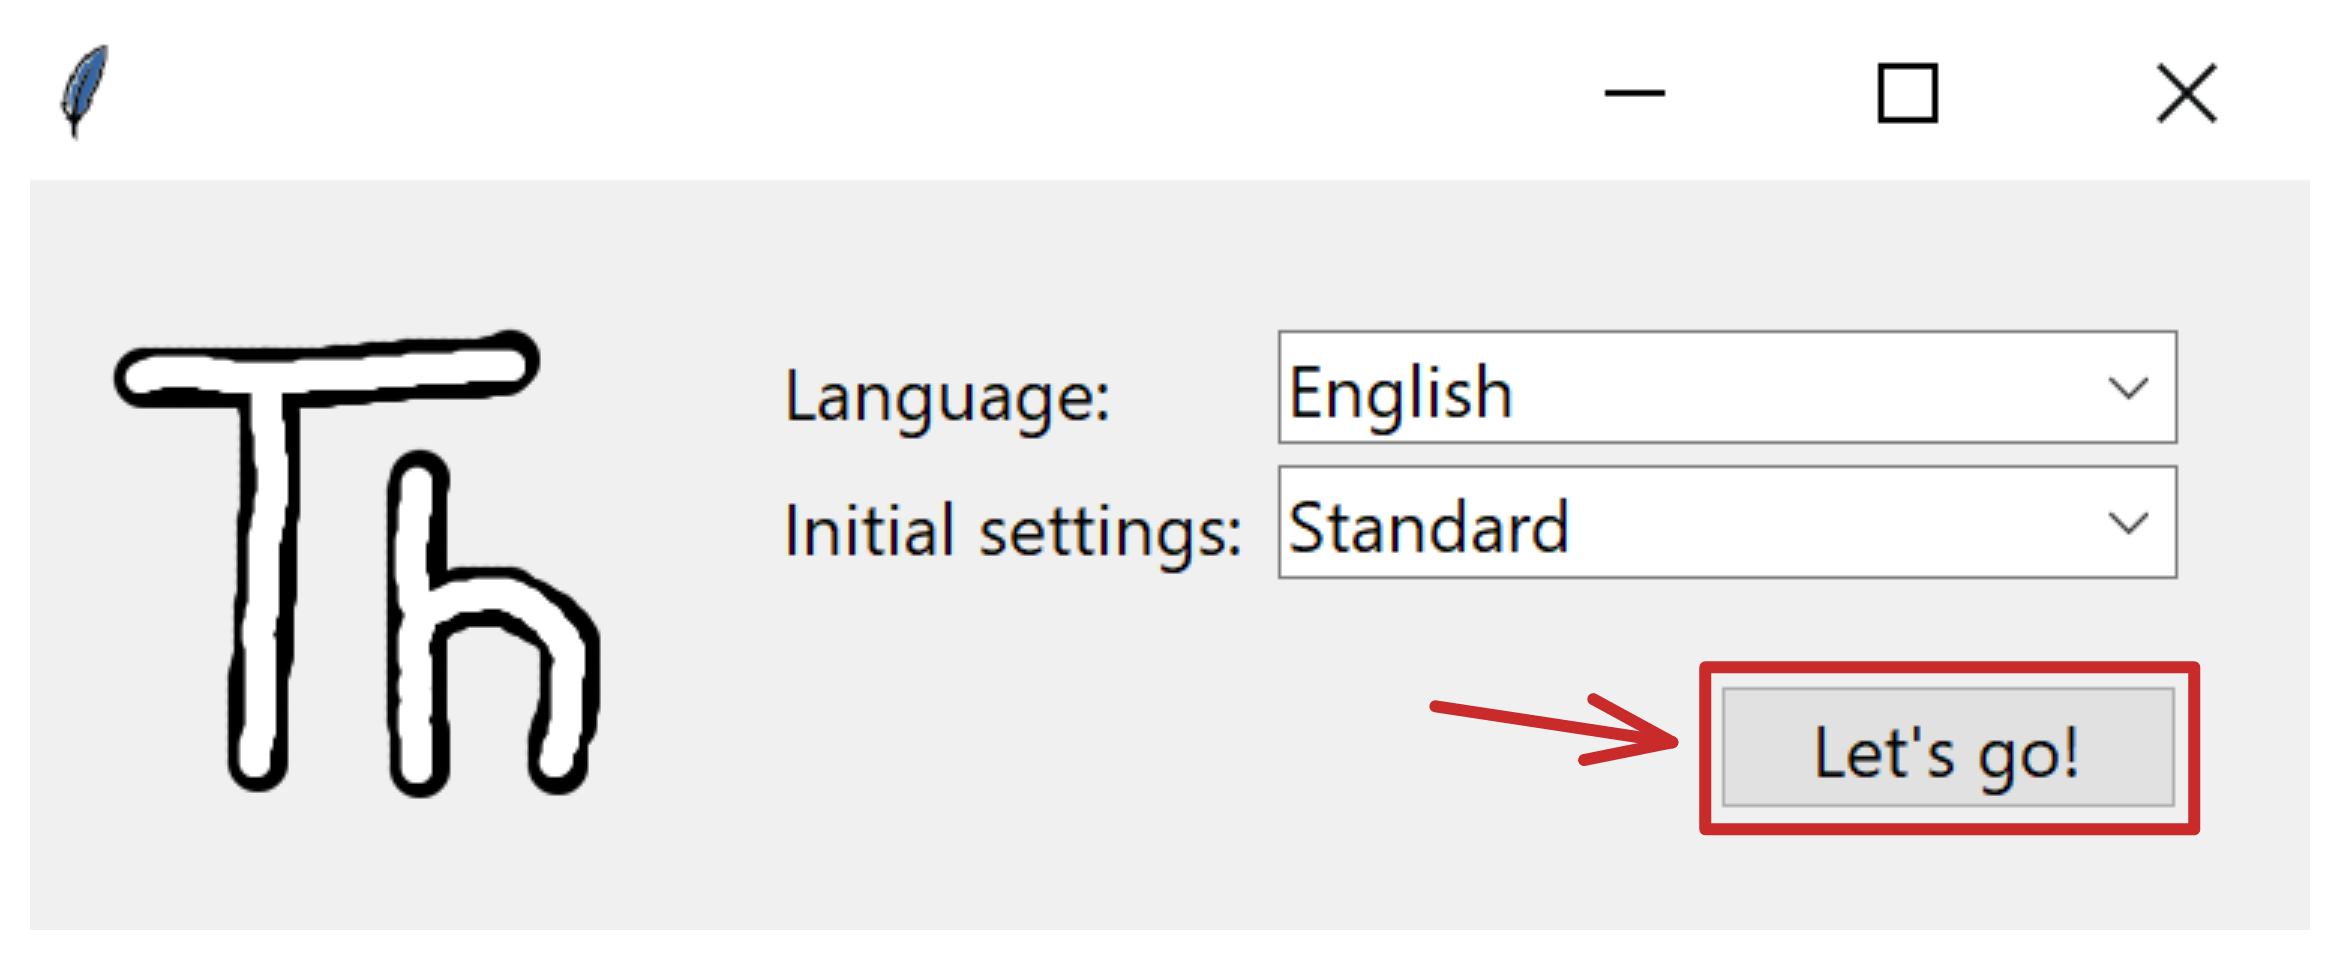
Let’s go.
Thonny should look something like this.
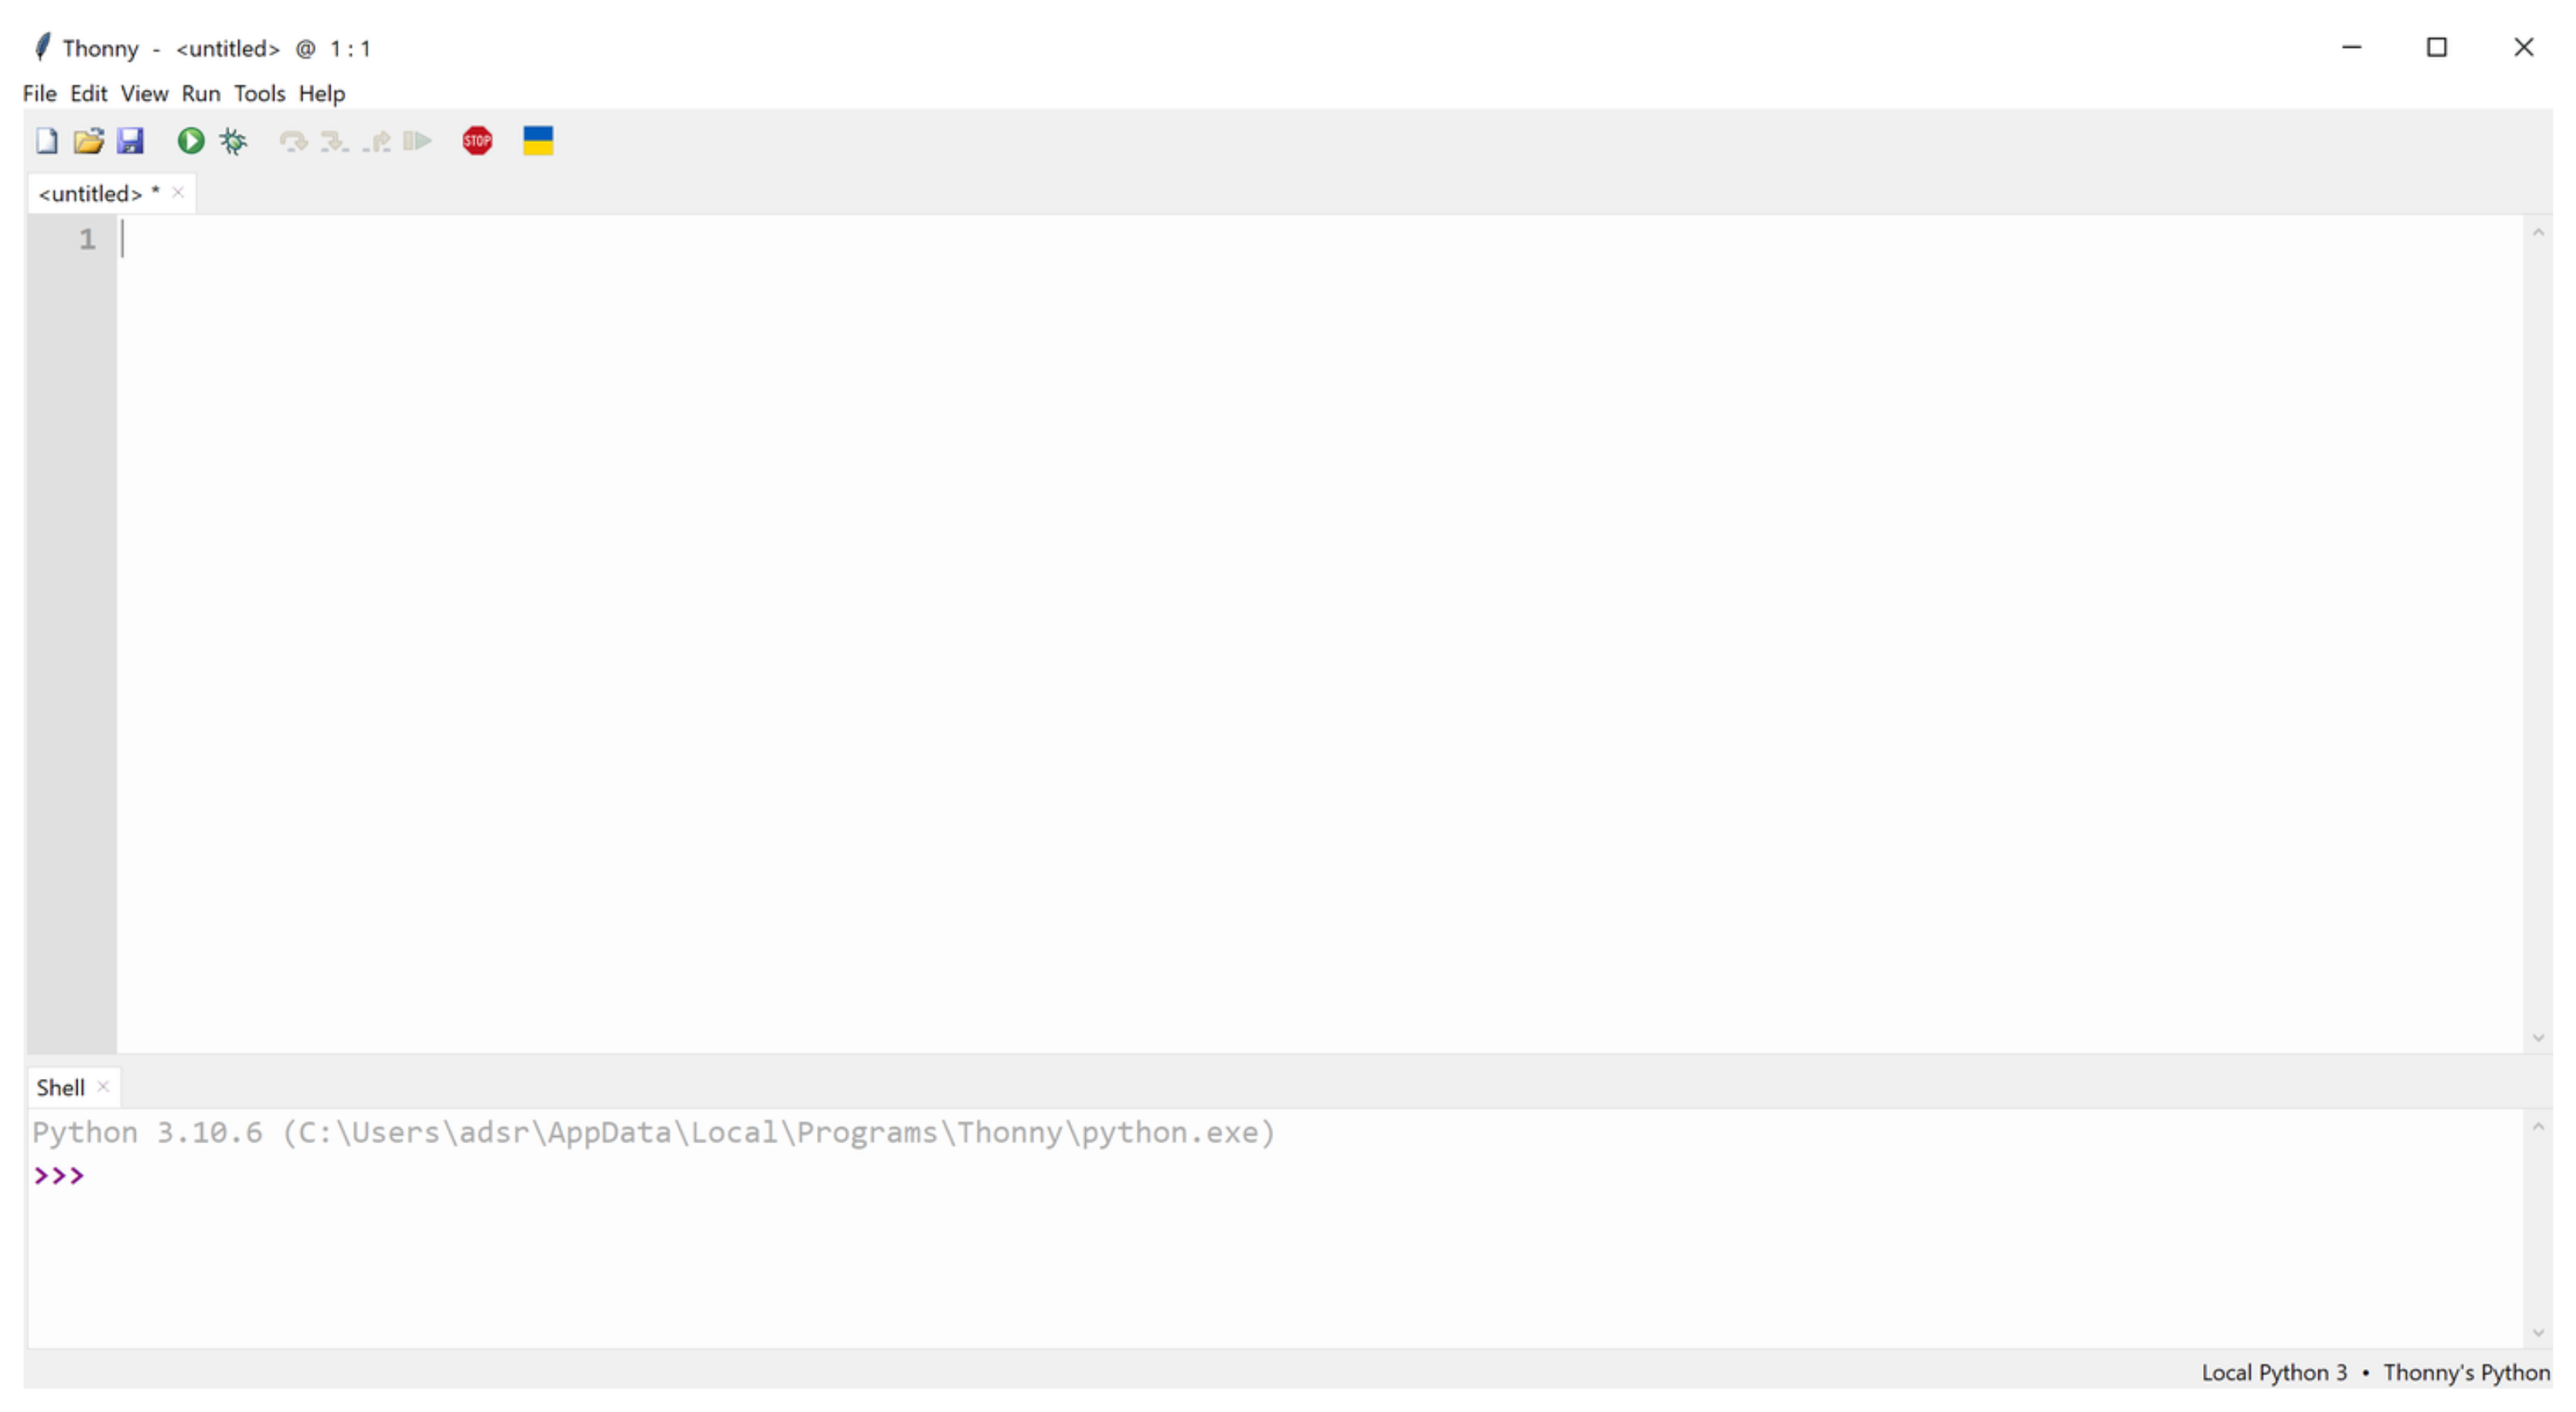
Installation is complete!
Step 3: Library Installation
We’re not quite done yet. Thonny is installed and basic Python functions work, but we need to install several “libraries” to have everything working.
In the Tools menu, select Manage Packages.

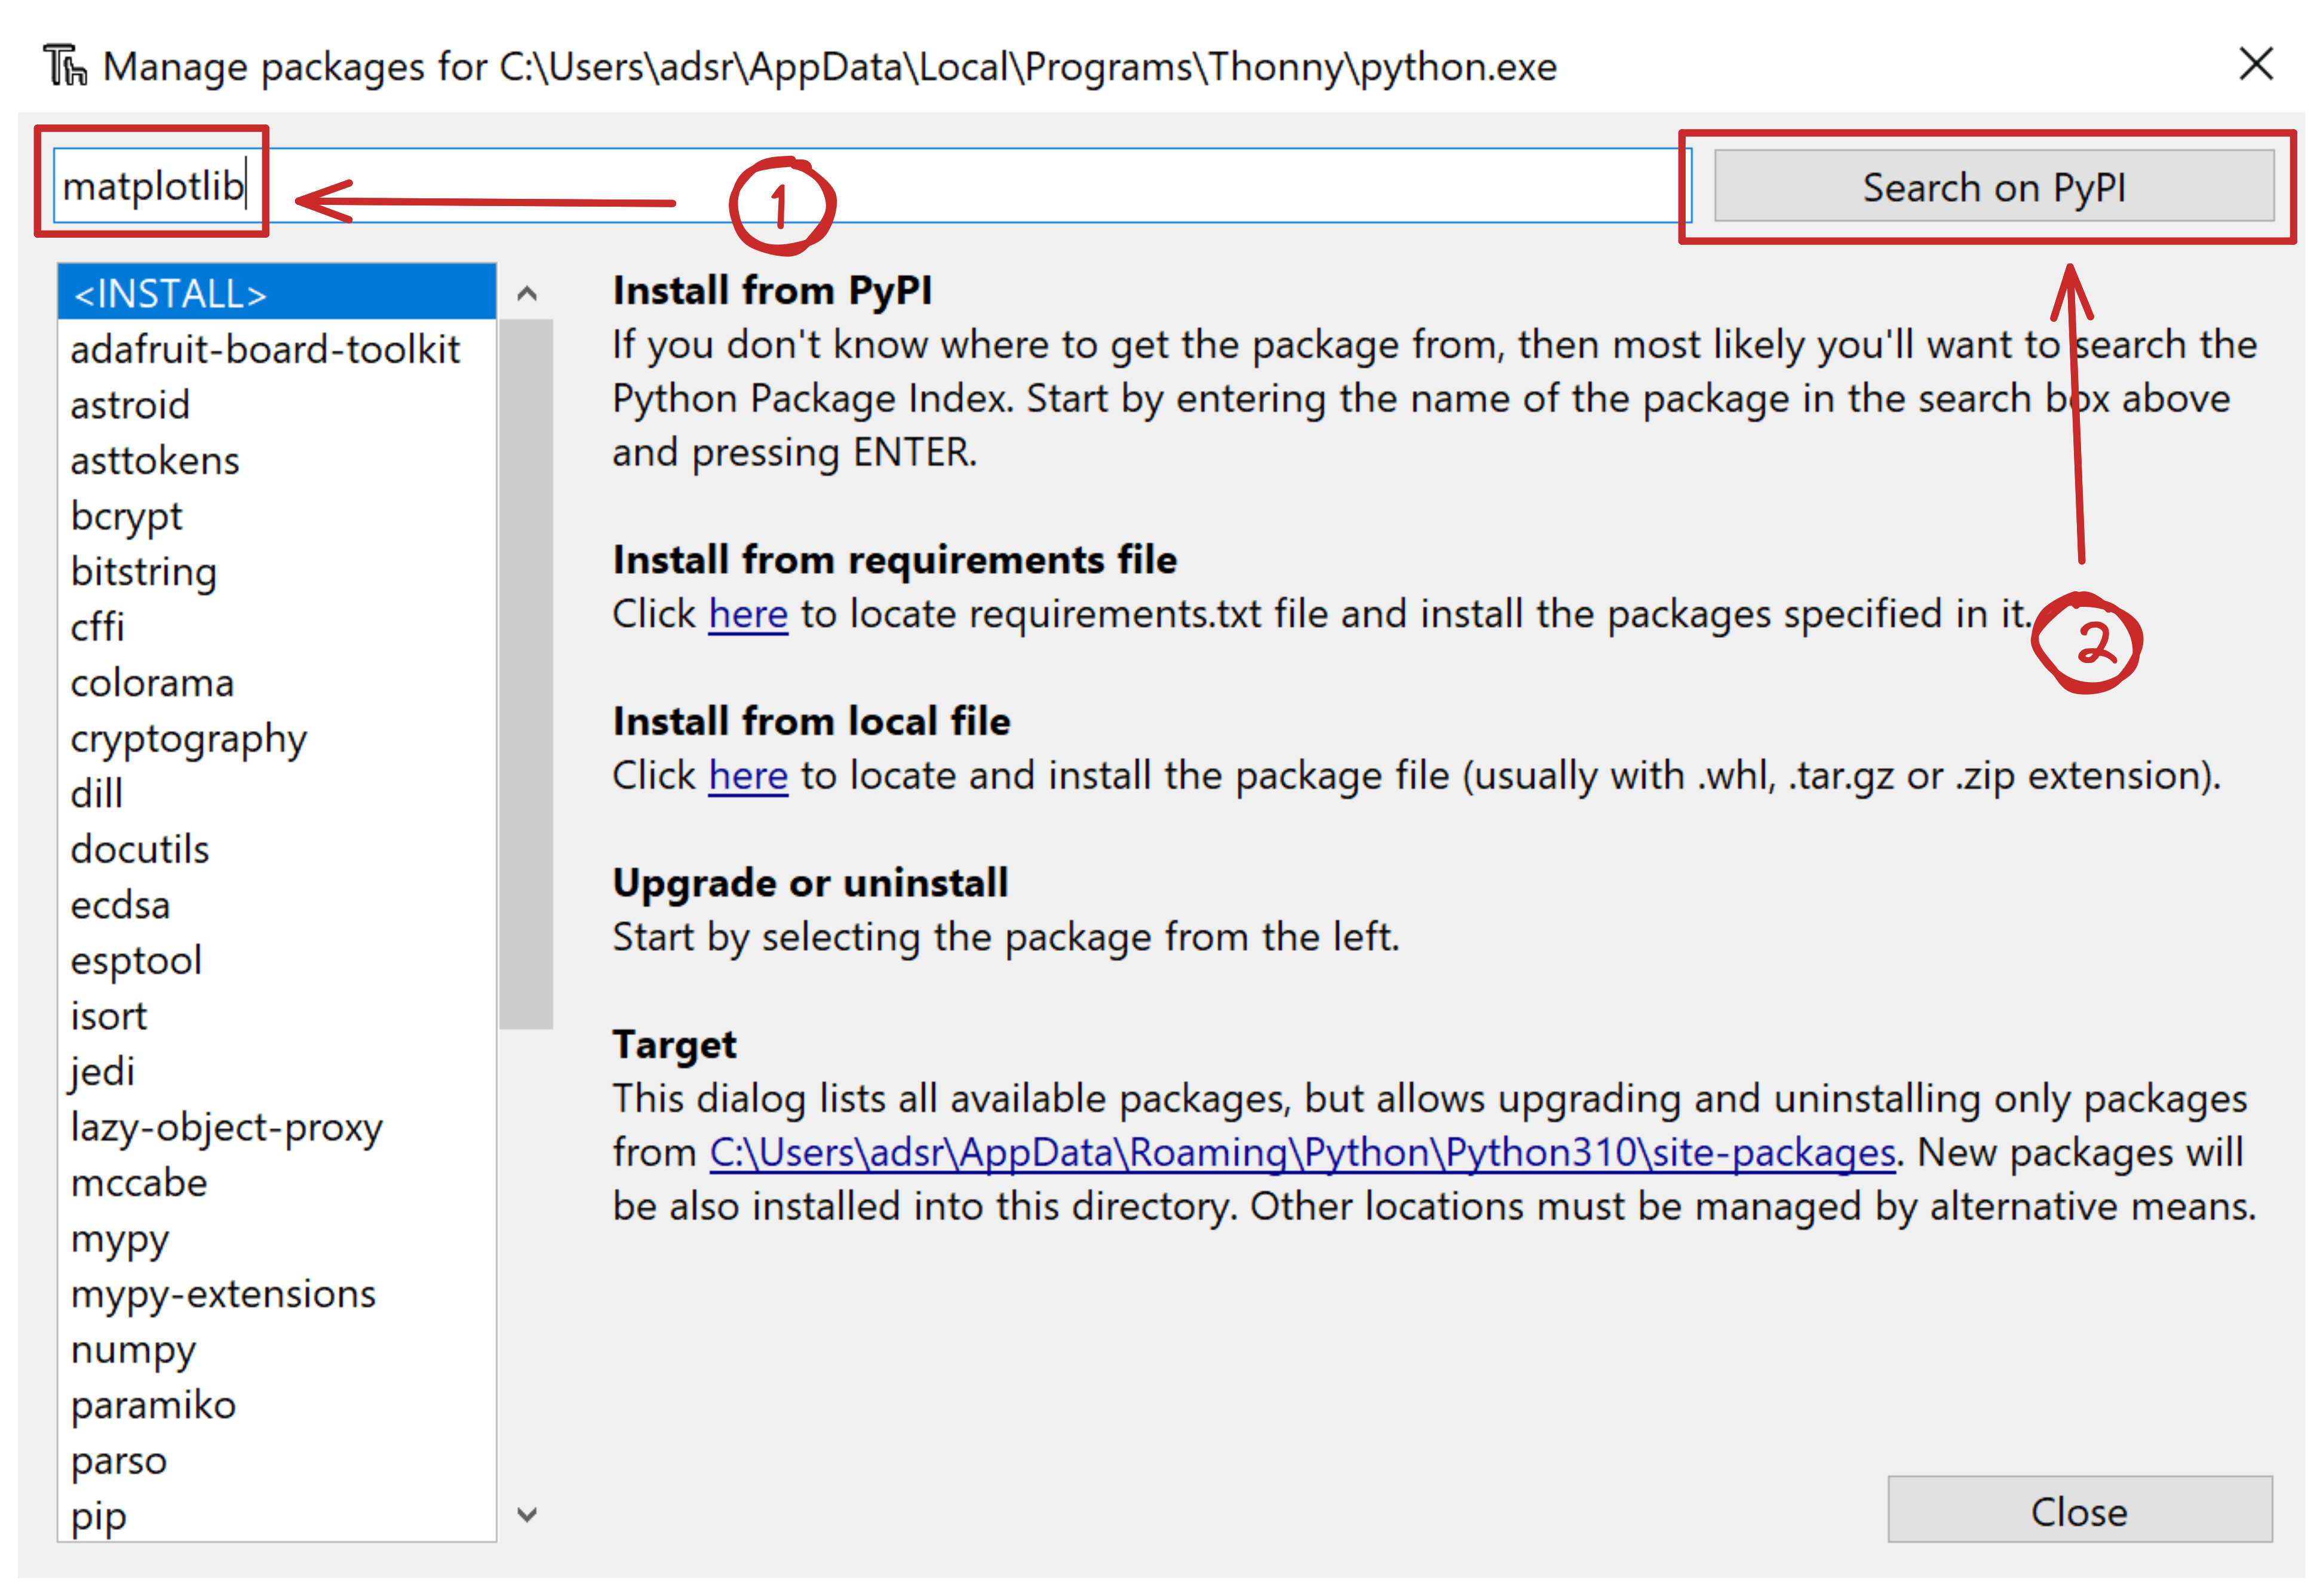
First, in the text bar, type matplotlib. Then, click Search on PyPI.
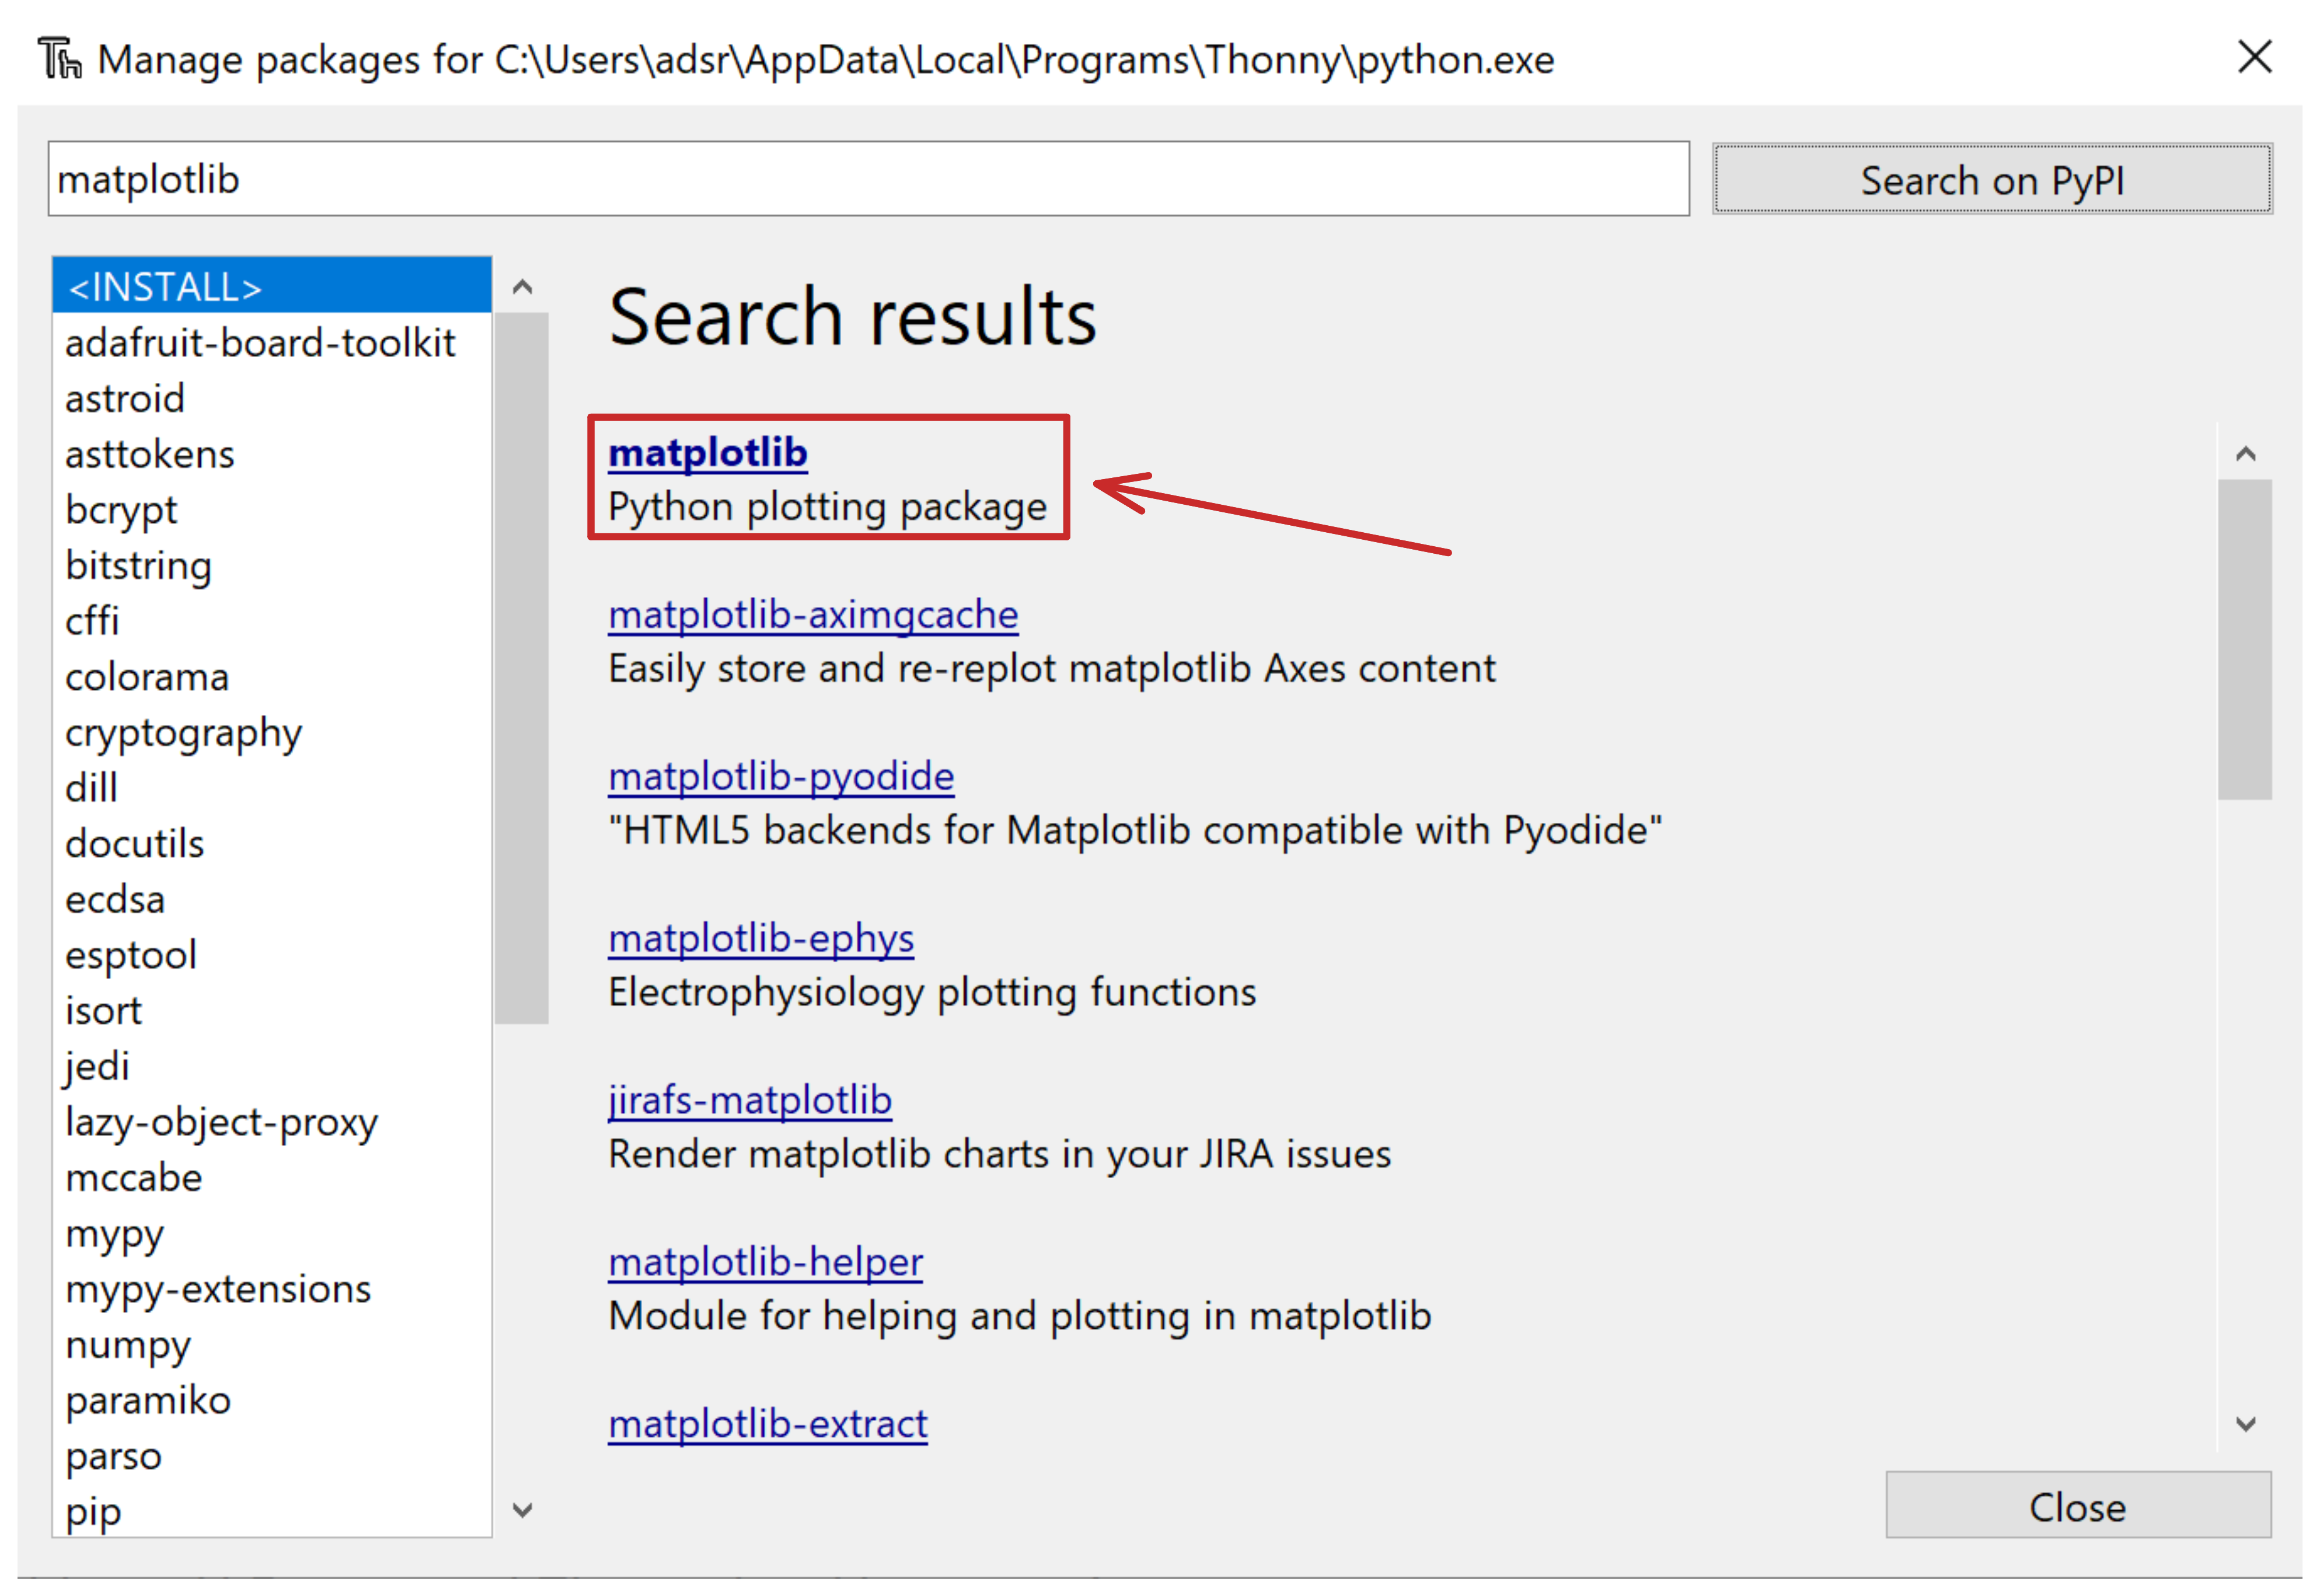
Click on the matplotlib result.
Then click Install.
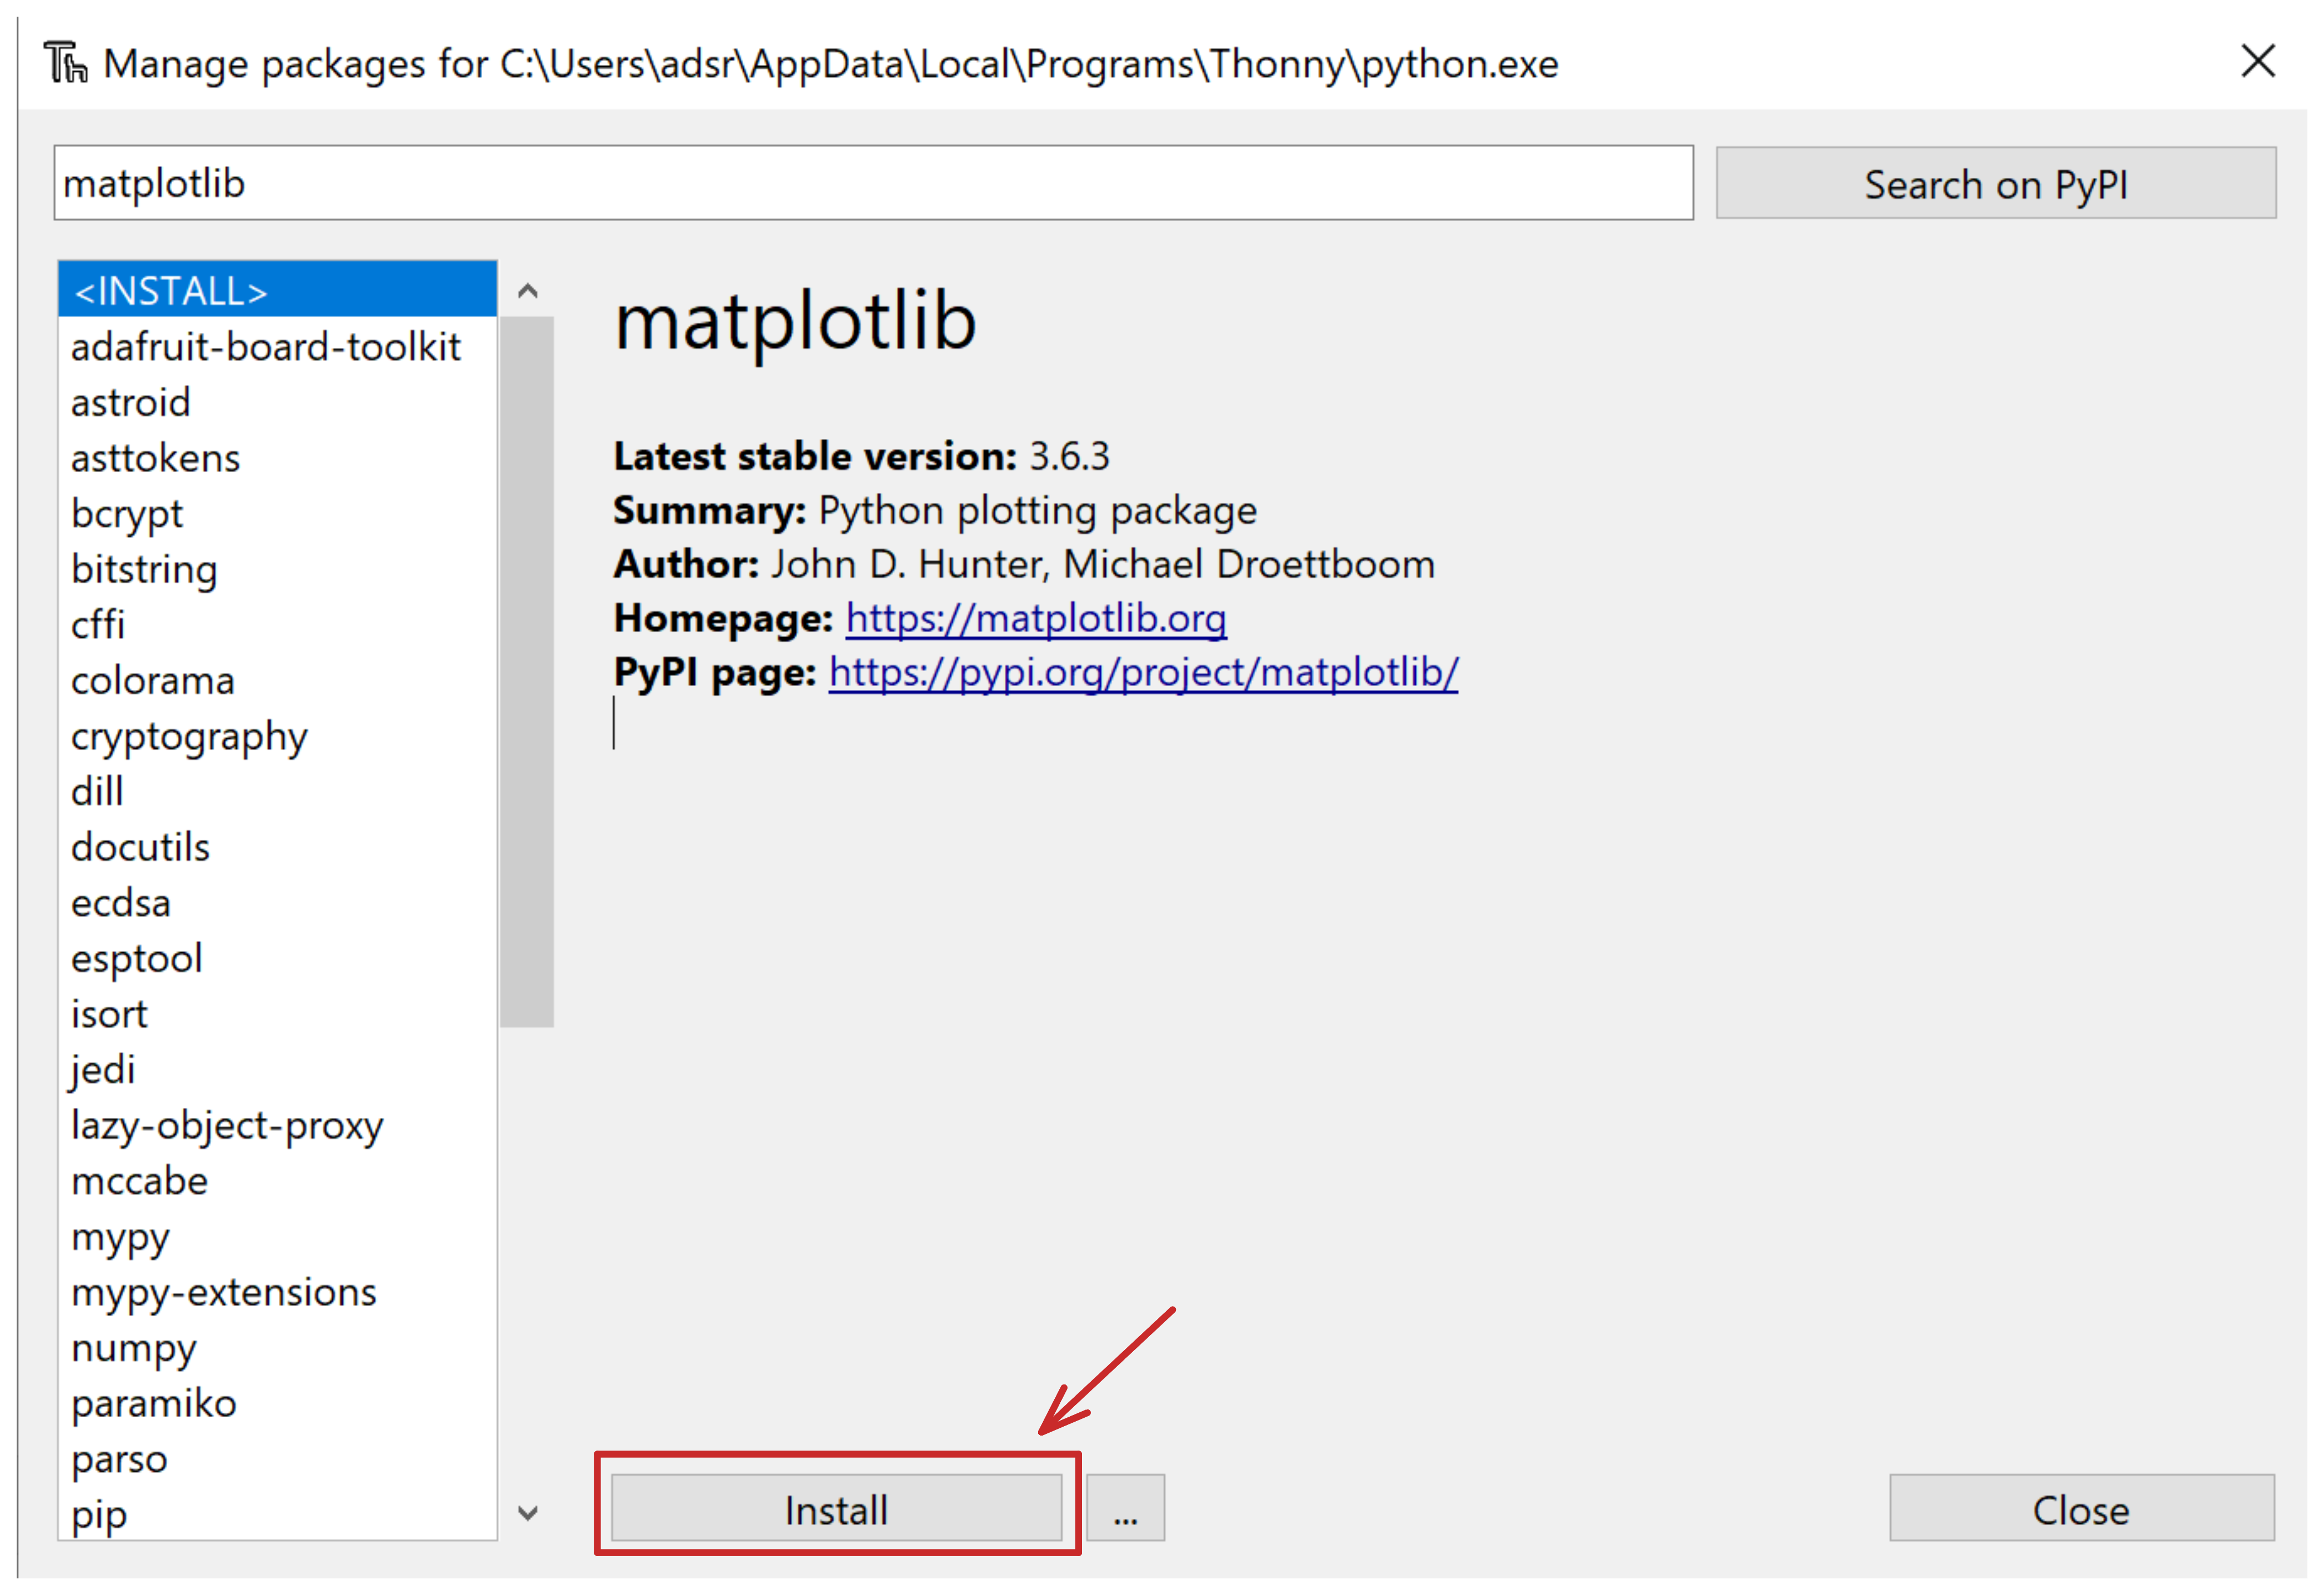
That’s it! The matplotlib library is installed.
Now, repeat these steps (Library Installation) for the following additional libraries:
numpypandasplotlydash
When all of these libraries are installed, you’re finished, and Thonny is ready to use.
If you’re curious about what we’ve just done, and what a library is, think about it like this:
- Python is a programming language, that has many built-in components.
- Anaconda is an installer, that helps bundle components that go along with Python.
- Thonny is an editor for Python: a program we use to edit our code.
- Libraries are extra components that are not built in to the language. If we want to use them, we have to install them.