Computer Skills
Microsoft Windows
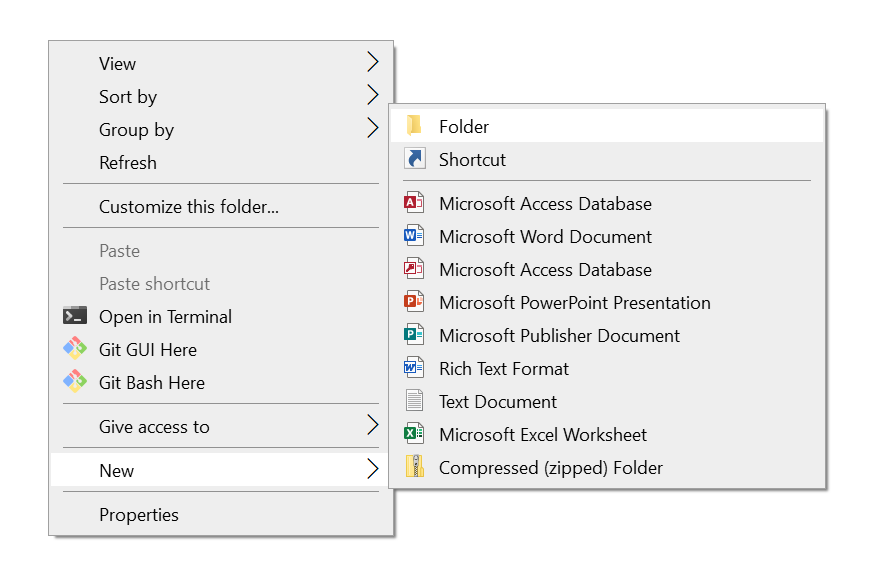
Make a folder:
- In the Explorer, right click on empty space.
- In the menu, click
New - In the submenu, click
Folder
- In the menu, click
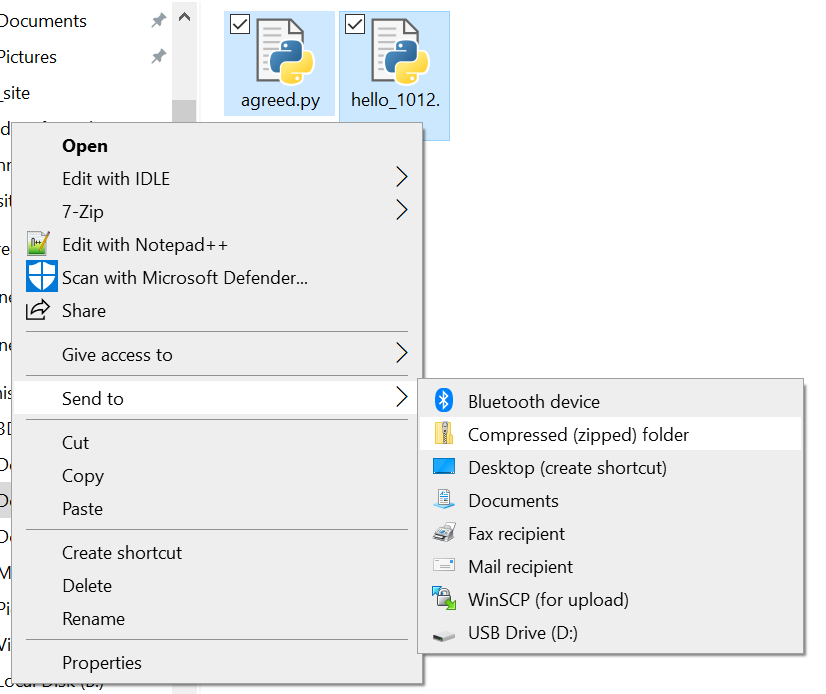
Make a zip file:
- Select the all of the files you want to add to the zip file
- Then, right click on one of the files
- In the menu,
Send To - In the submenu, click
Compressed (zipped) folder
- In the menu,
- Rename the zip file however you choose:

Apple MacOS
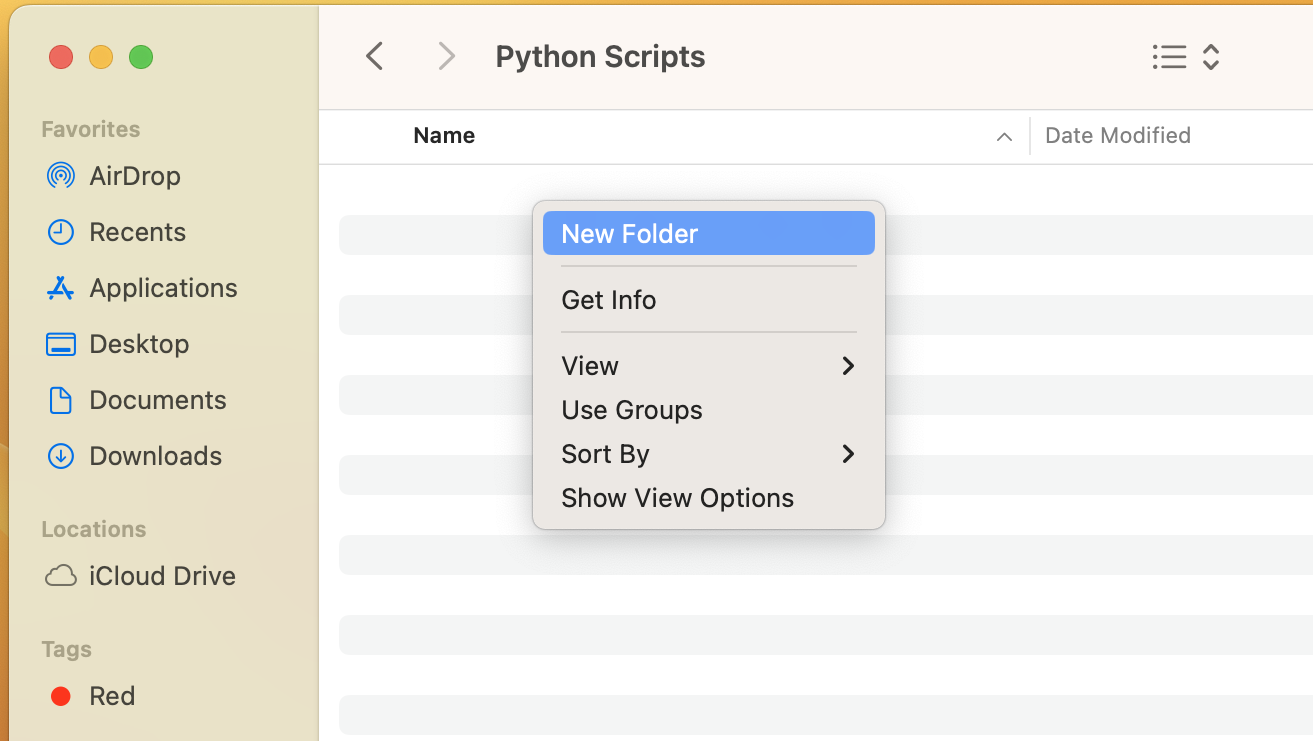
Make a folder:
- In the Folder, two-finger click (or
ctrl+click) on empty space.- In the menu, click
New Folder
- In the menu, click
Make a zip file:
- Select the all of the files you want to add to the zip file
- Then, two-finger (or
ctrl+) click one of the files- In the menu,
Compress
- In the menu,

- Select the zip file you created, two-finger/
ctrlclick, and selectRename
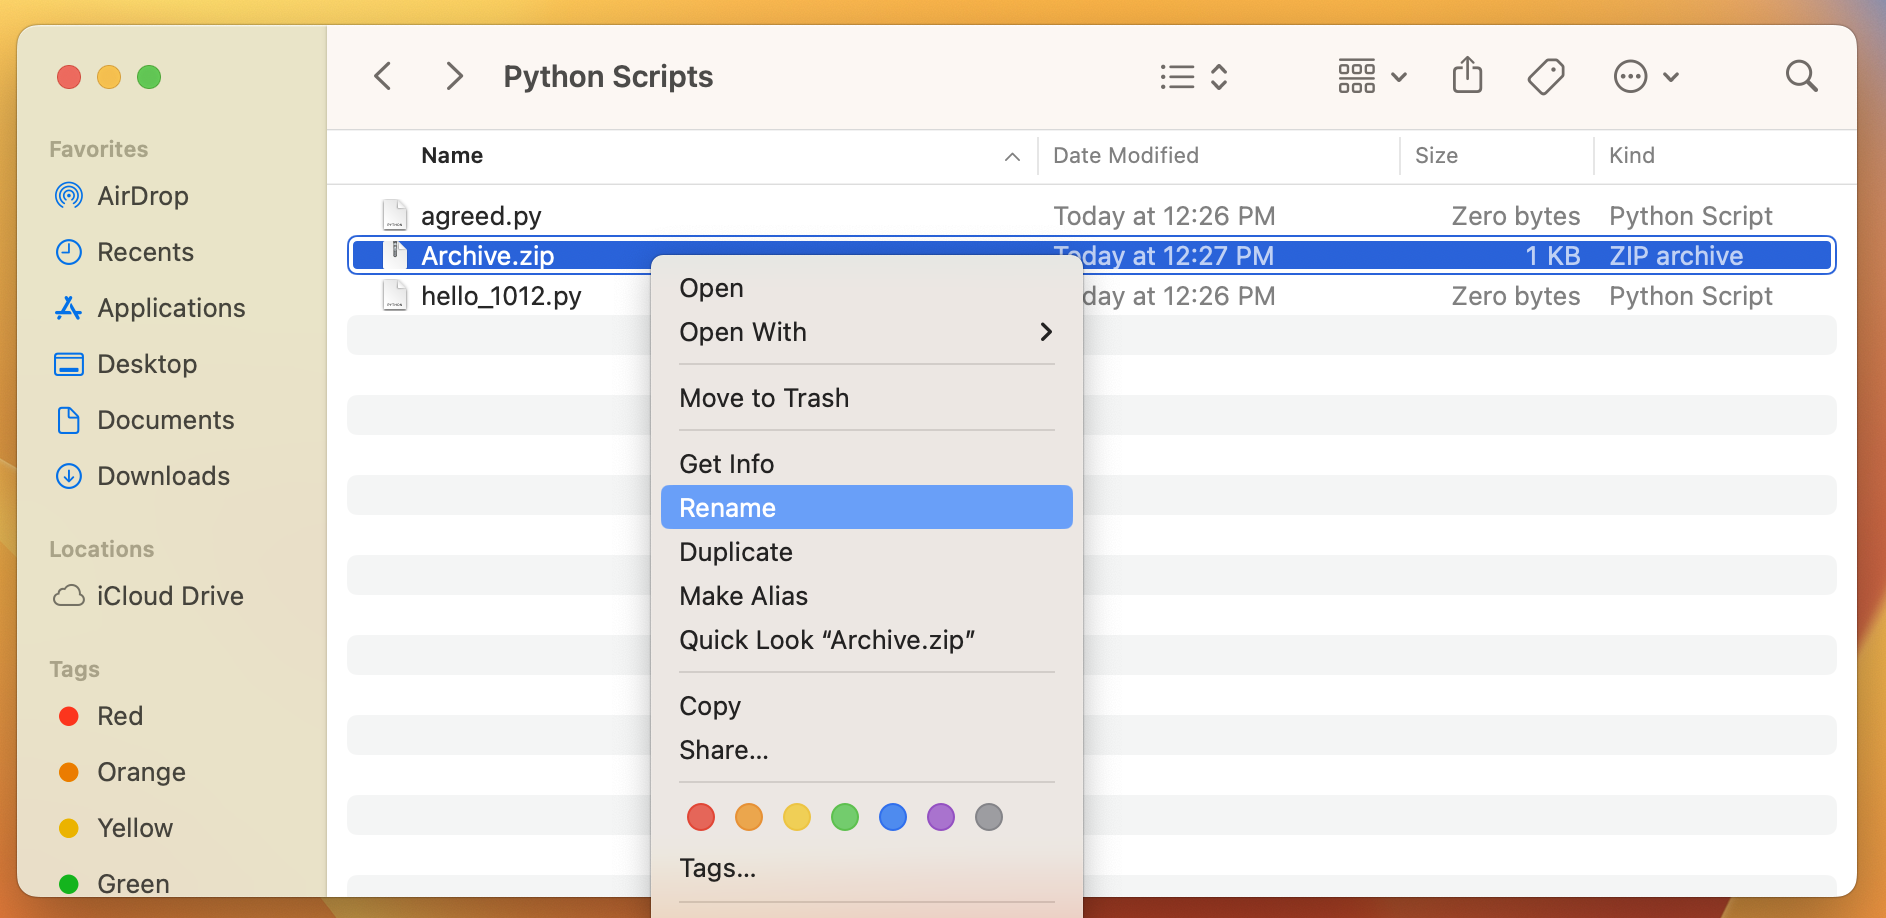
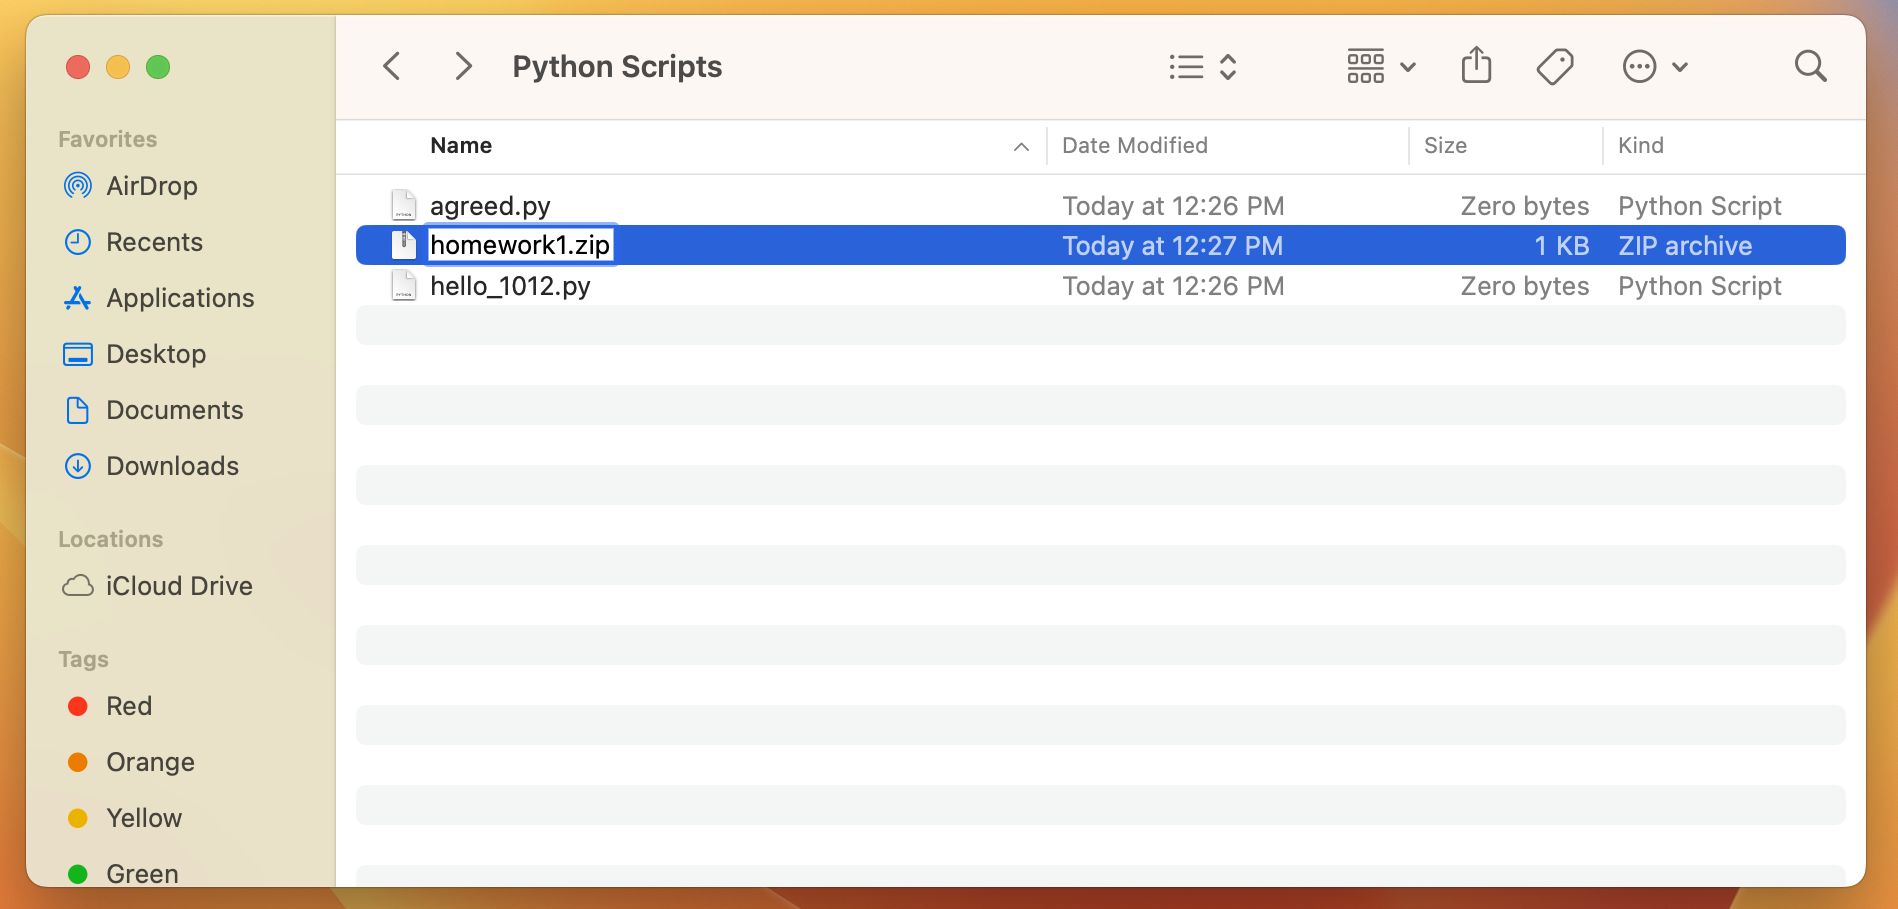
- Rename the zip file however you choose:
I’m Using A Different Operating System And Don’t Know How To Create Folders or Zip Files
Please speak with your professor or a TA.