Video: Useful info about files.
Video: Useful info about editing.
Useful screenshots and step-by-step instructions for:
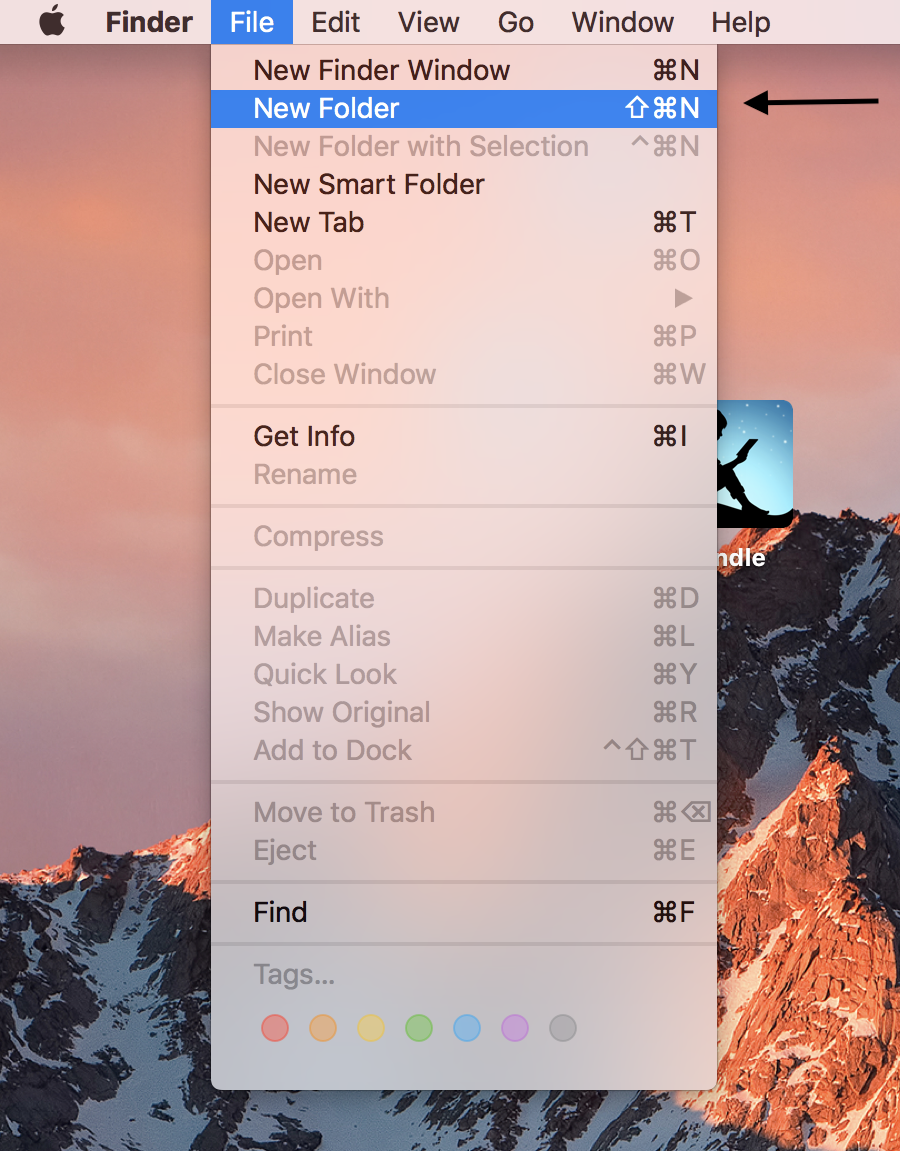
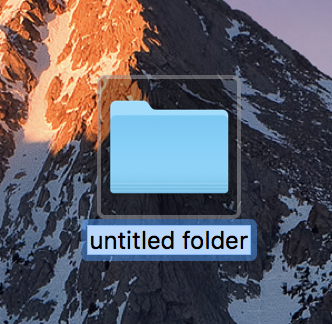
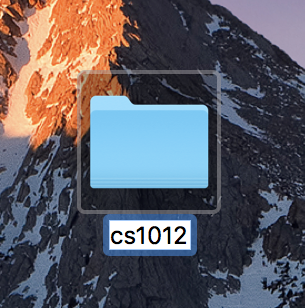
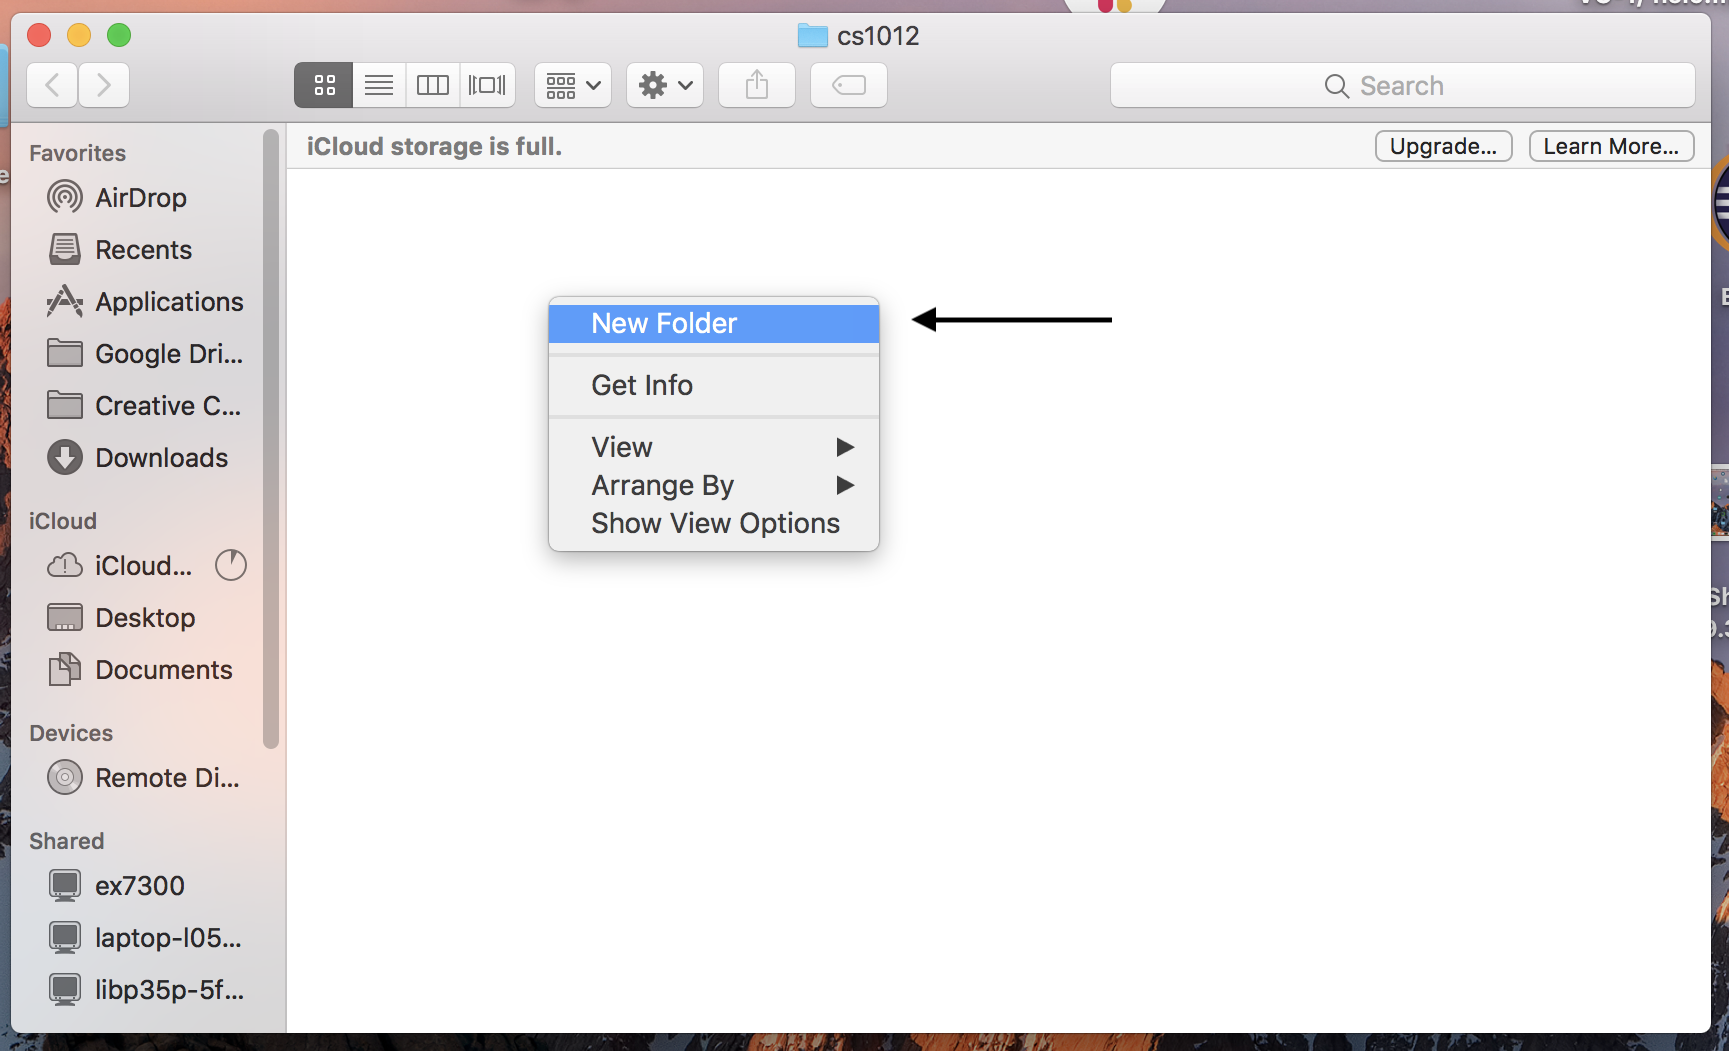
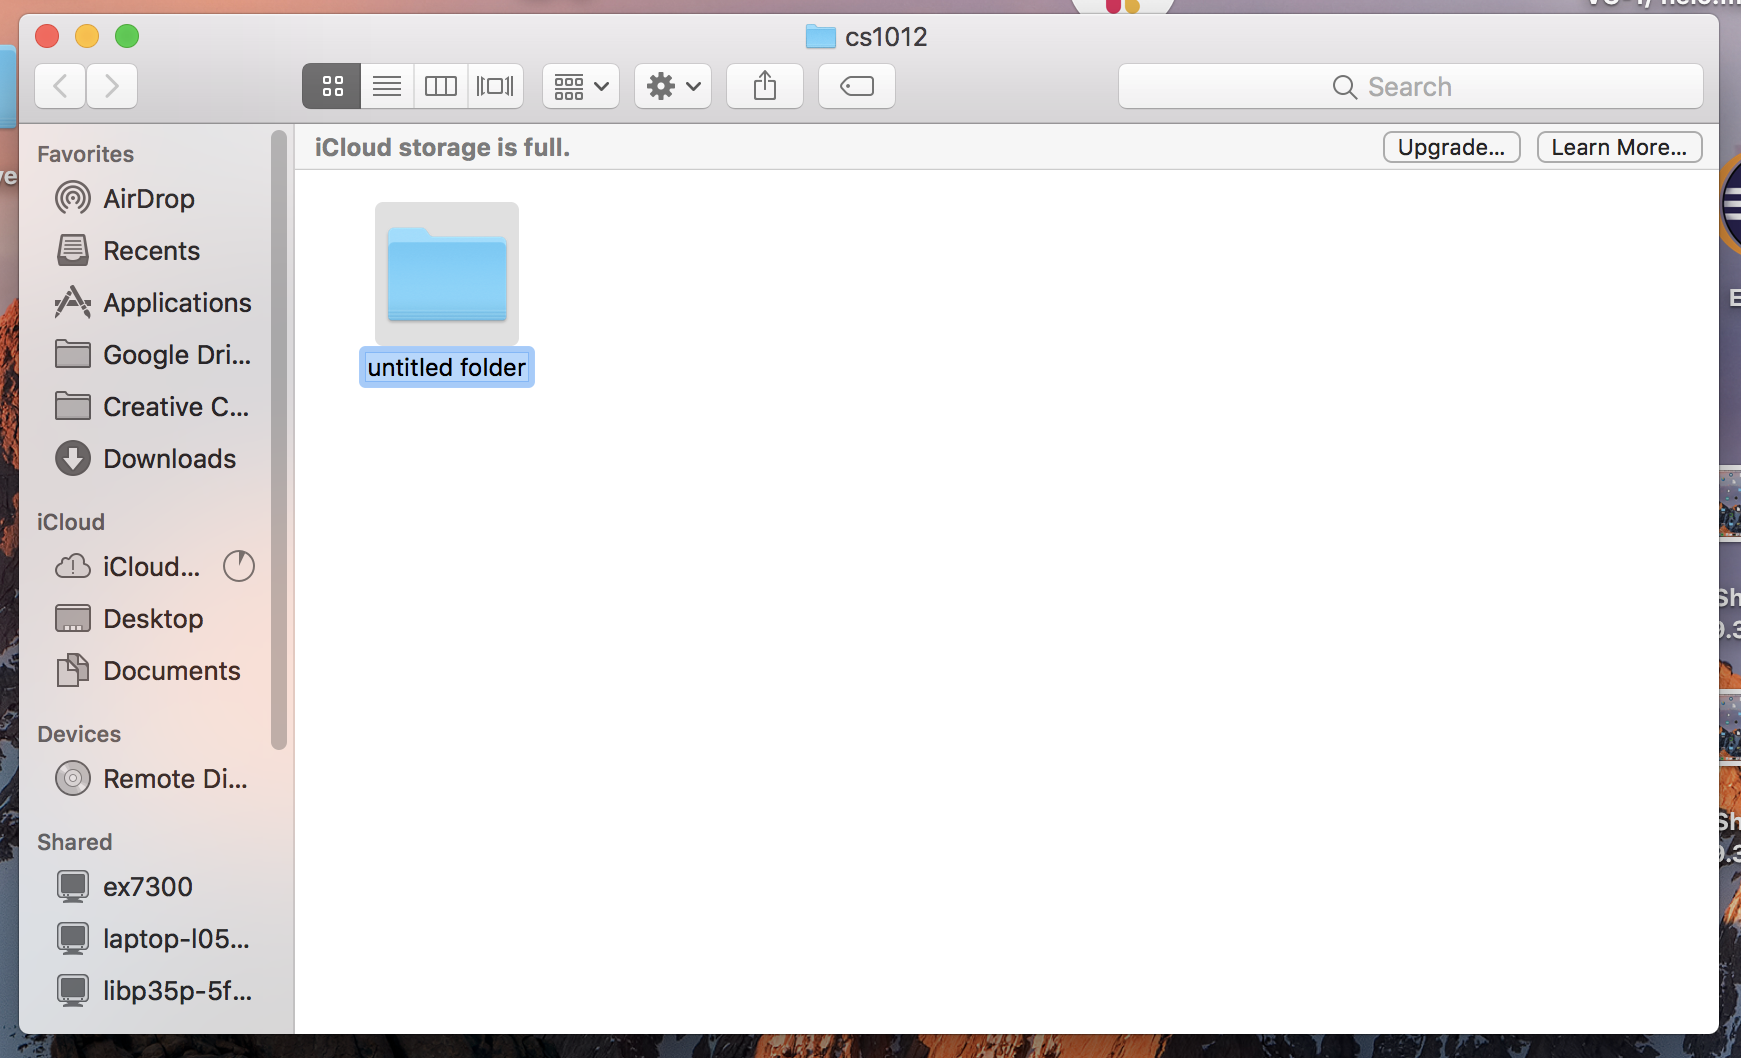
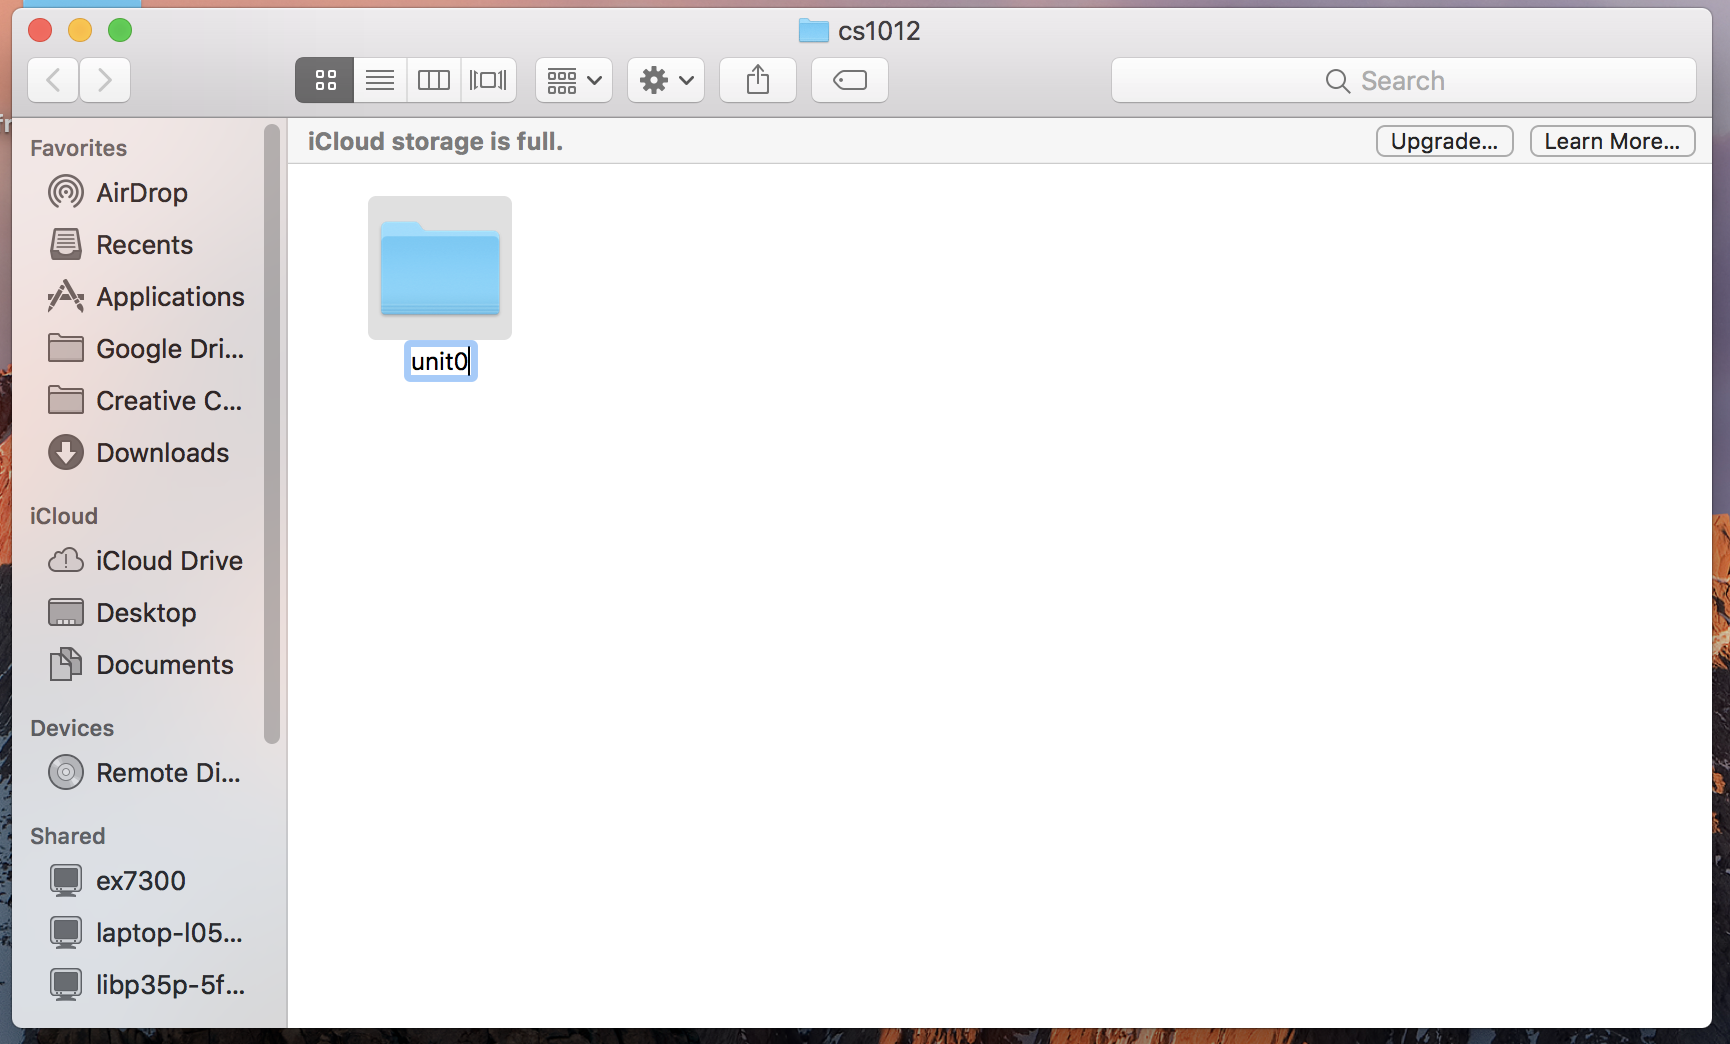
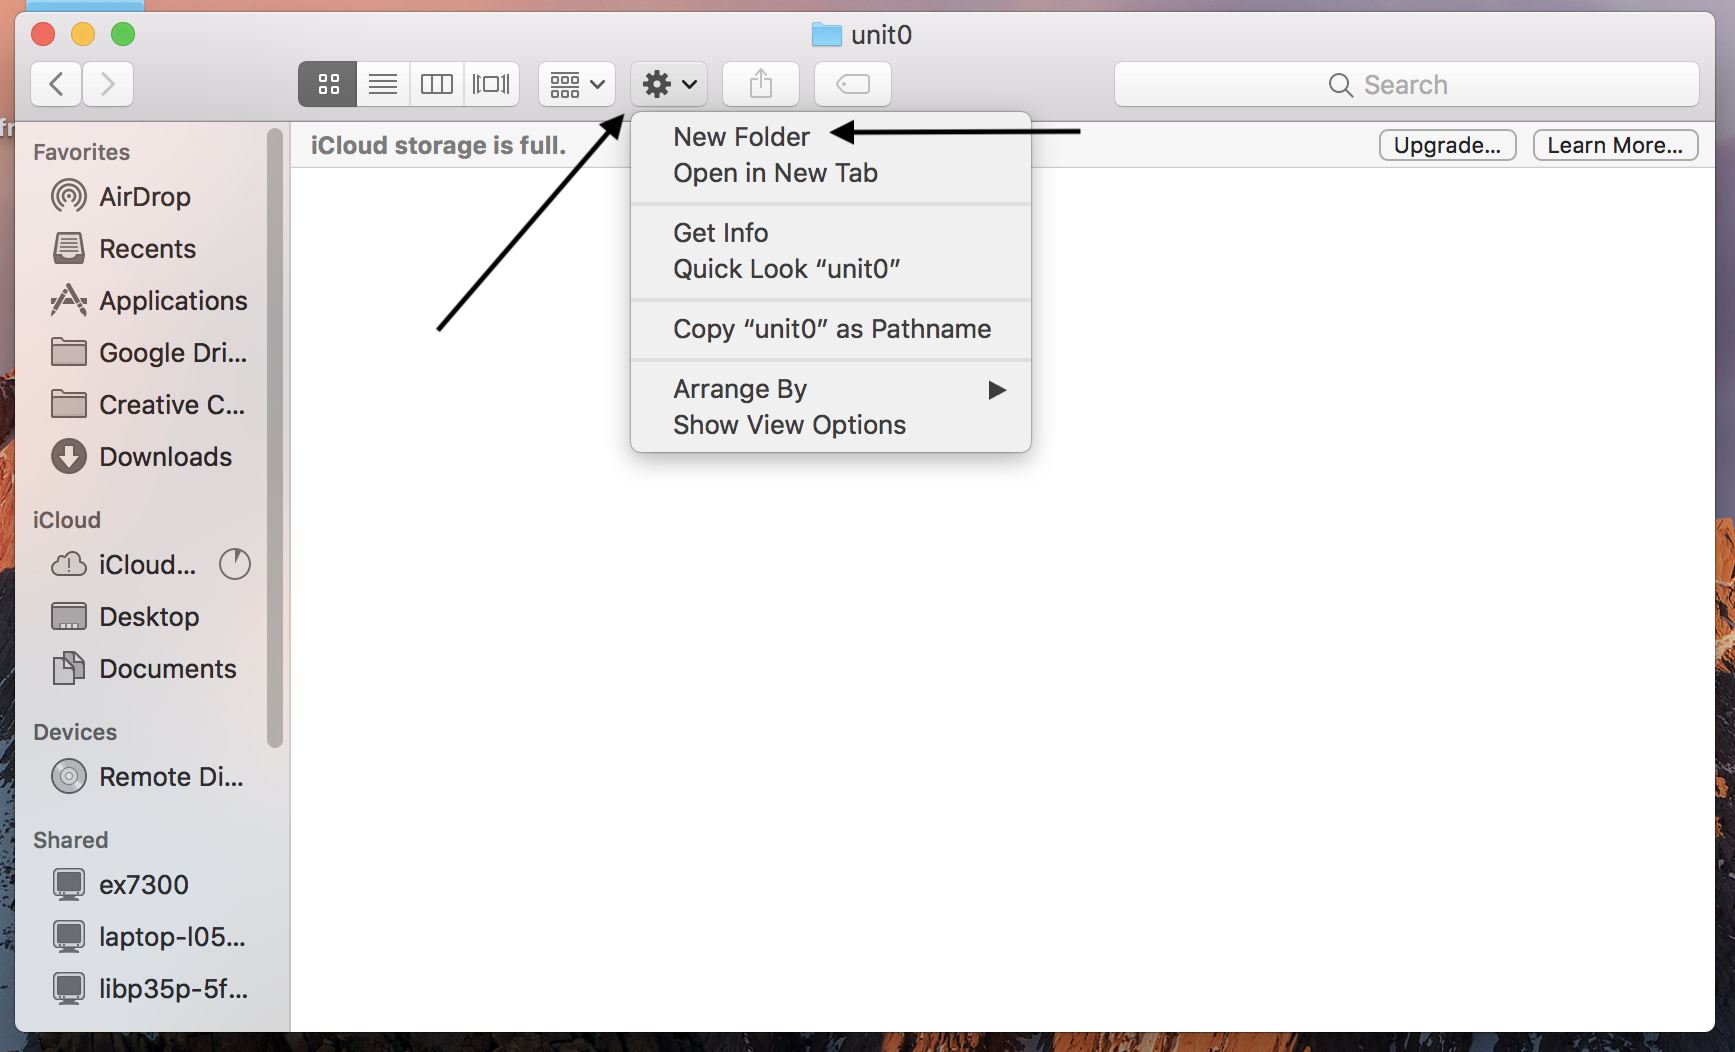
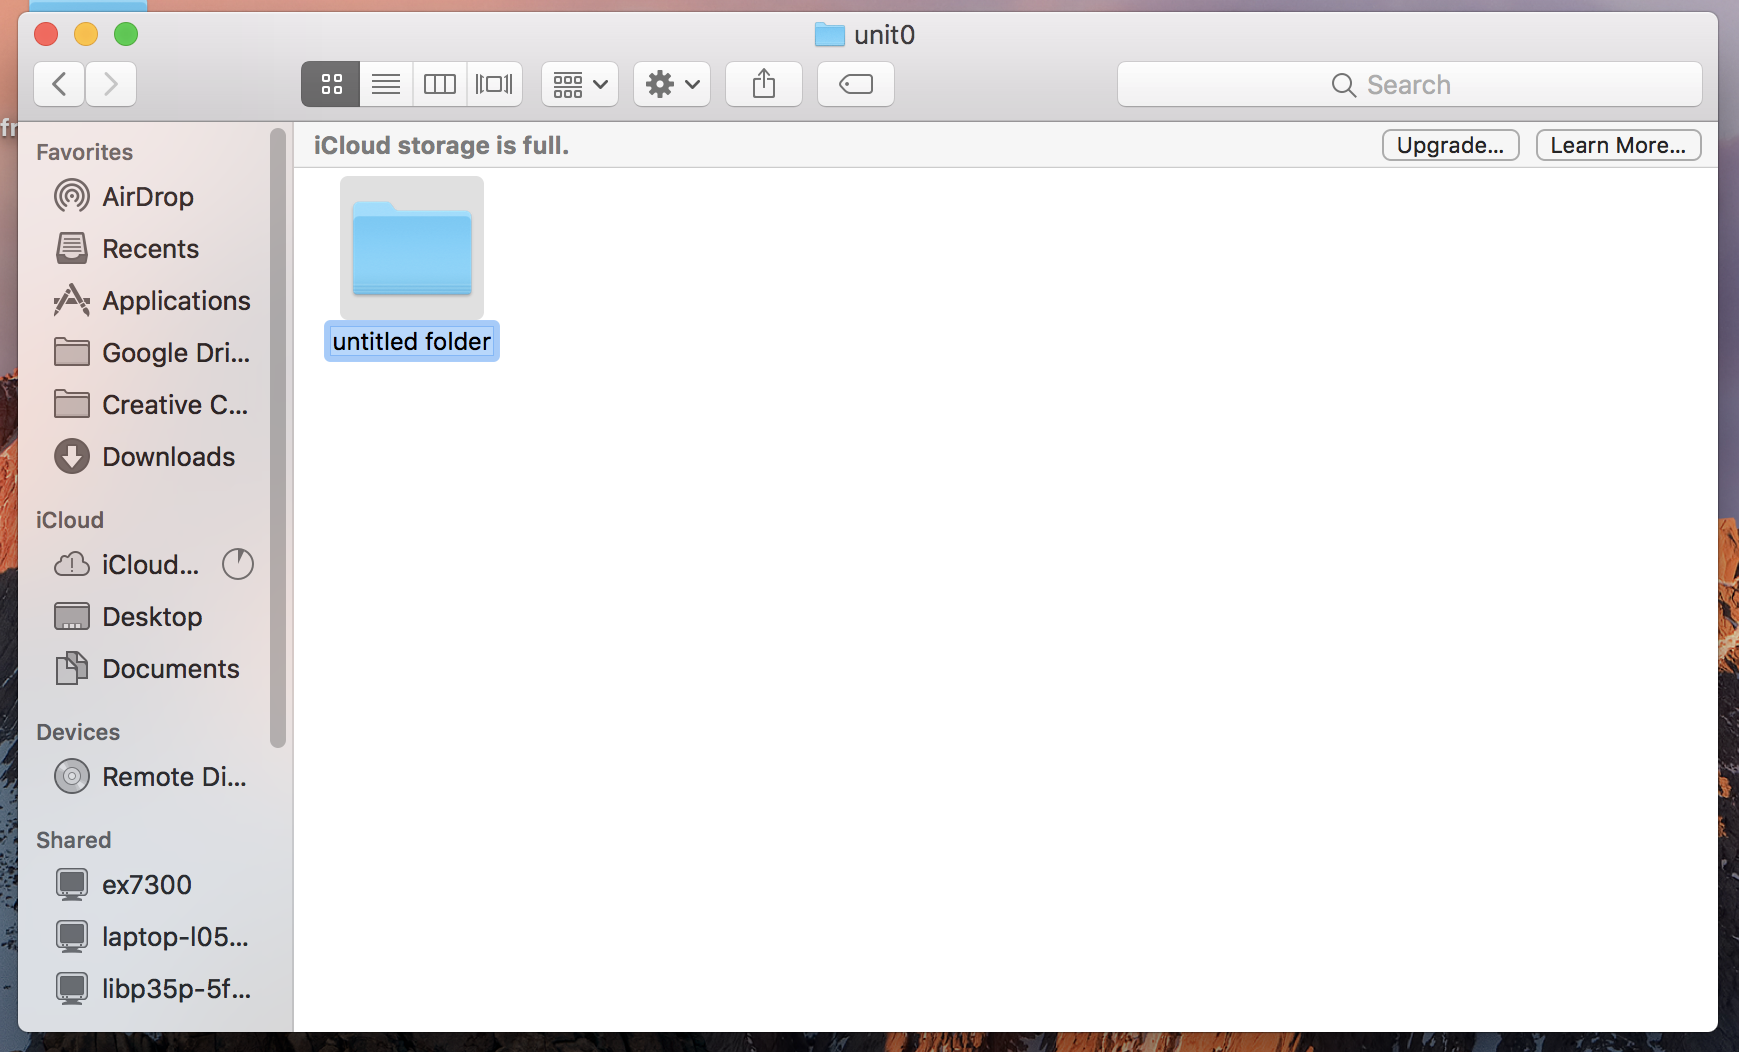
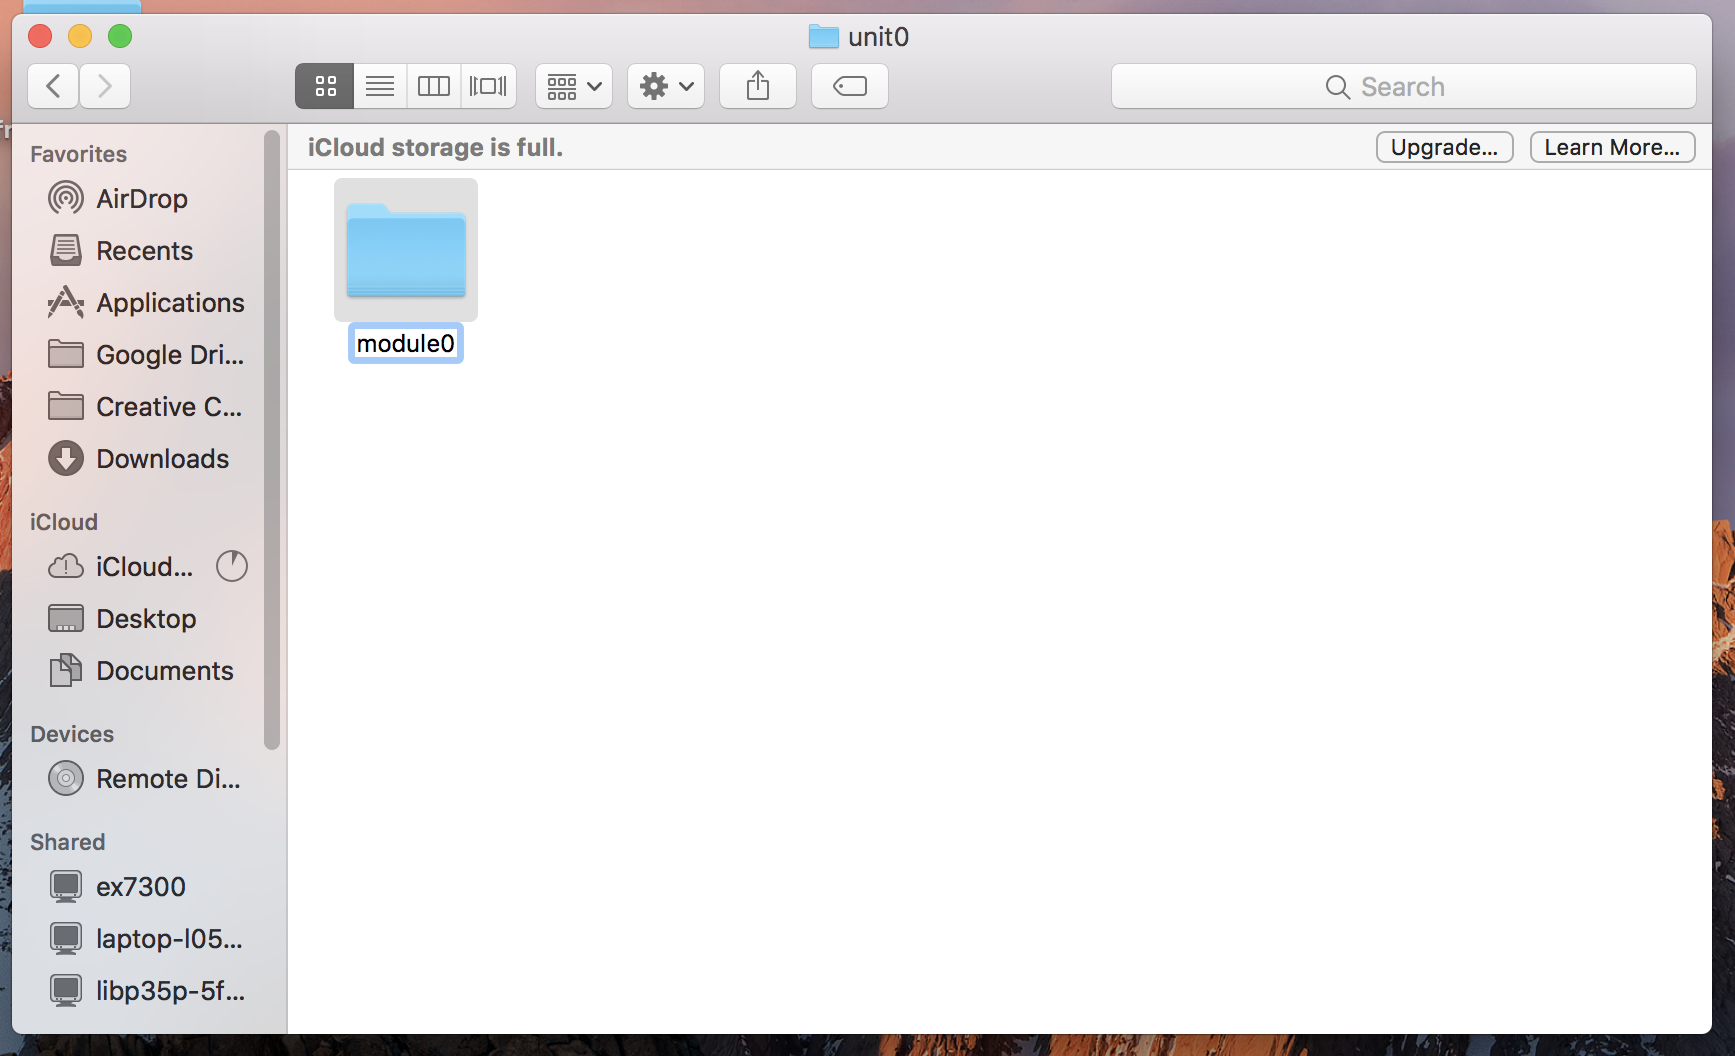
Mac Users: creating folders
Now you have created three folders, on your Desktop and inside each other. All of these different ways to create folders and work easily. You can also click and drag folders to move them inside other folders if you need to.
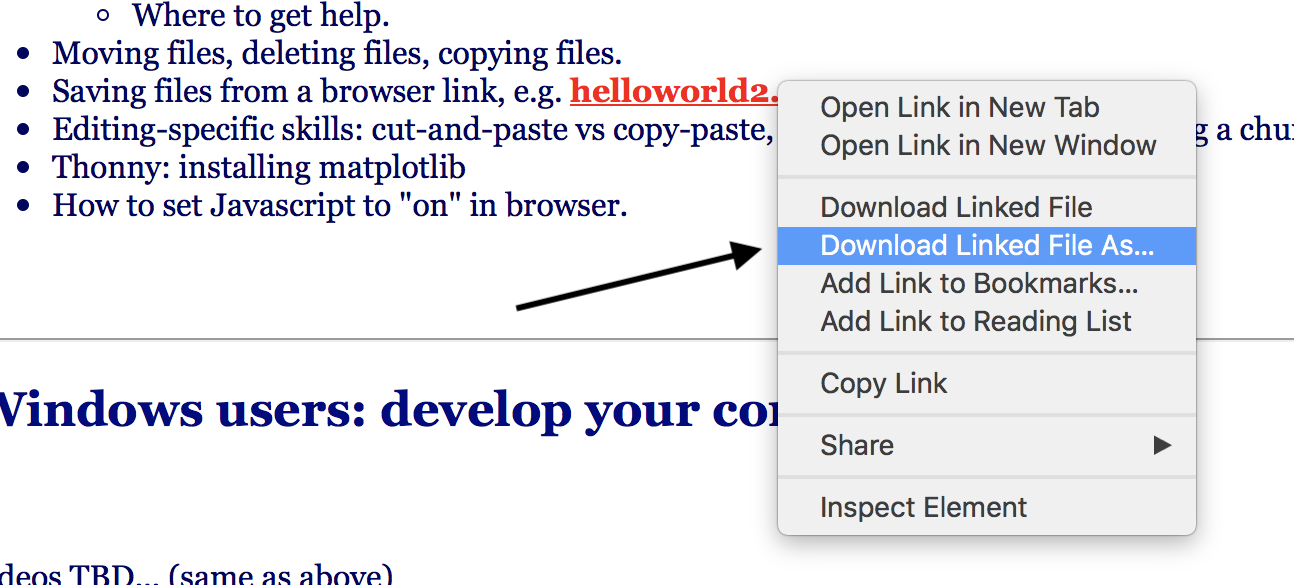
Mac Users: file downloads
- Step 1: Here is a link to a file that needs to be downloaded to
the computer. (Note: this is an image we're showing, so don't
click. It is intended to show what it would look like on
your computer.)

- Step 2: Right click on the link and choose Download Linked File As...
- Step 3: This will provide a box where you can name the file and
choose where you would like to save it.
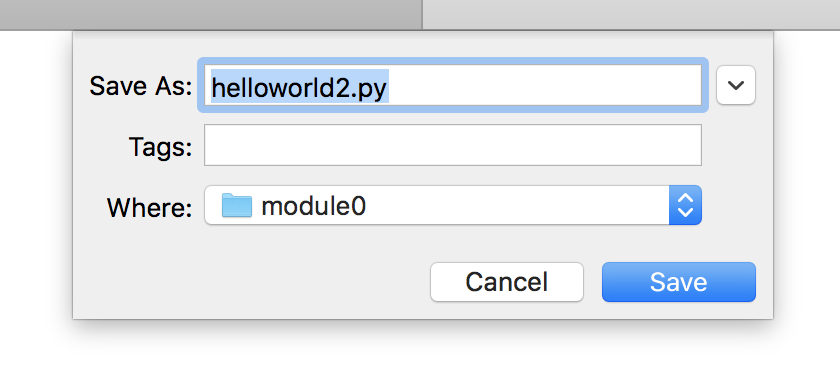
-
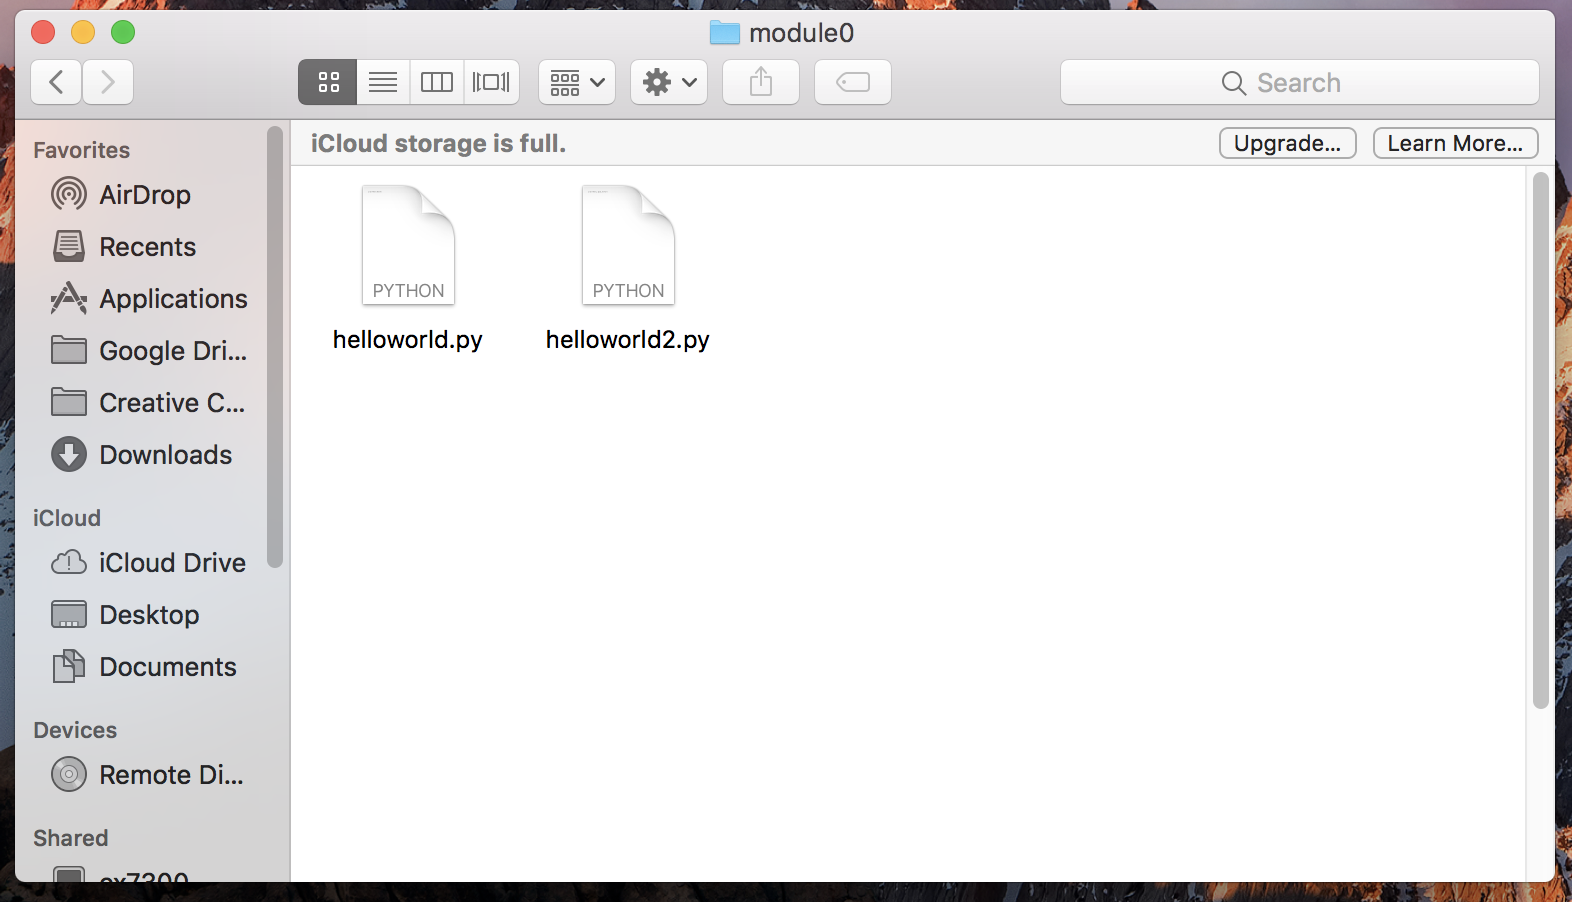
Step 4: Here you can see the file saved in the location we chose:
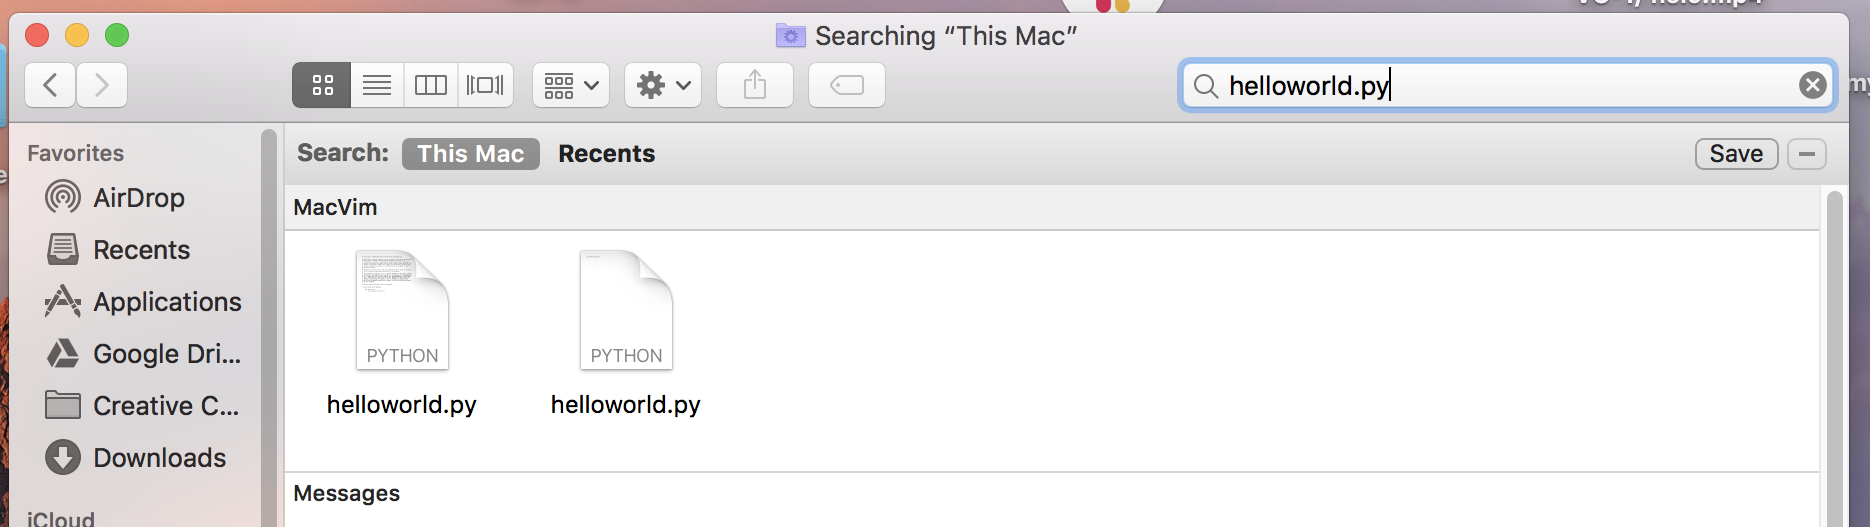
Mac Users: find a file
- Step 1:
- Step 2:
- Step 3:
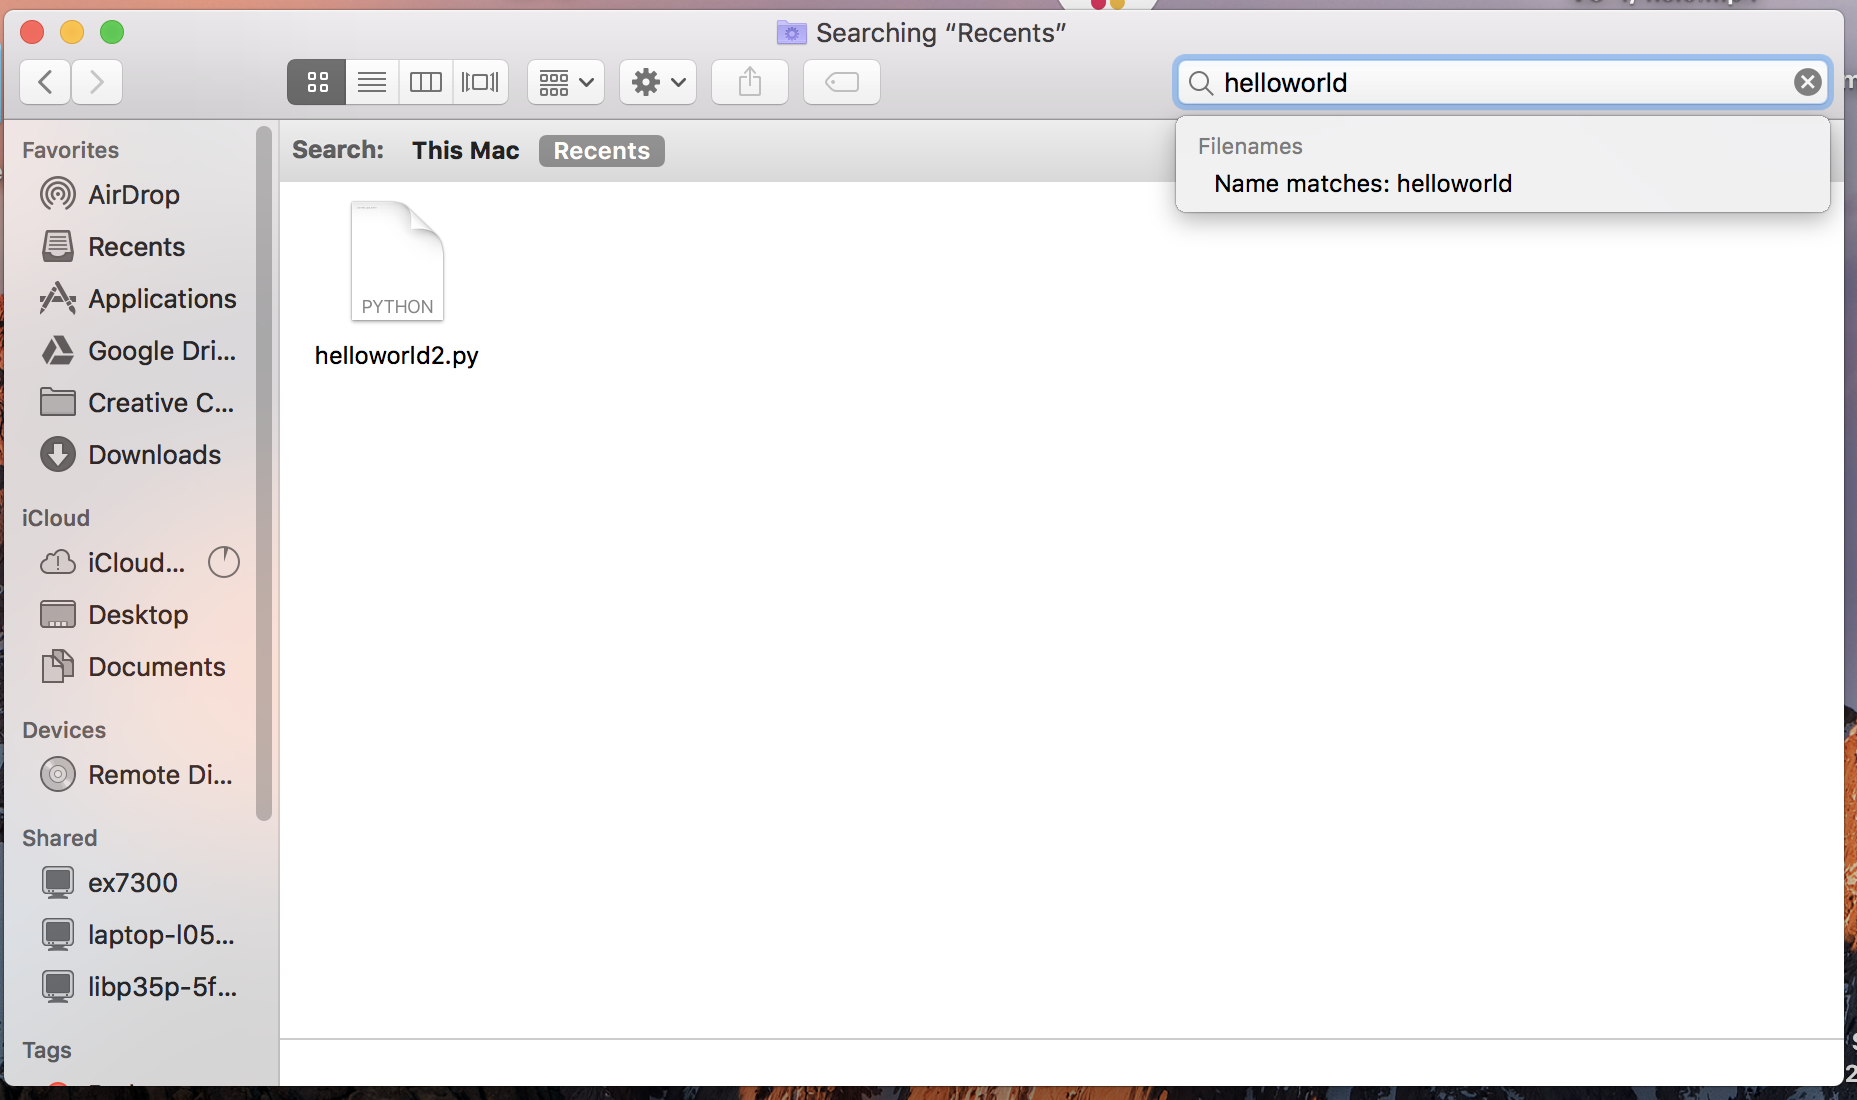
- Step 4:
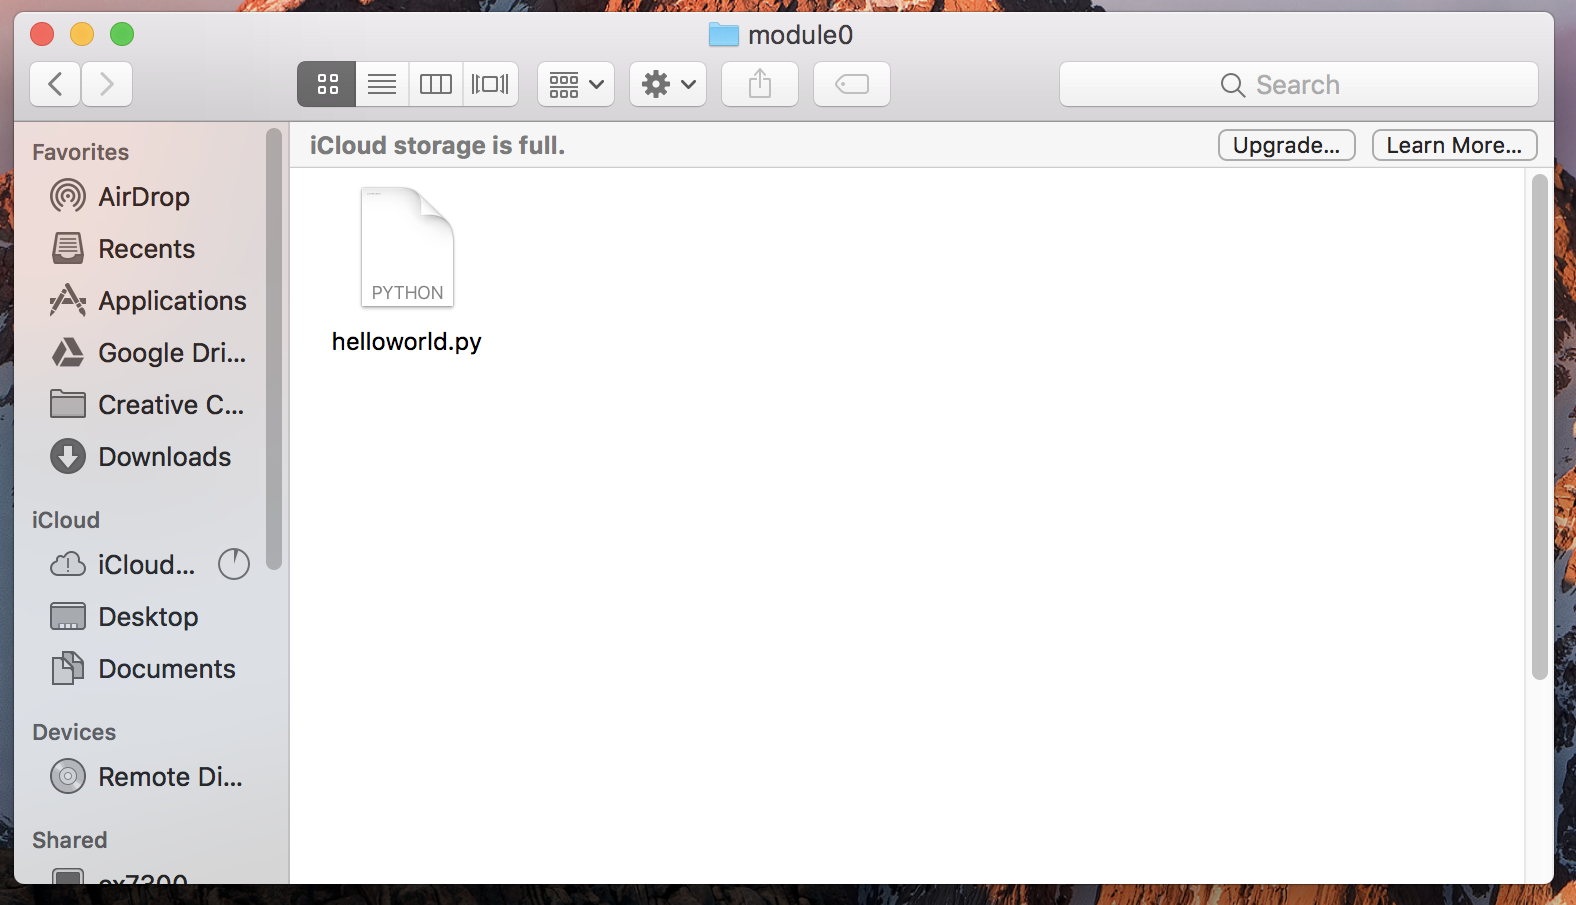
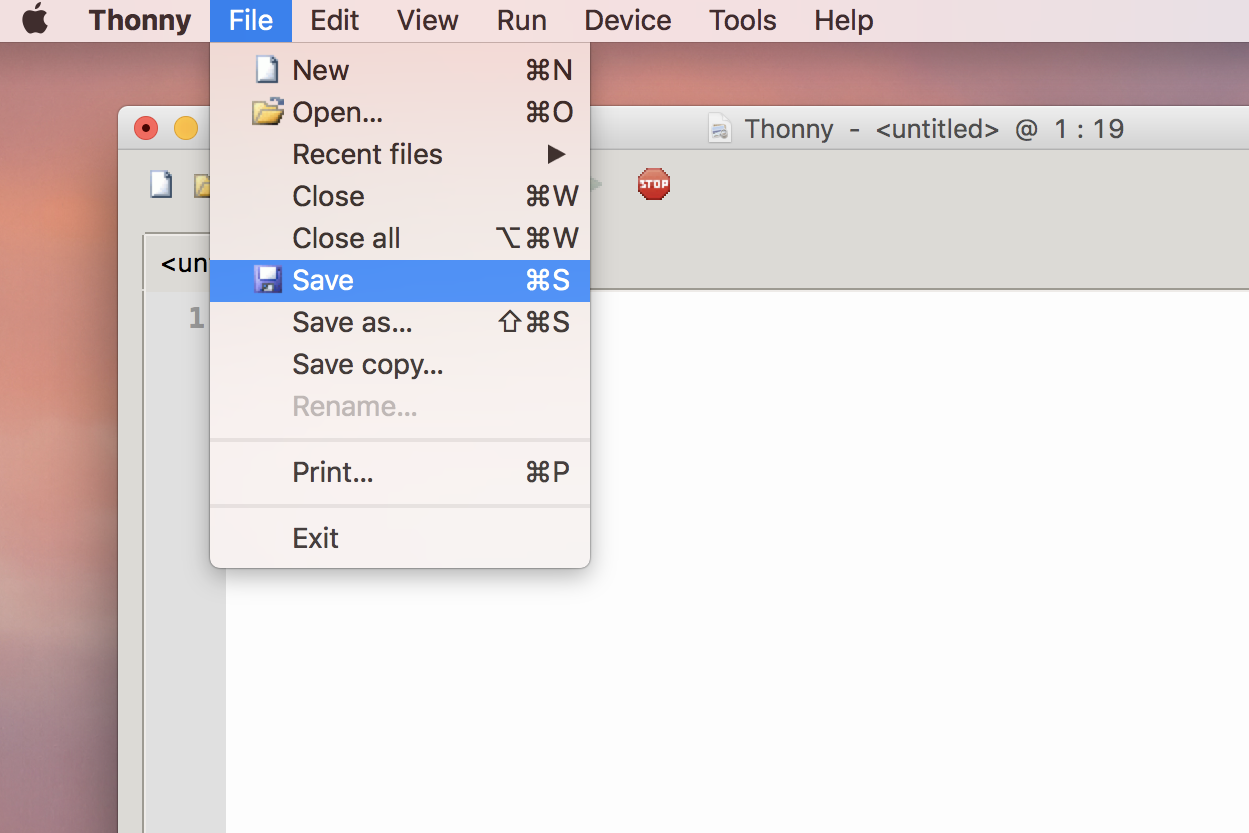
Mac Users: save a file
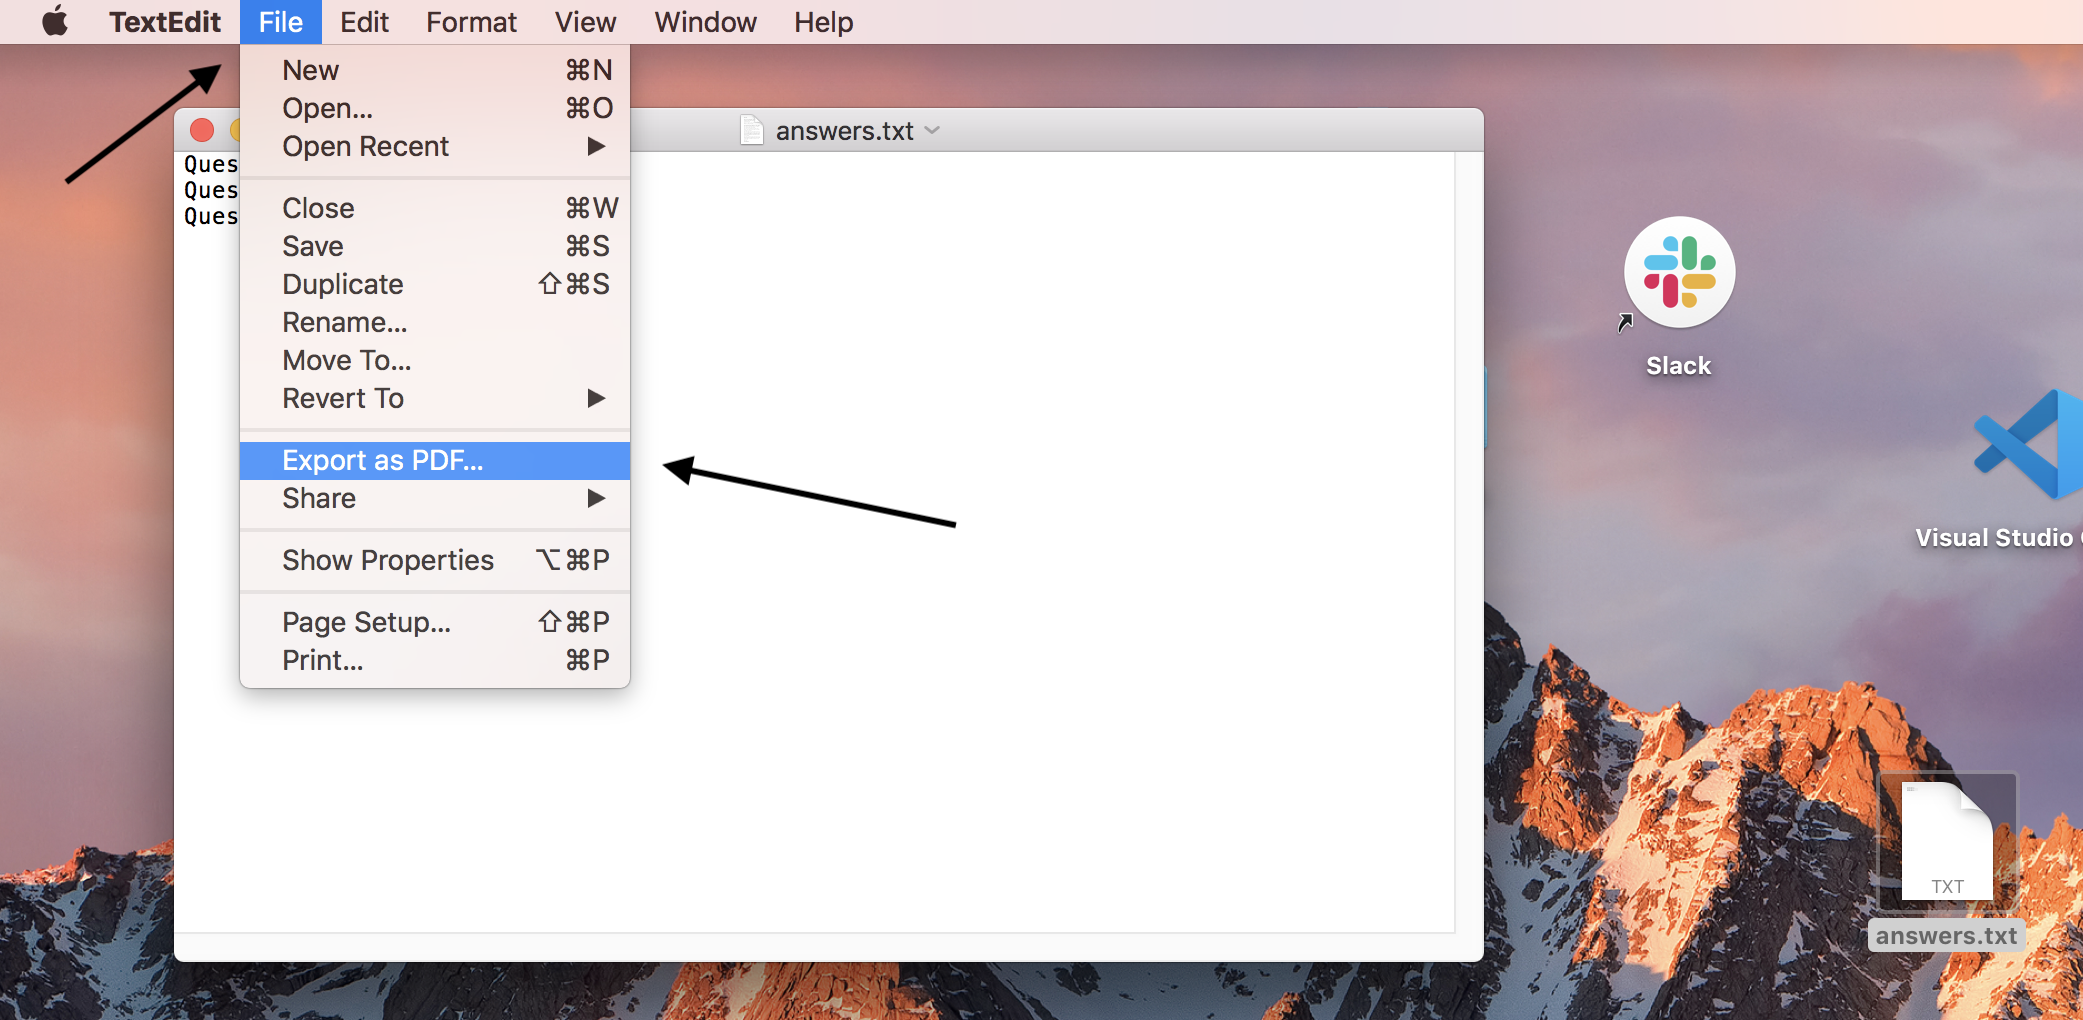
- Step 1: When you are ready to save a file you made for the first
time you can find a save option under the File option in the top
right.
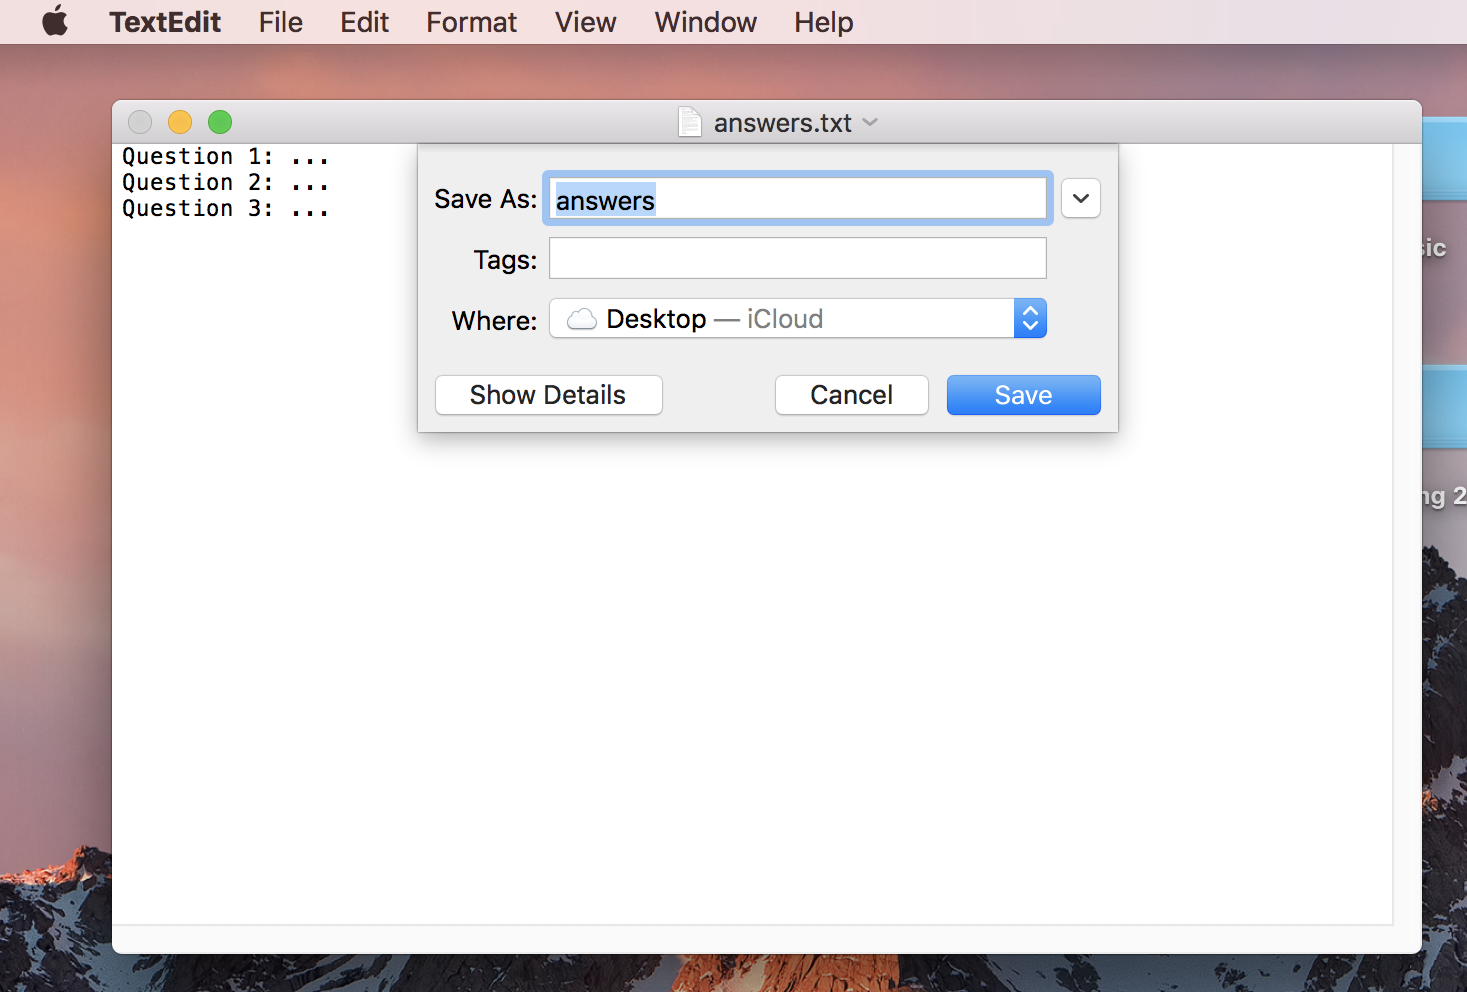
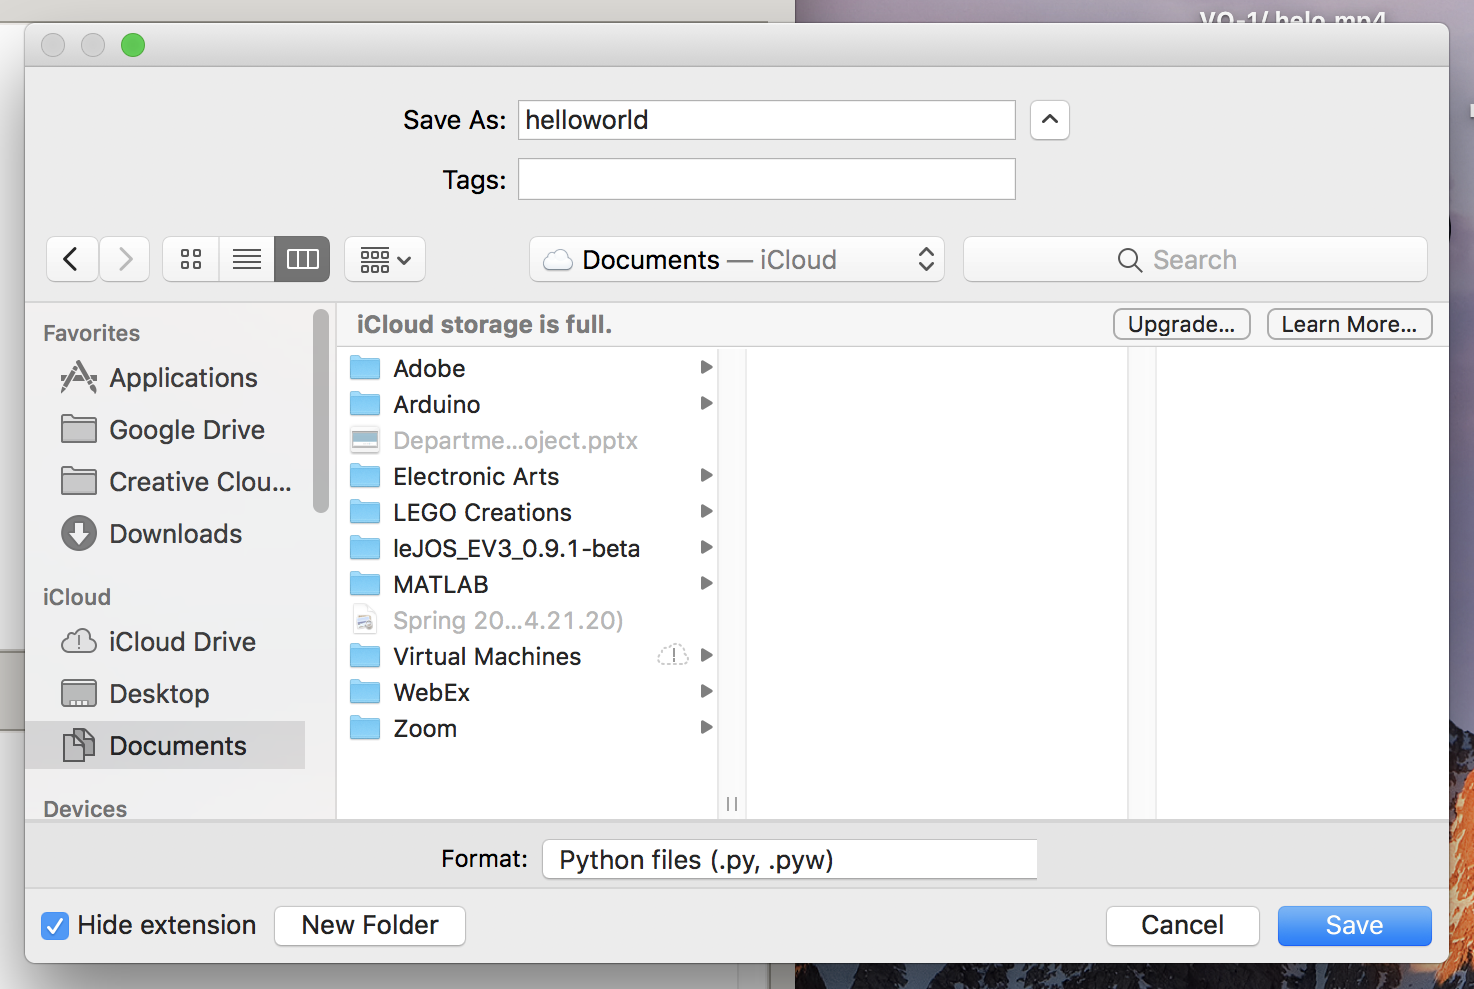
- Step 2: This will open up an option where you can choose the
location of your file as well as the name.
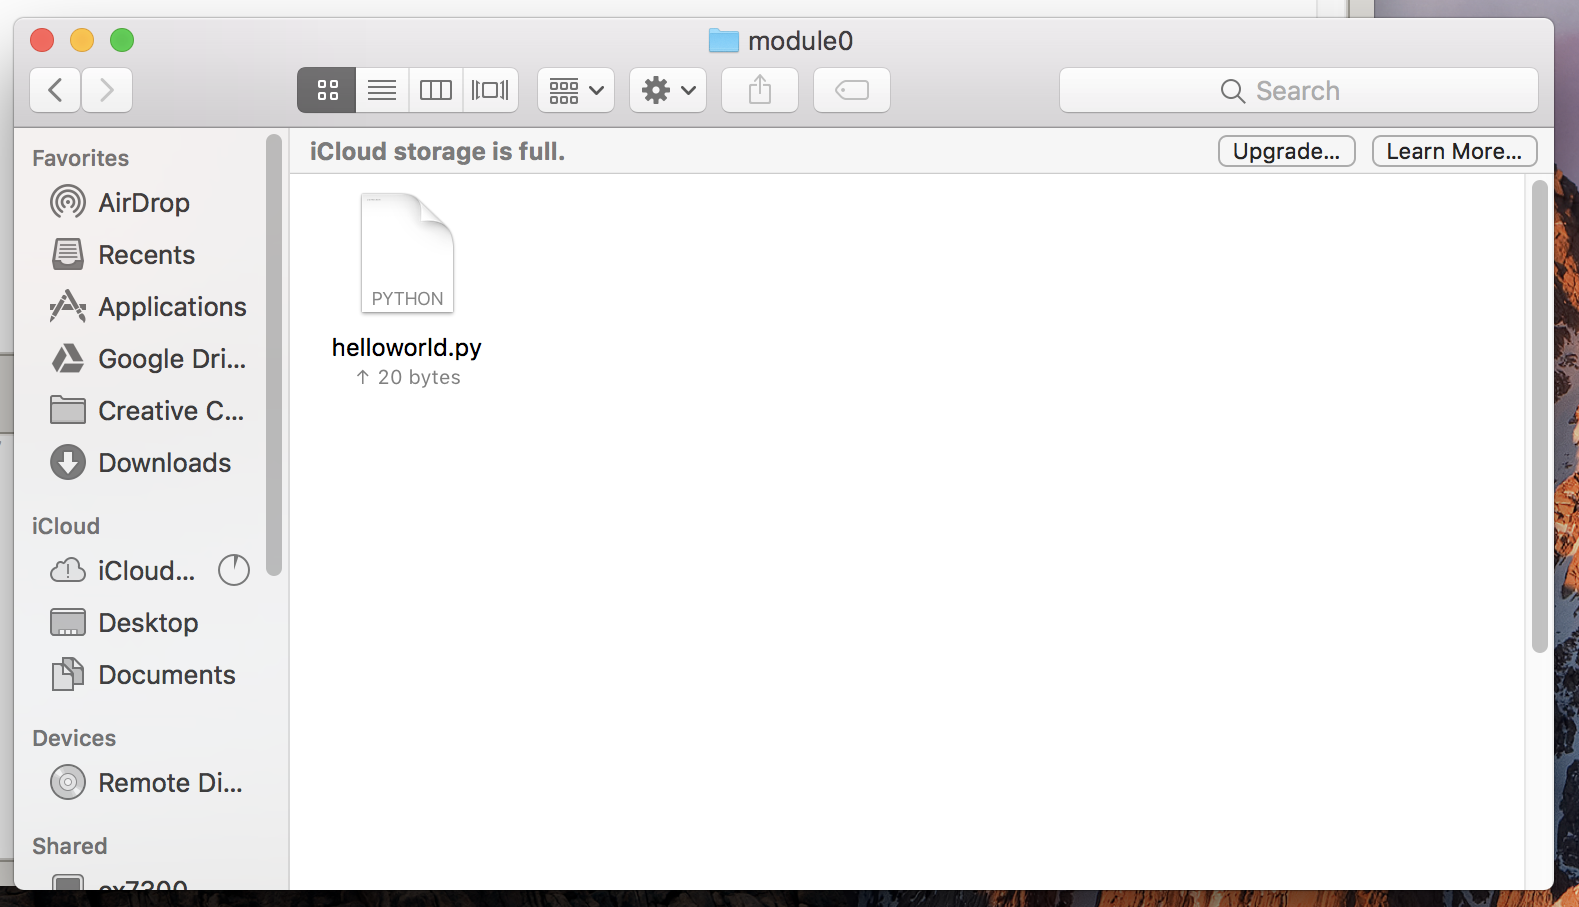
- Step 3: Now when we open the previously empty folder where I
saved this file you can see it there and you can open it and edit it
from this folder.
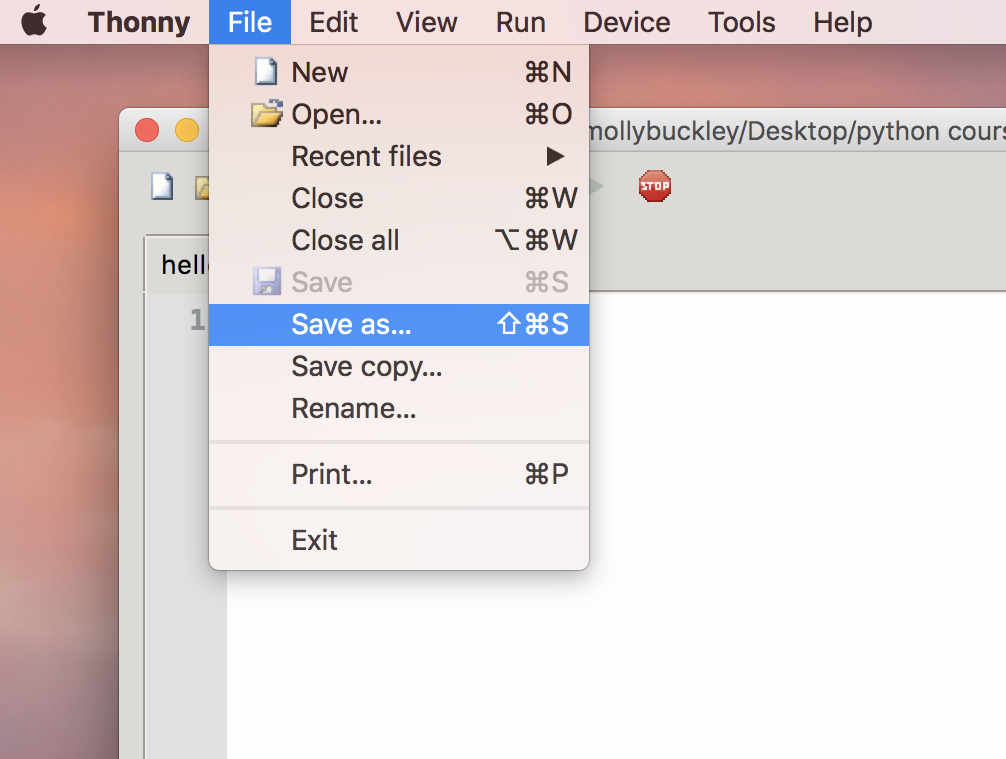
- Step 4: When you open that same file you will also see a Save As option, this lets you make a new version of the file and put it somewhere else and give it a new name, but when you edit this new file it will not edit the old one so if you want to move a file it's better to click and drag is somewhere new
Mac Users: Make a pdf
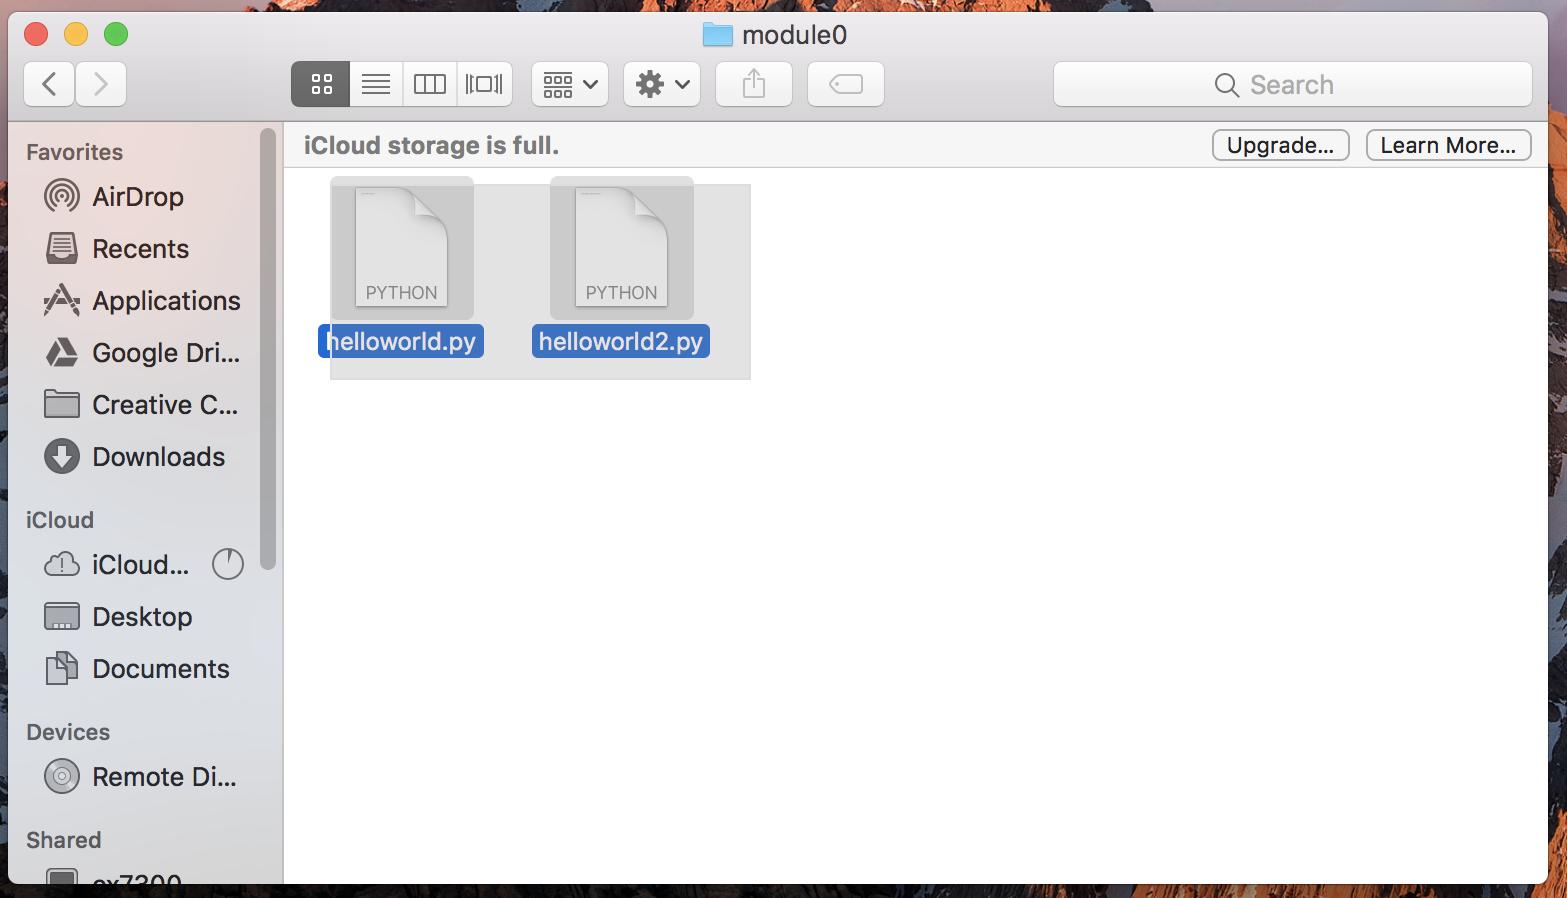
Mac Users: Make a zip
- Step 1: To make a zip file from a group of files you first need
to highlight all the files you want.
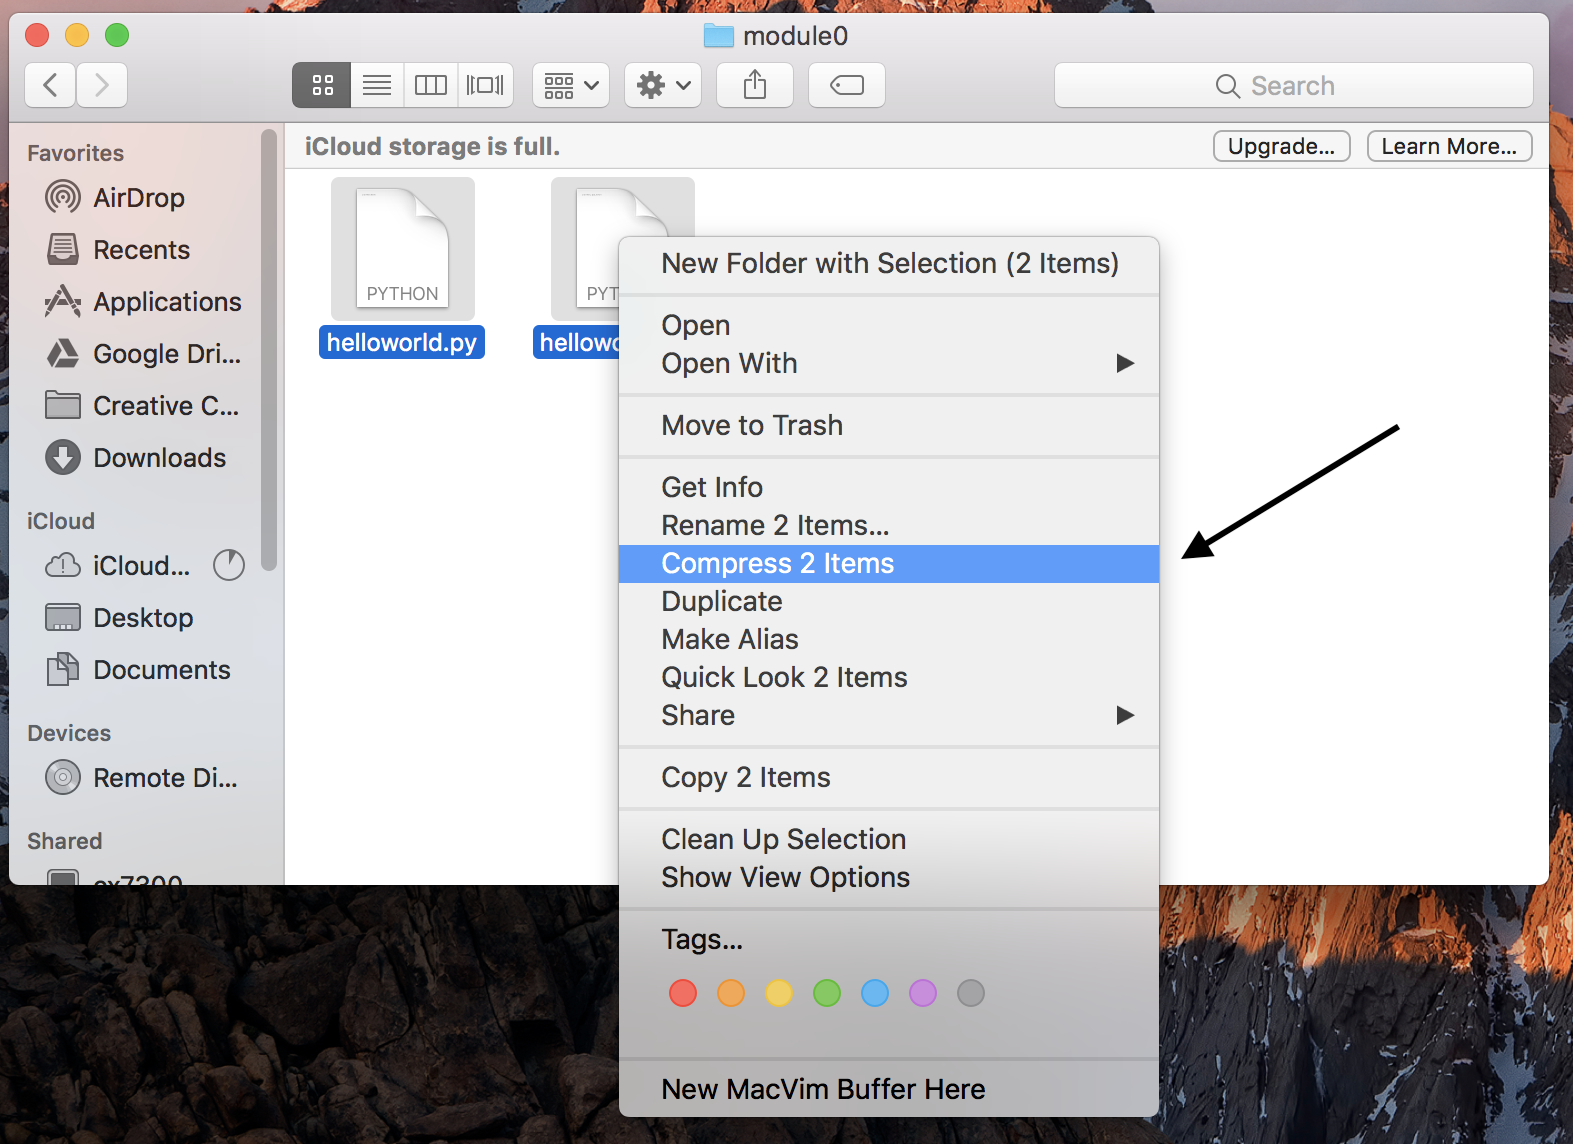
- Step 2: Then right click on the group of files and select
Compress Items.
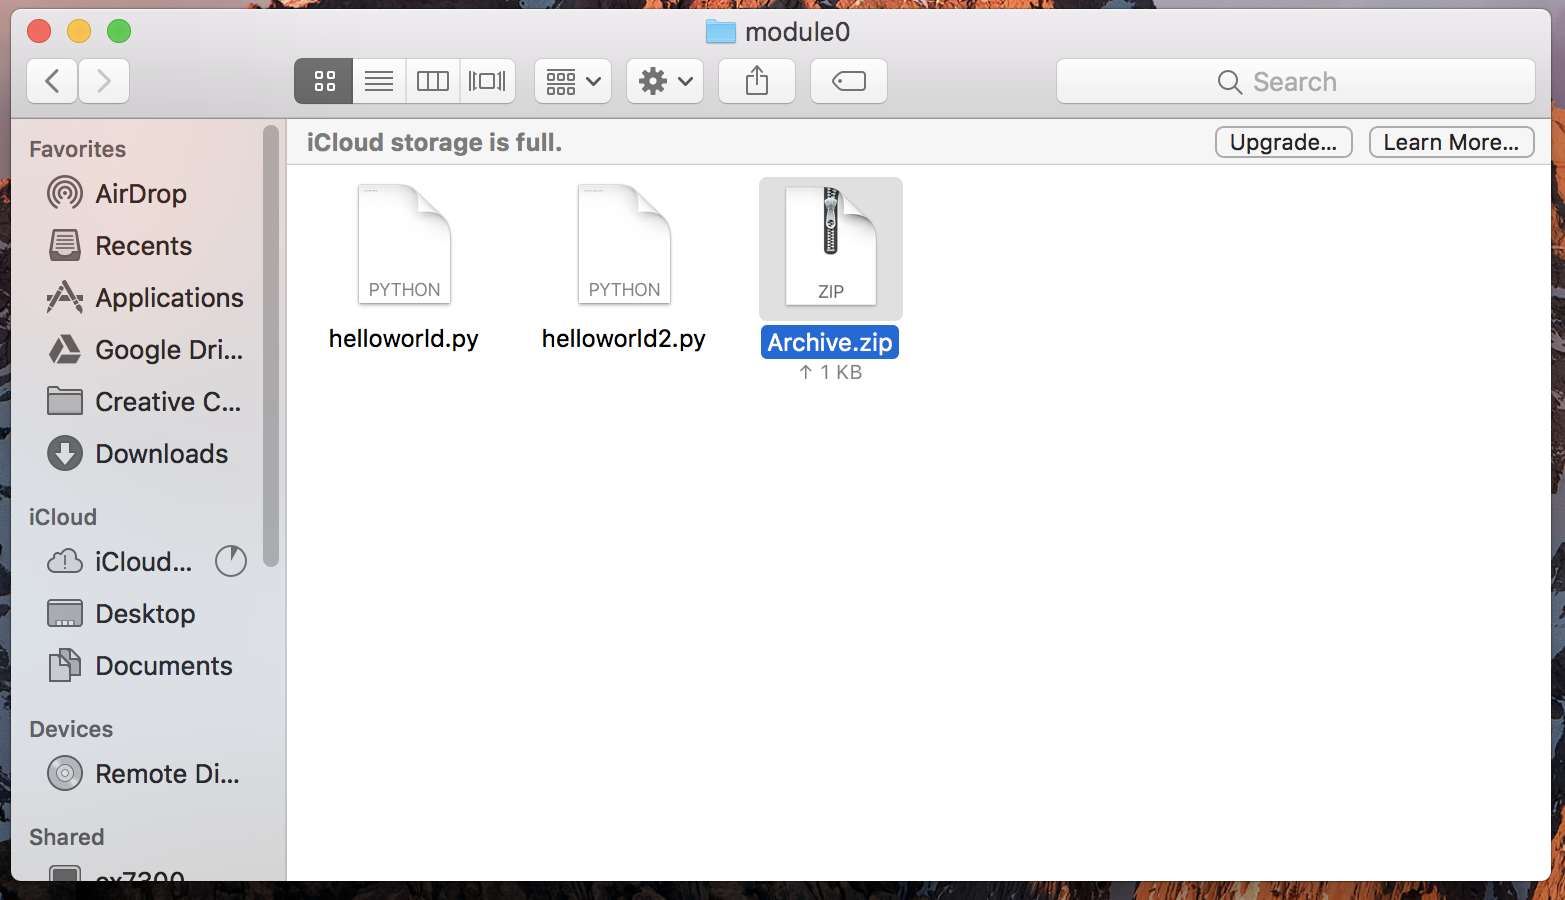
- Step 3: This will make a zip file containing all the files you
had selected with a default name.
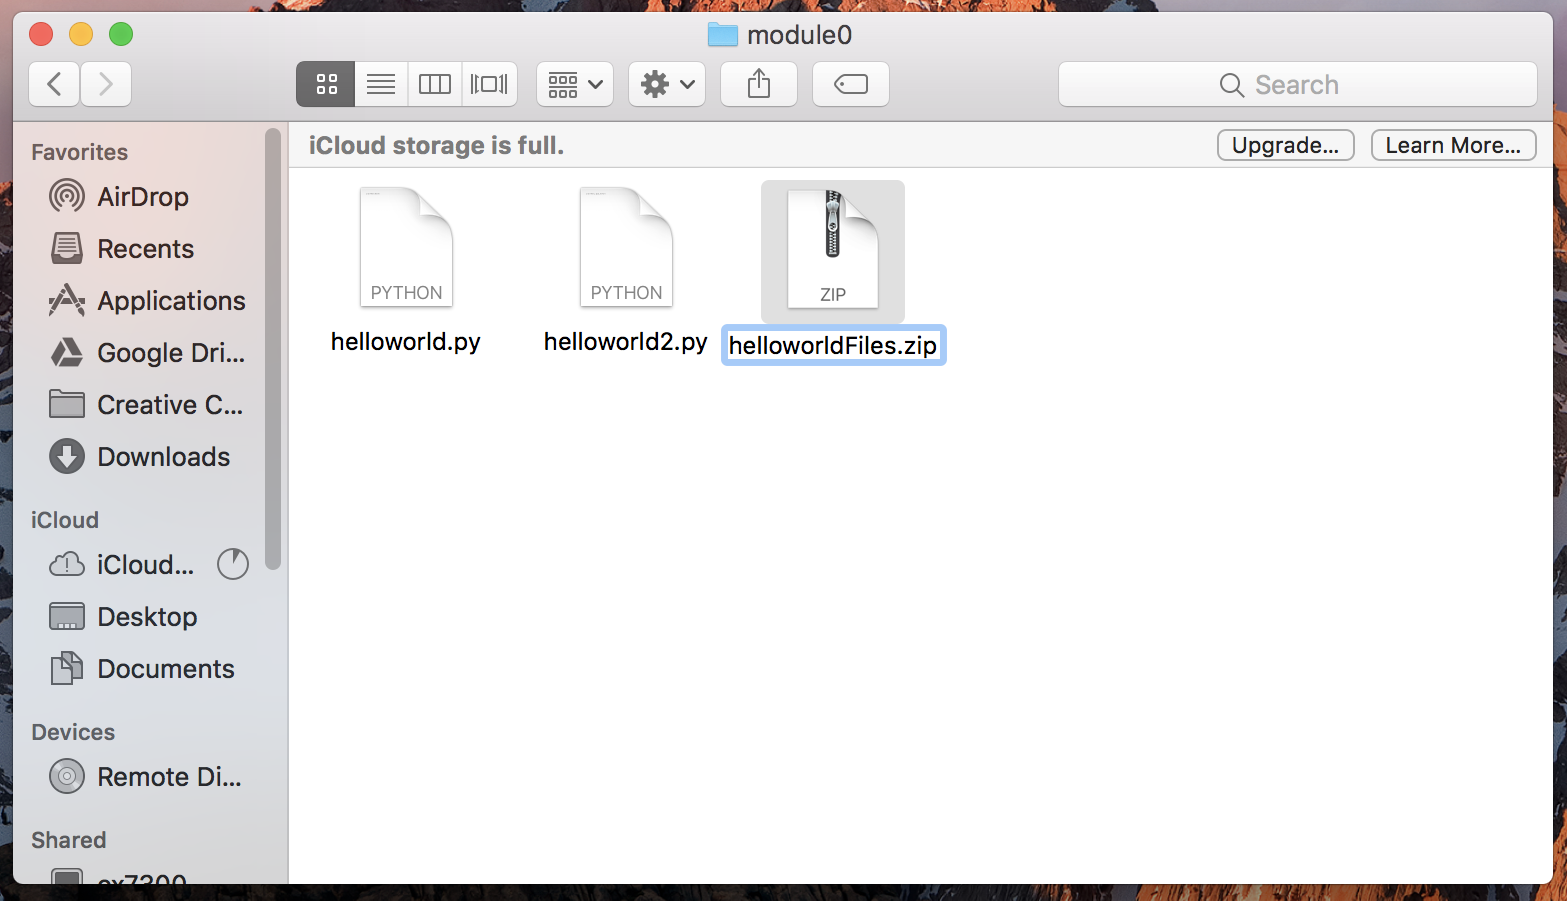
- Step 4: You can then rename your zip file to be whatever you want
Back to Module 0