The first time
- Download and install the GW VPN Client (also called Global Protect). If you have trouble with this part, you'll need to contact GW's IT help.
- Note: you will need to run the VPN Client ONLY if you are off-campus. If you are off-campus, first run the VPN Client and THEN do everything else, and you'll need to run this VPN client each time you start working with the Unix desktop.
- Next, download and install the Firefox browser.
- Run Firefox, open a new tab and go to
https://redhat-vlab01.seas.gwu.edu:3300
You should get a screen like this in your browser (the figure below shows what's inside the browser tab):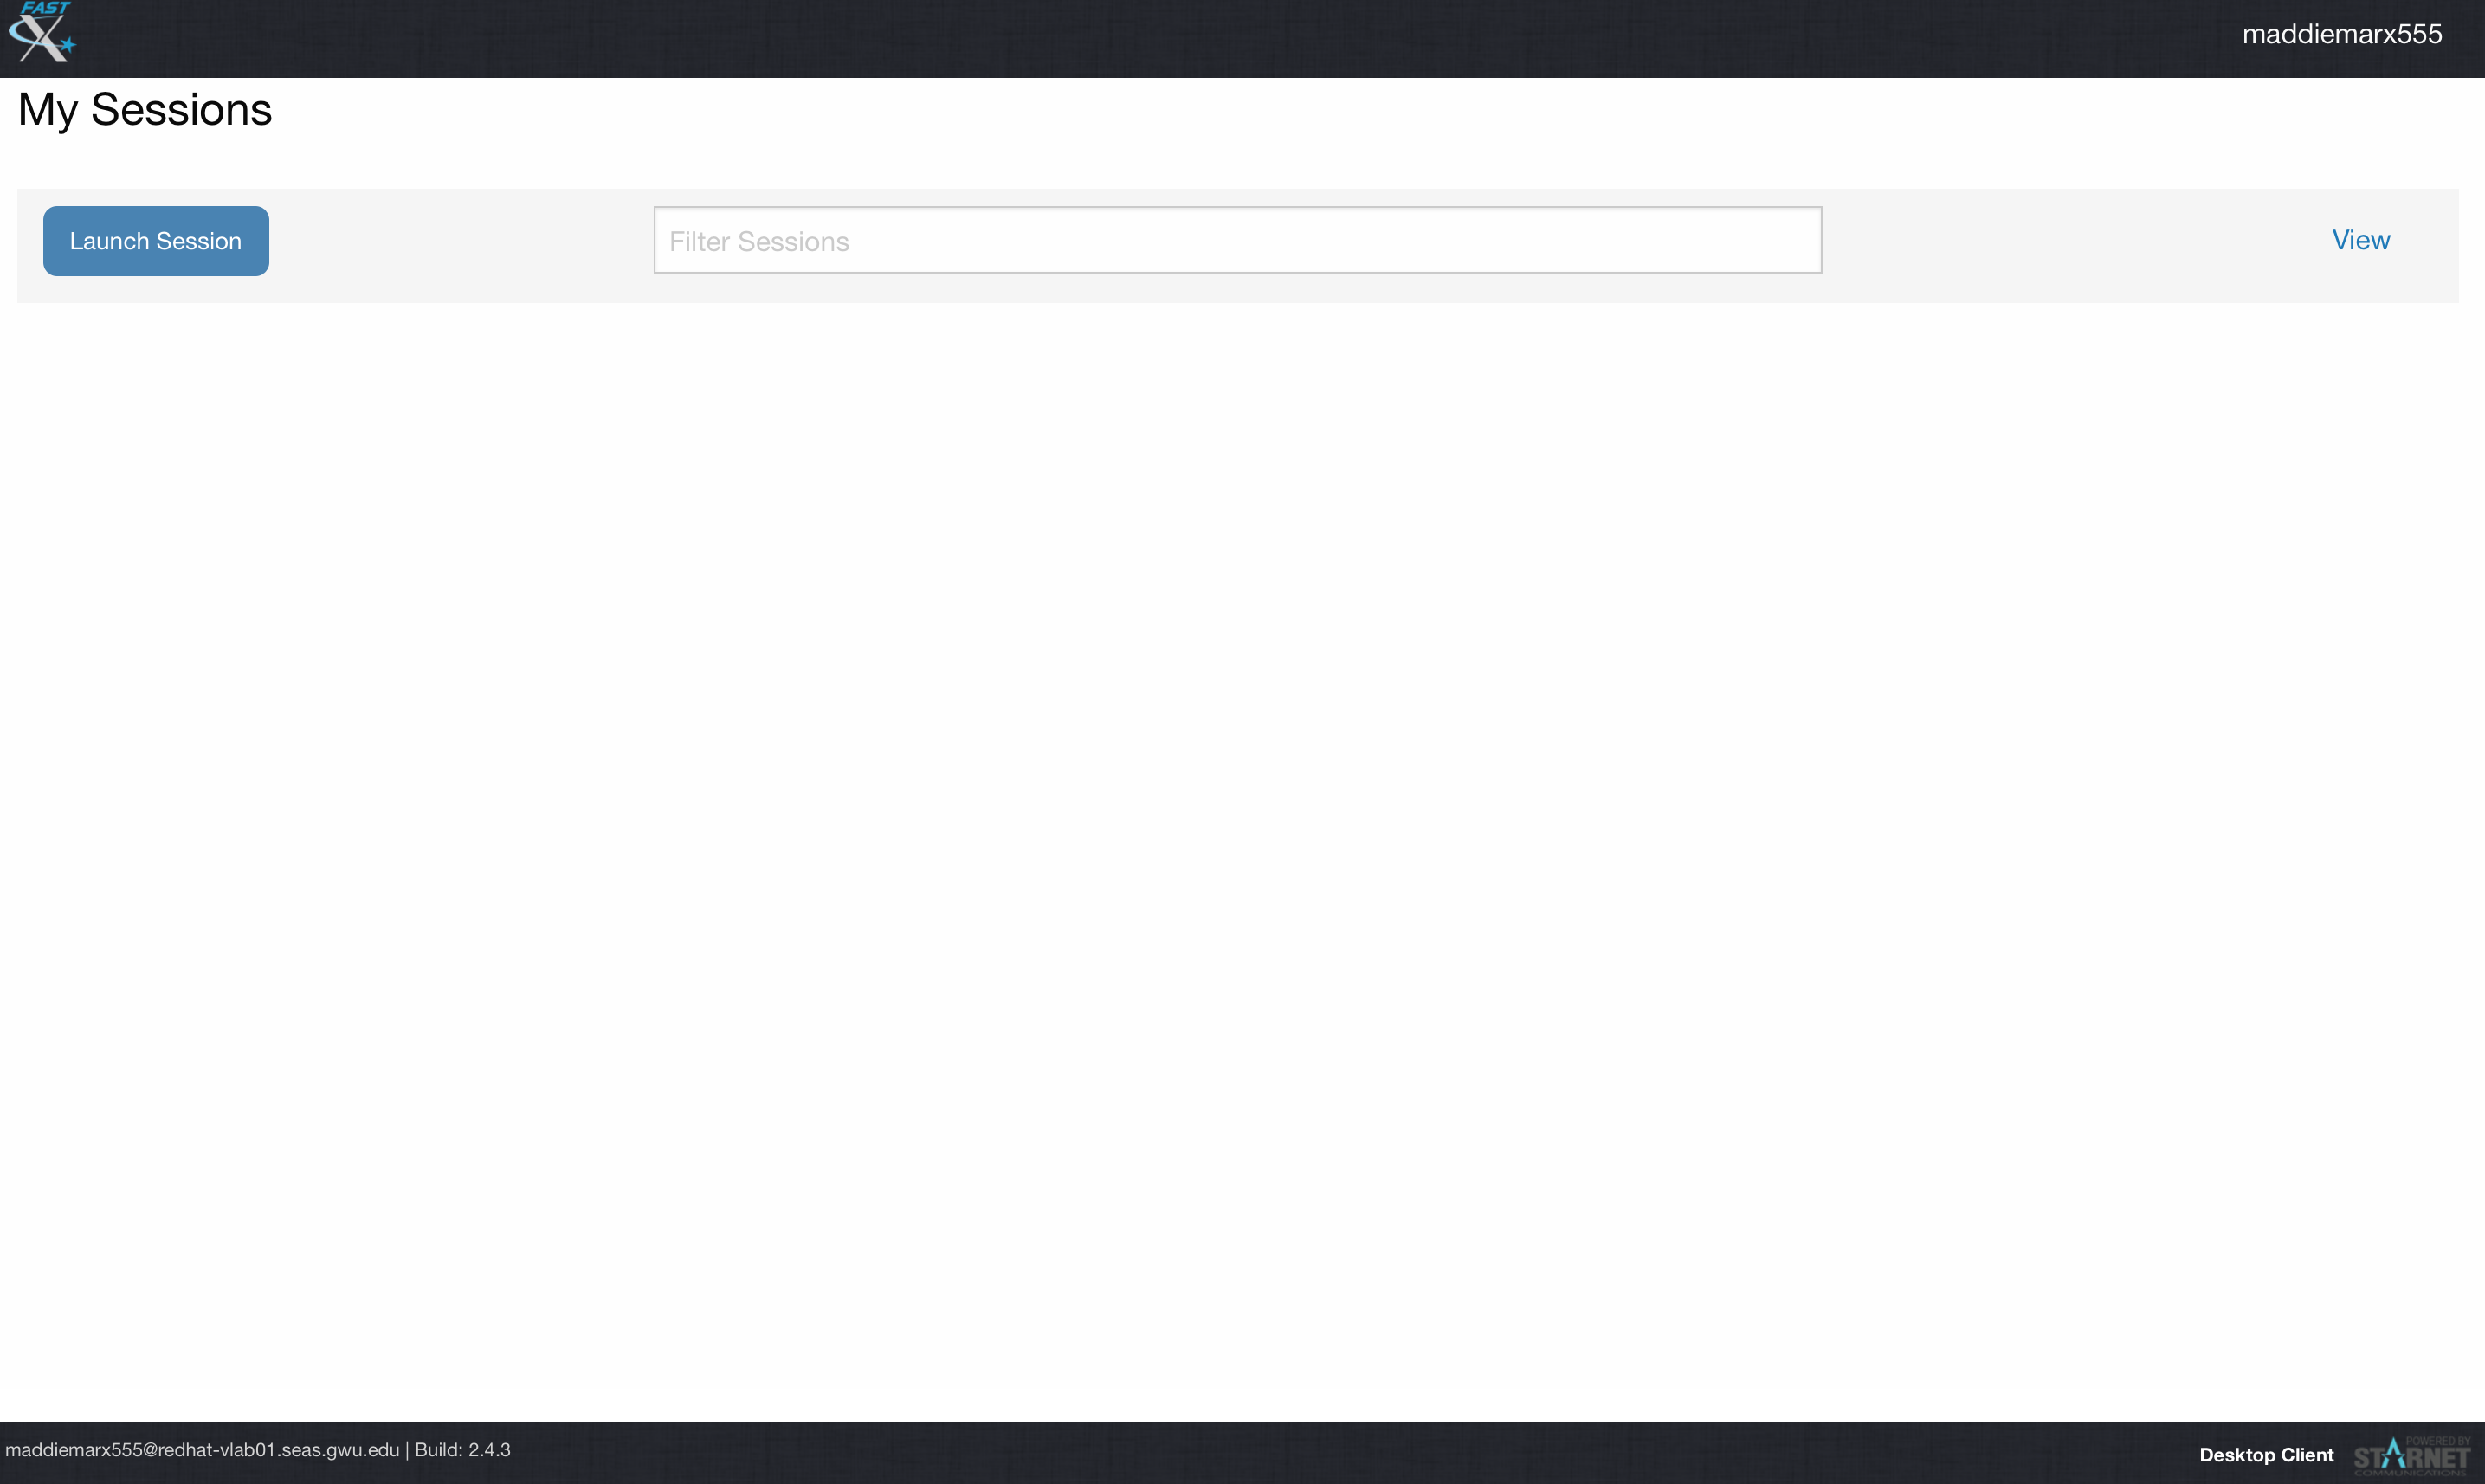
- Sign in using your GW credentials, same as you'd use for Blackboard, but only with the username (without the @gwu.edu or @gwmail.gwu.edu part). The password is your usual password.
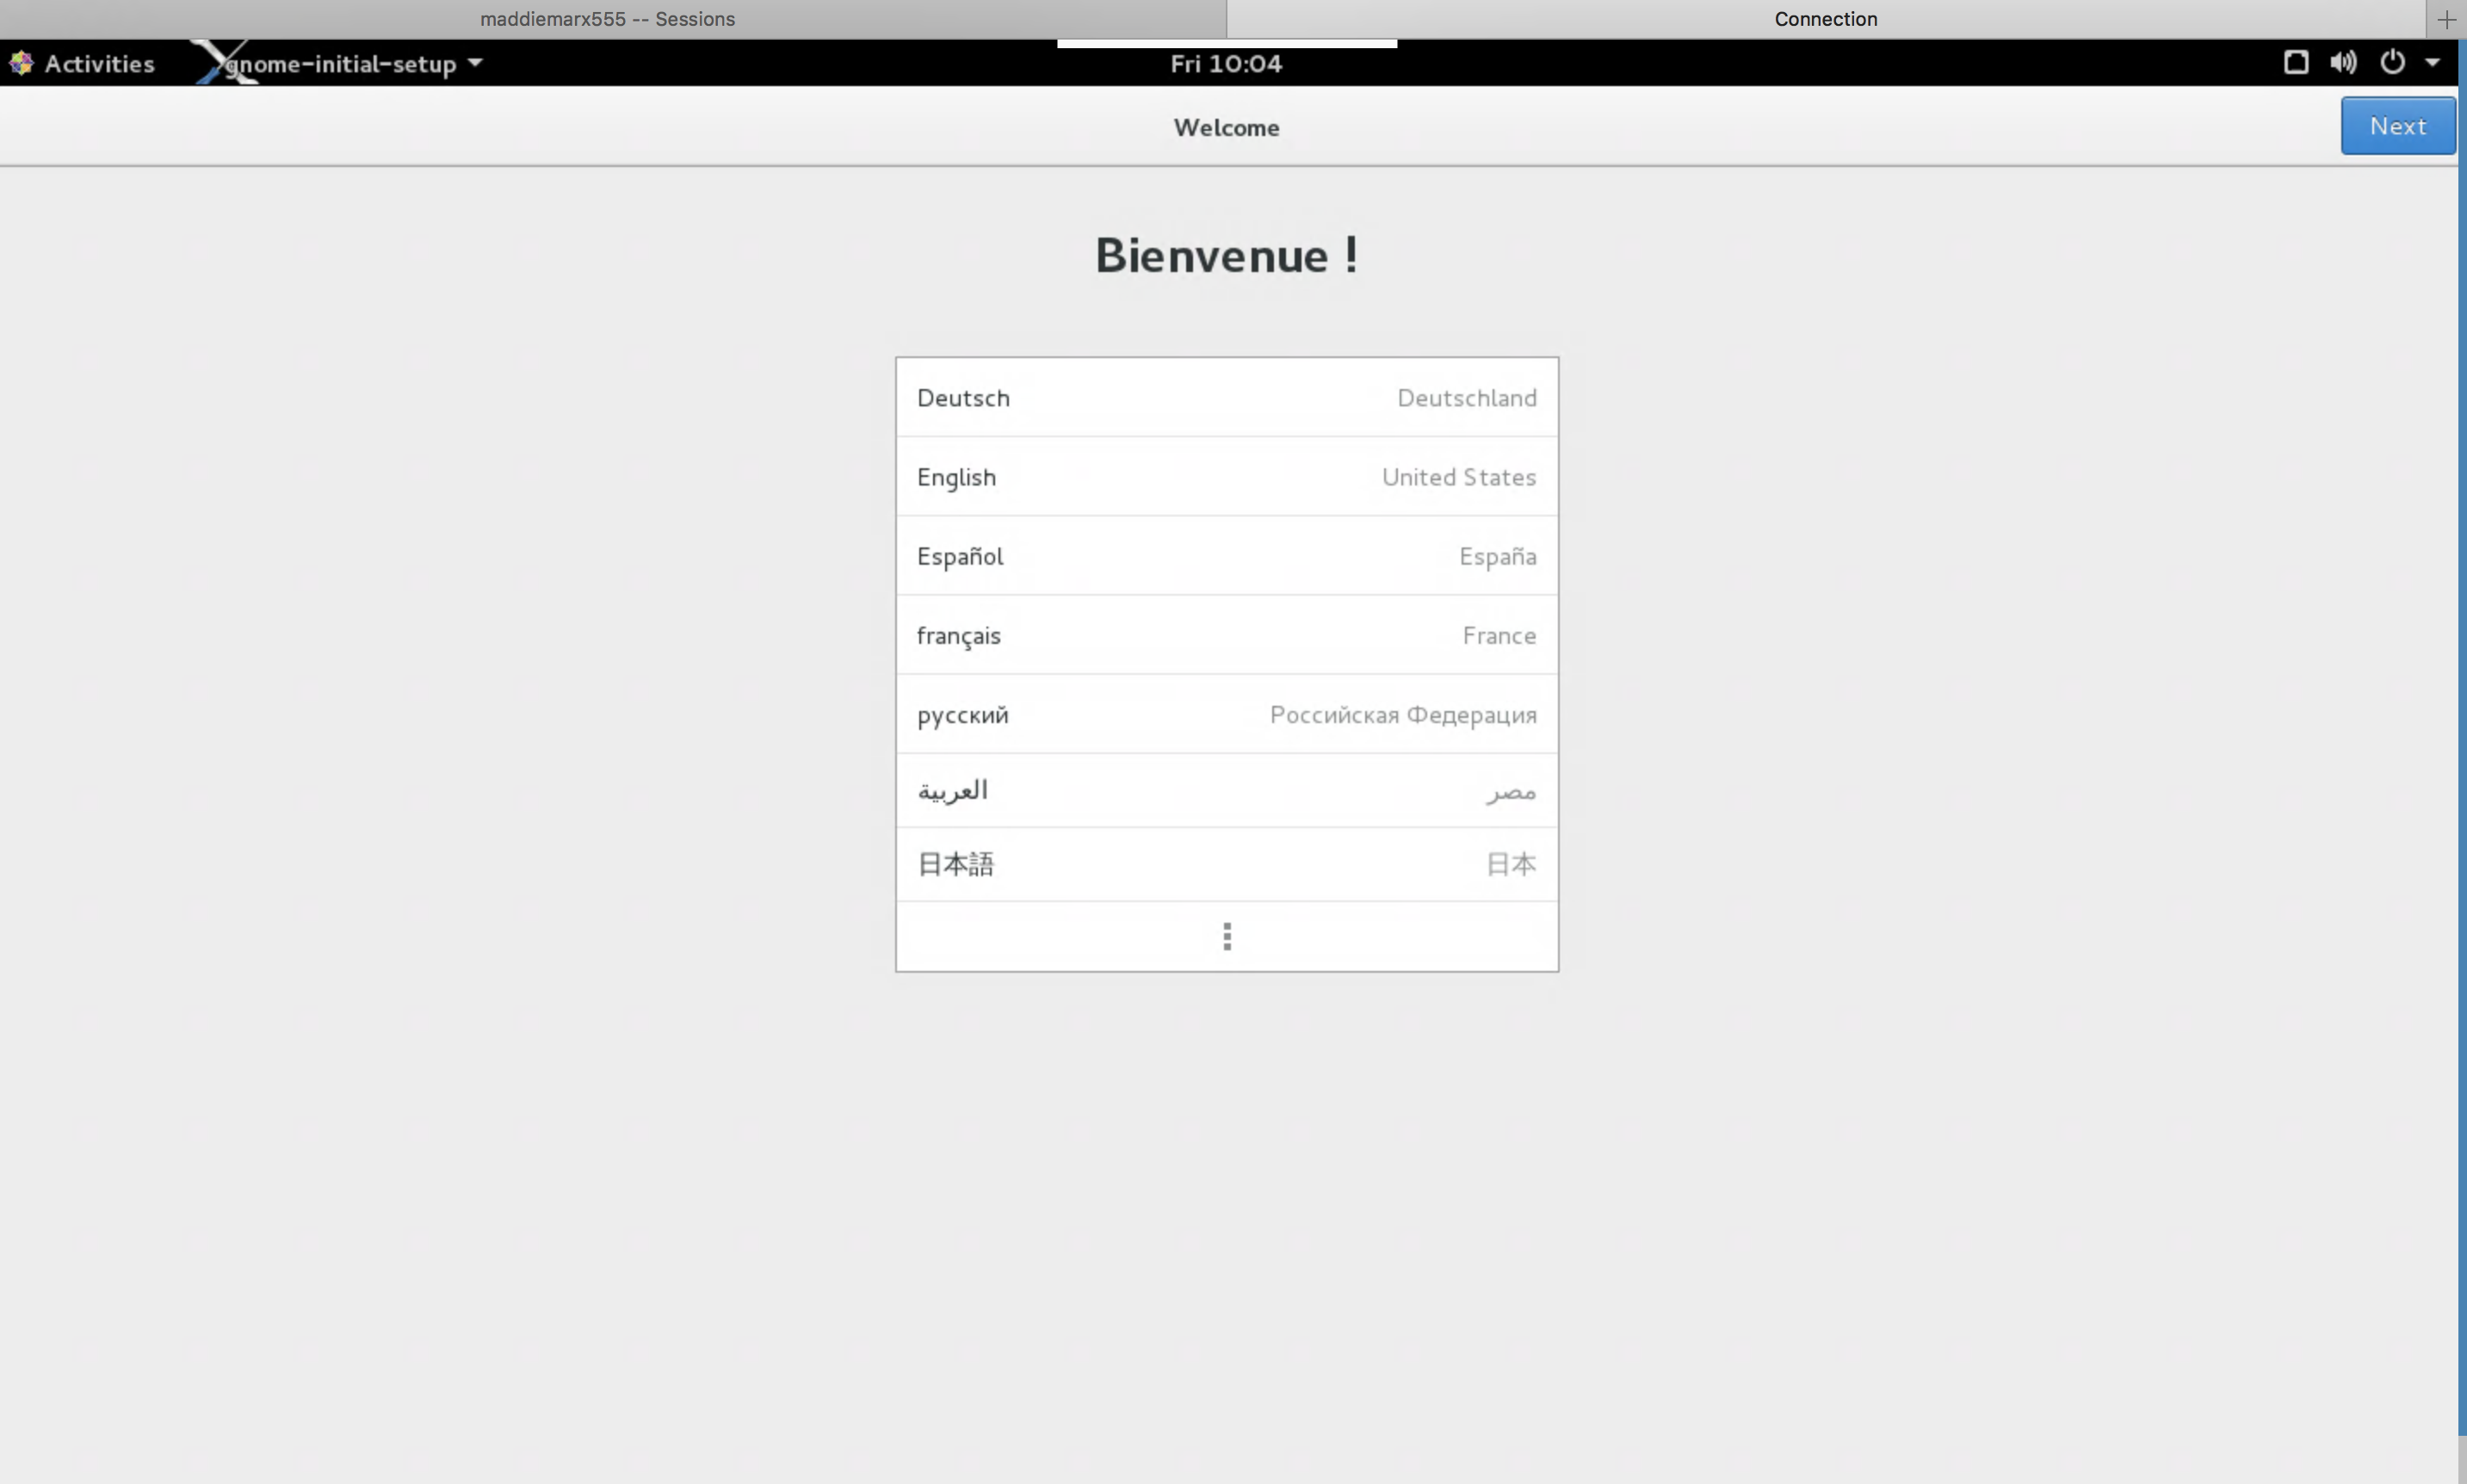
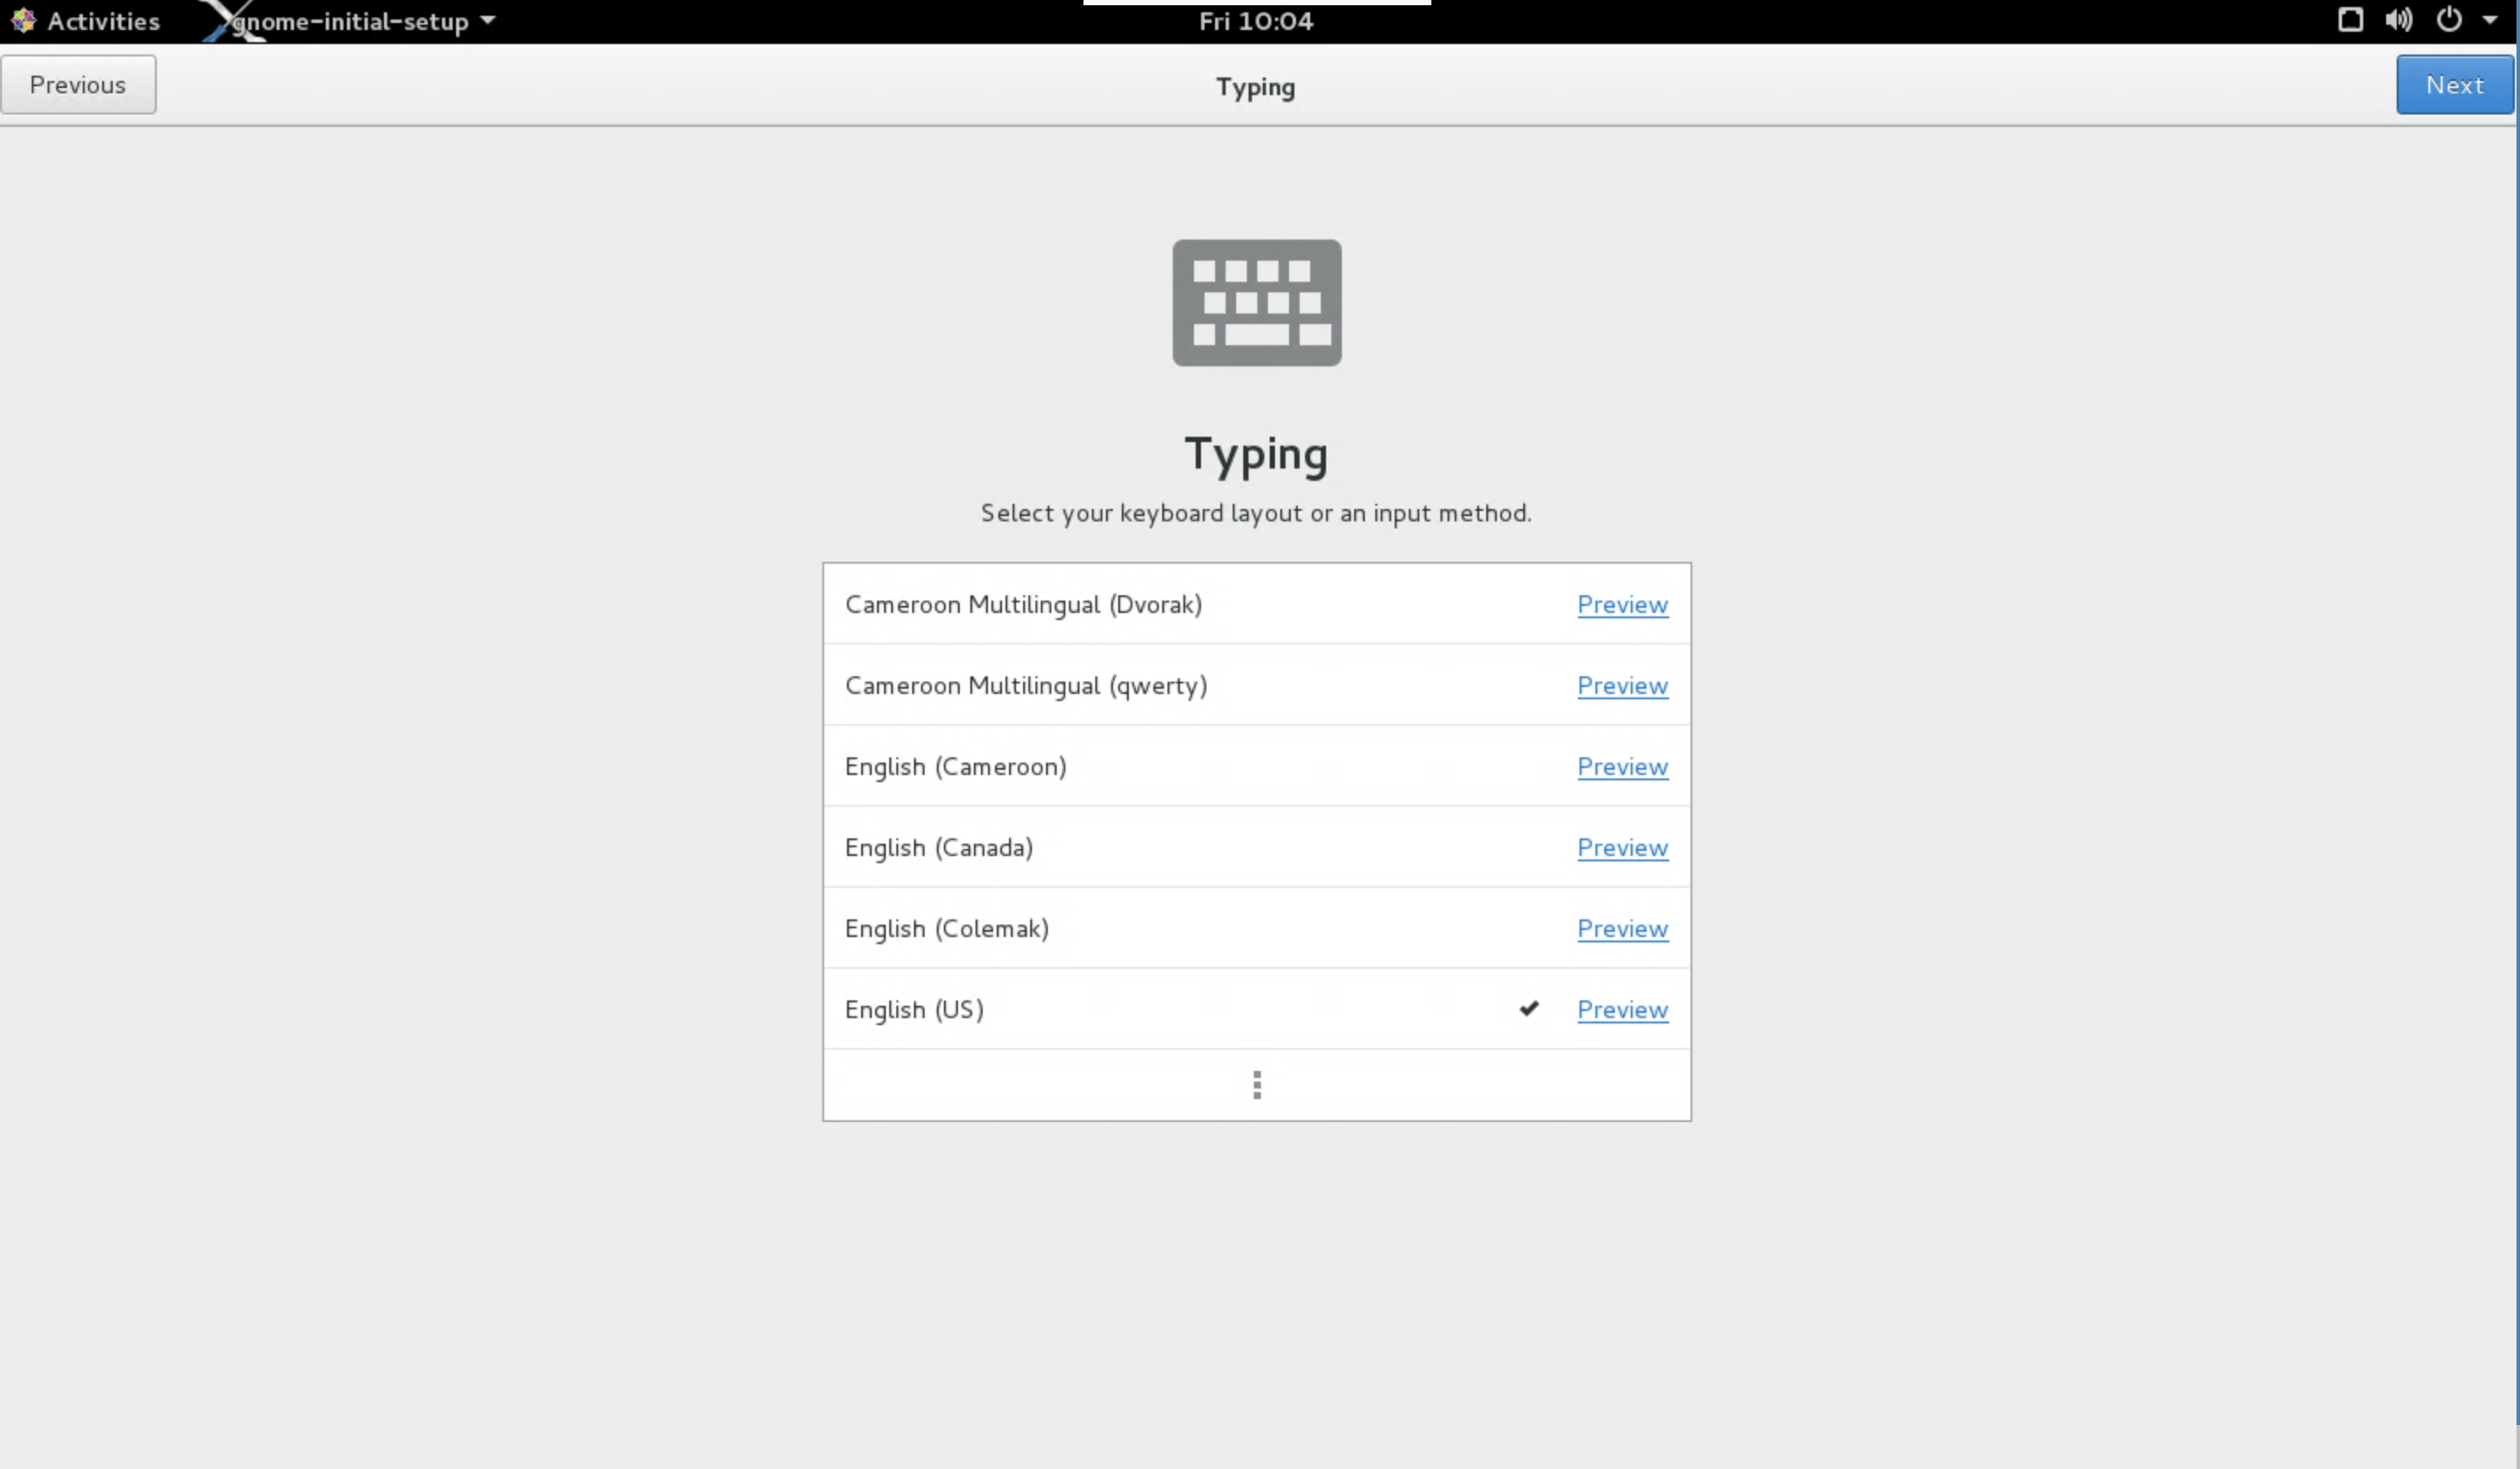
- After this, you may be taken through a one-time
sequence of screens that will get you set up. The first is
something like:
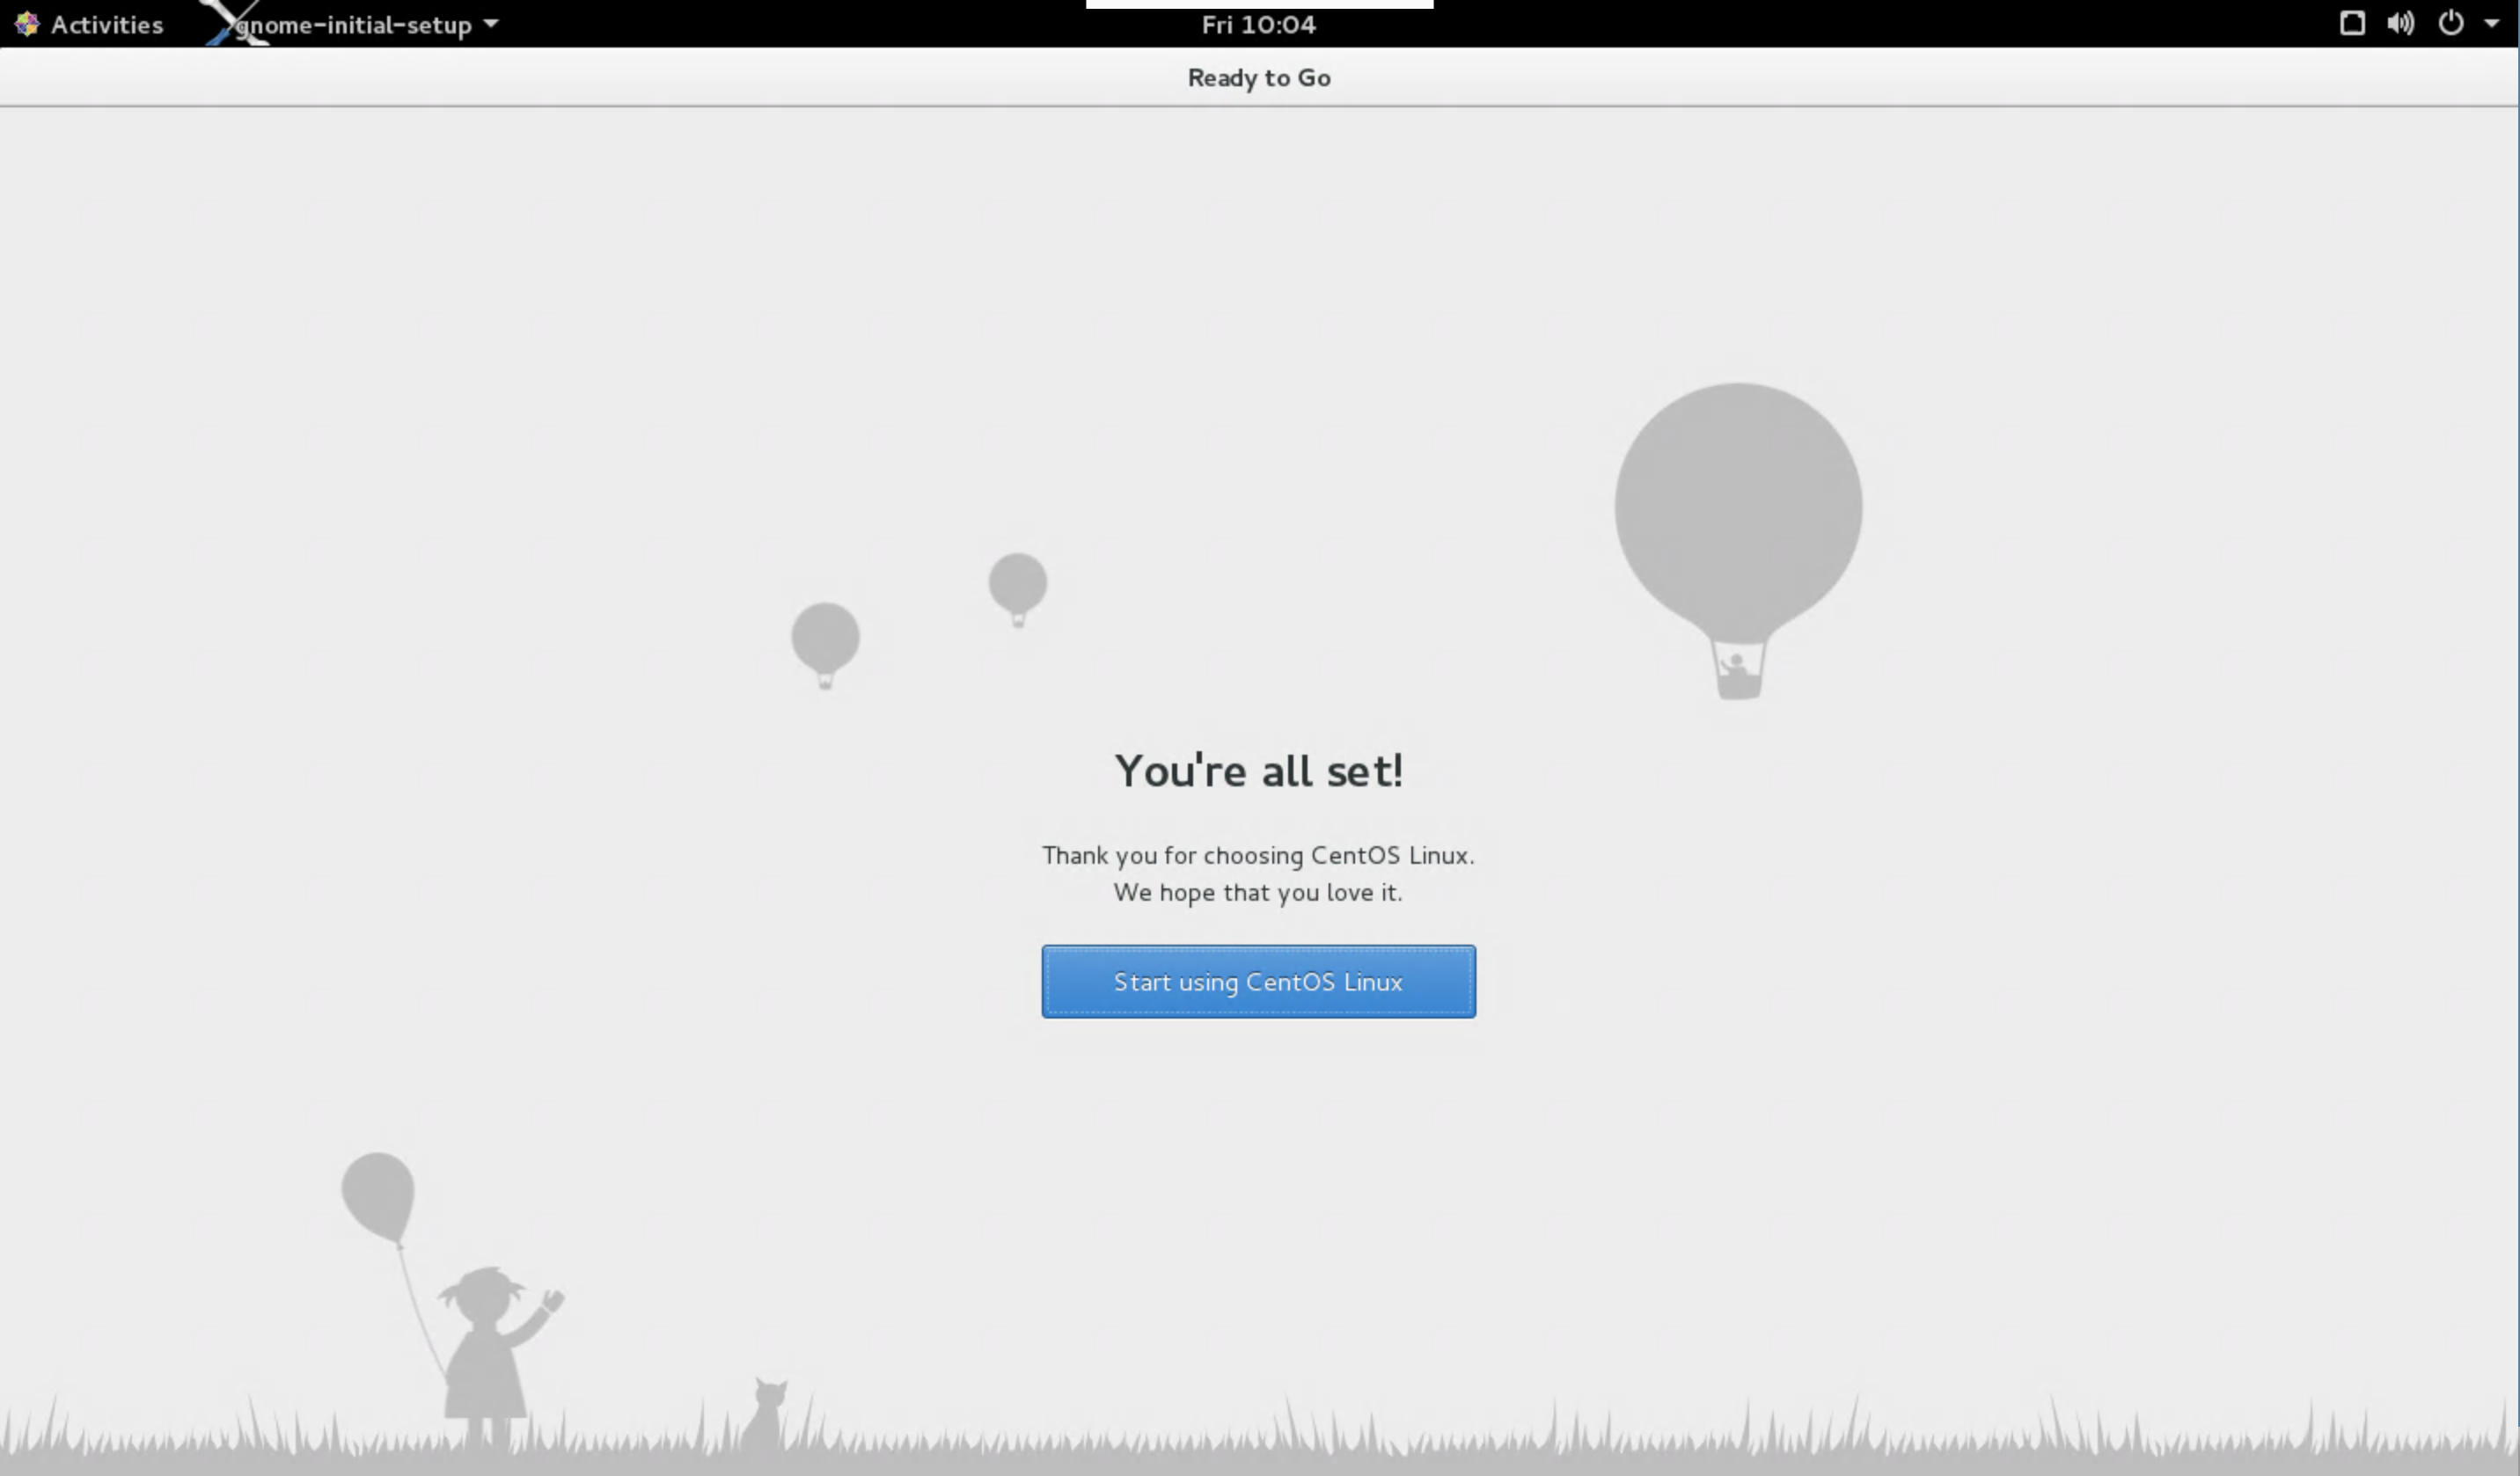
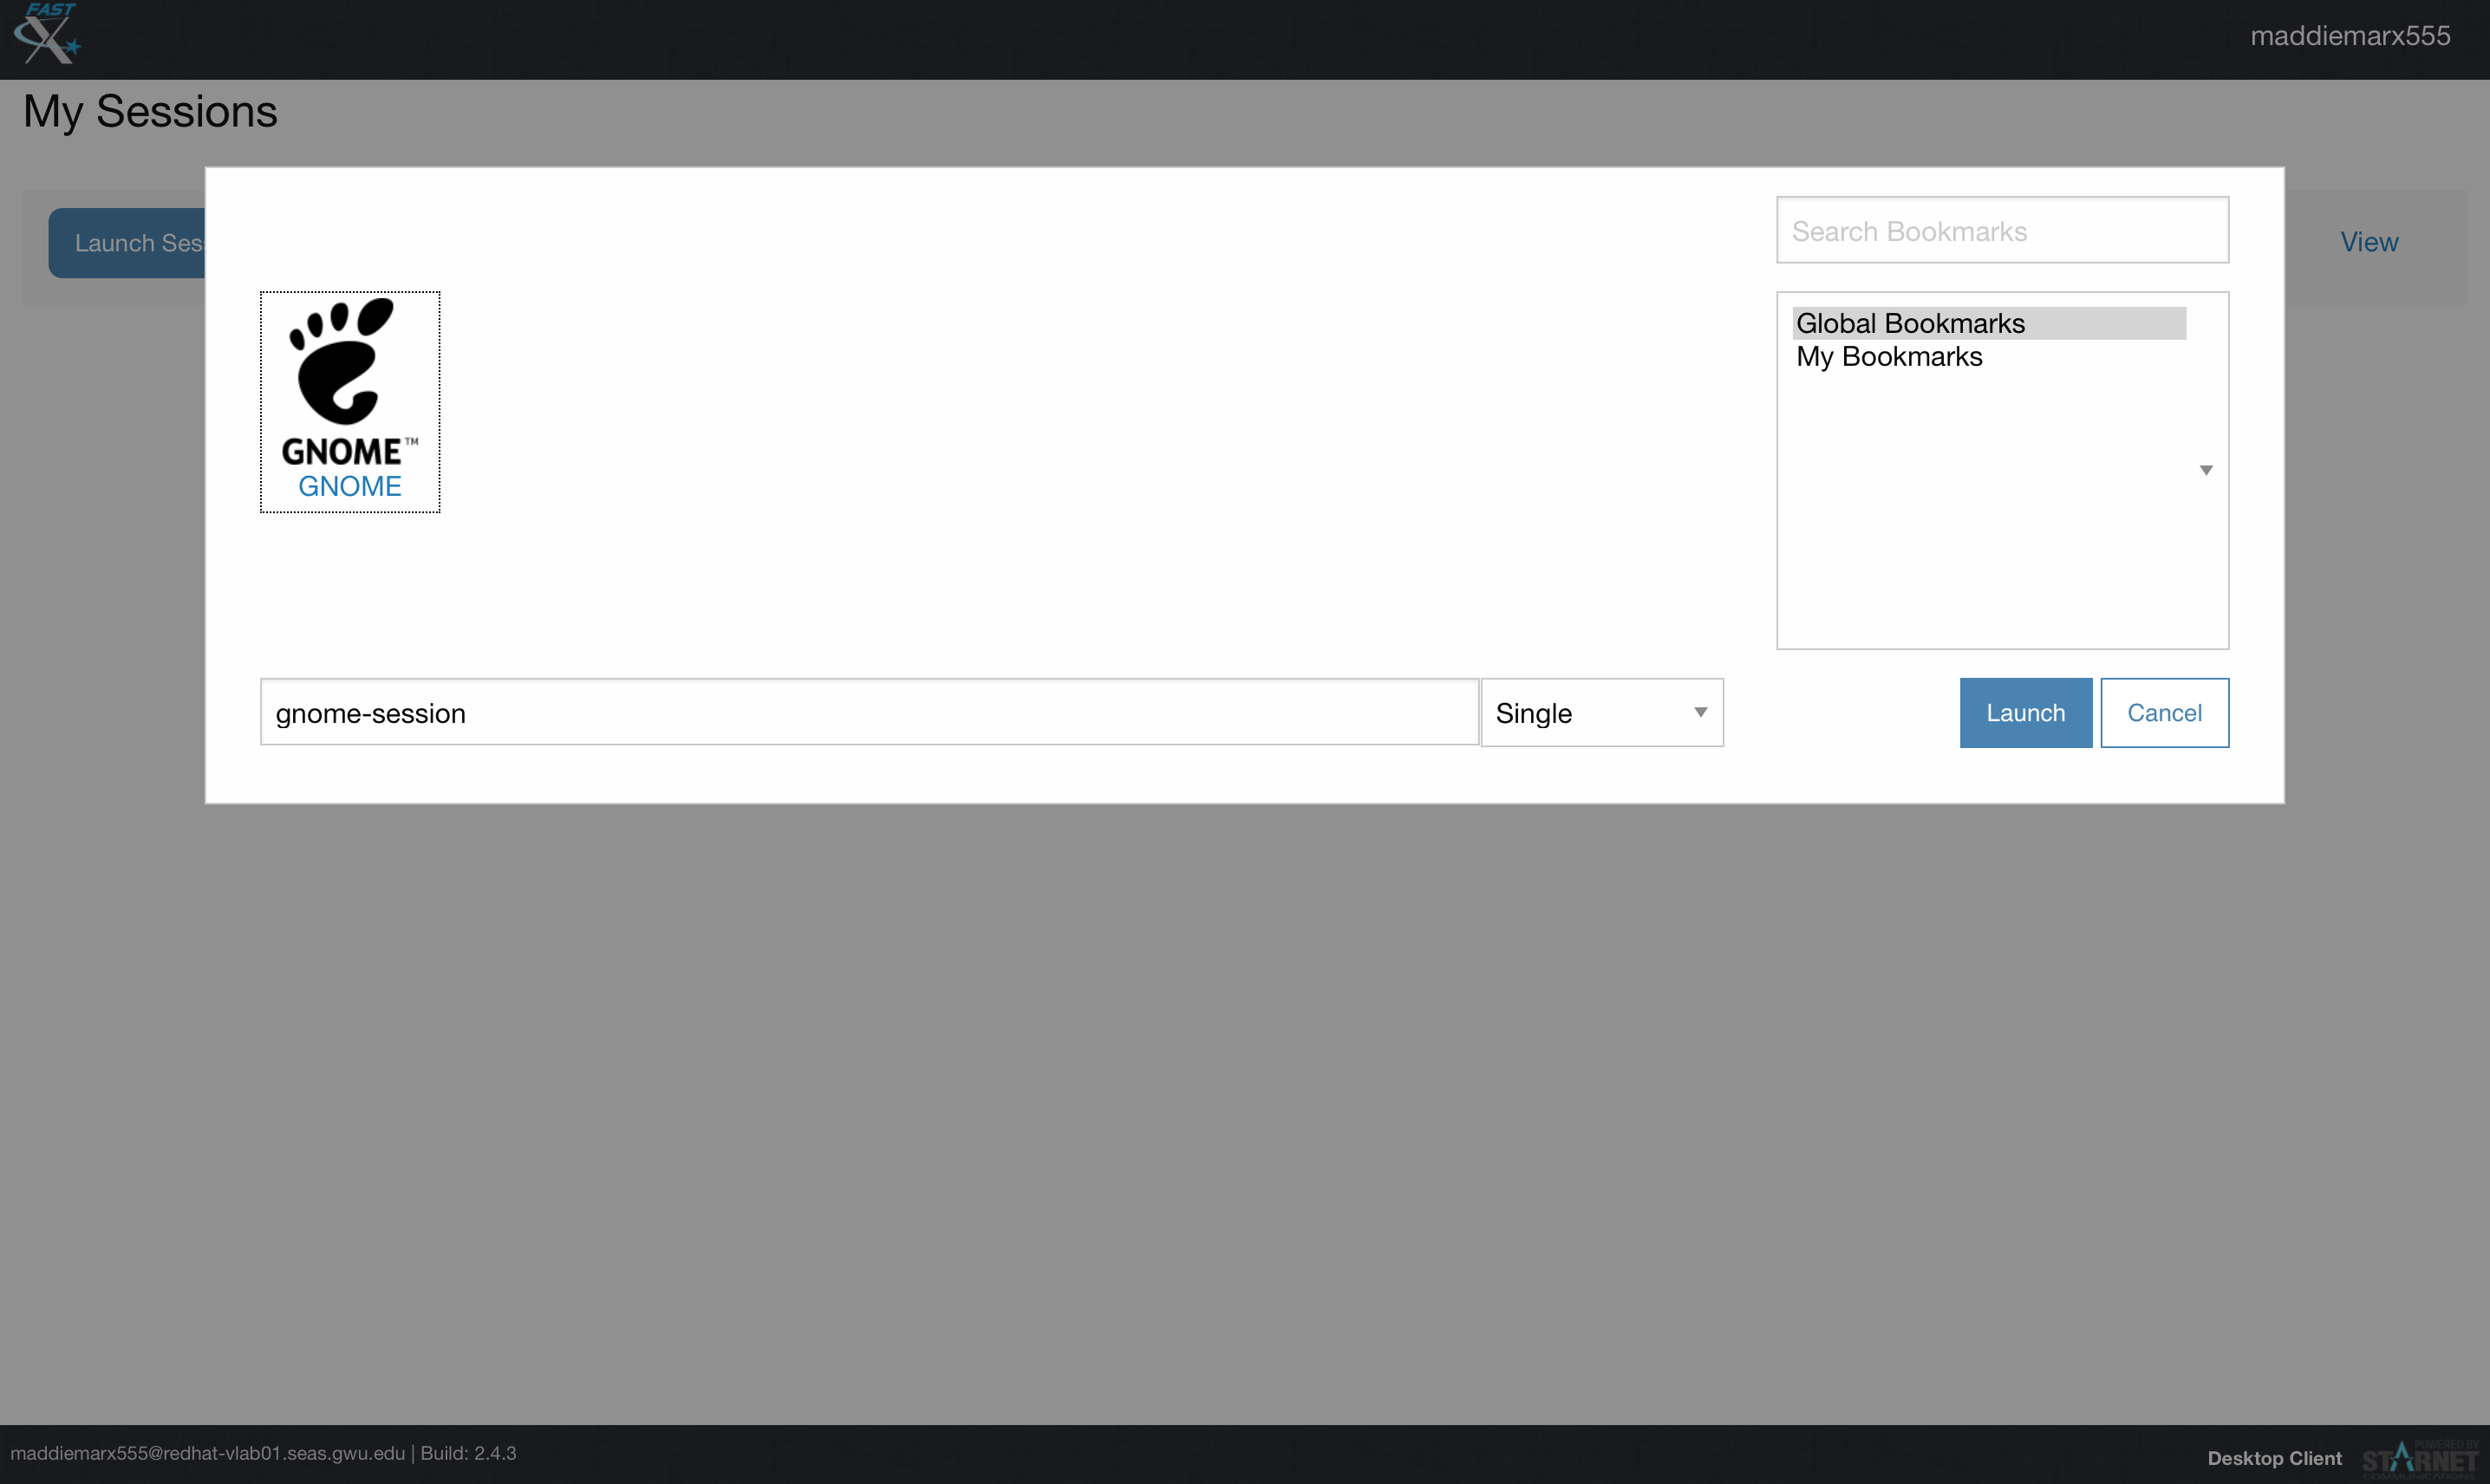
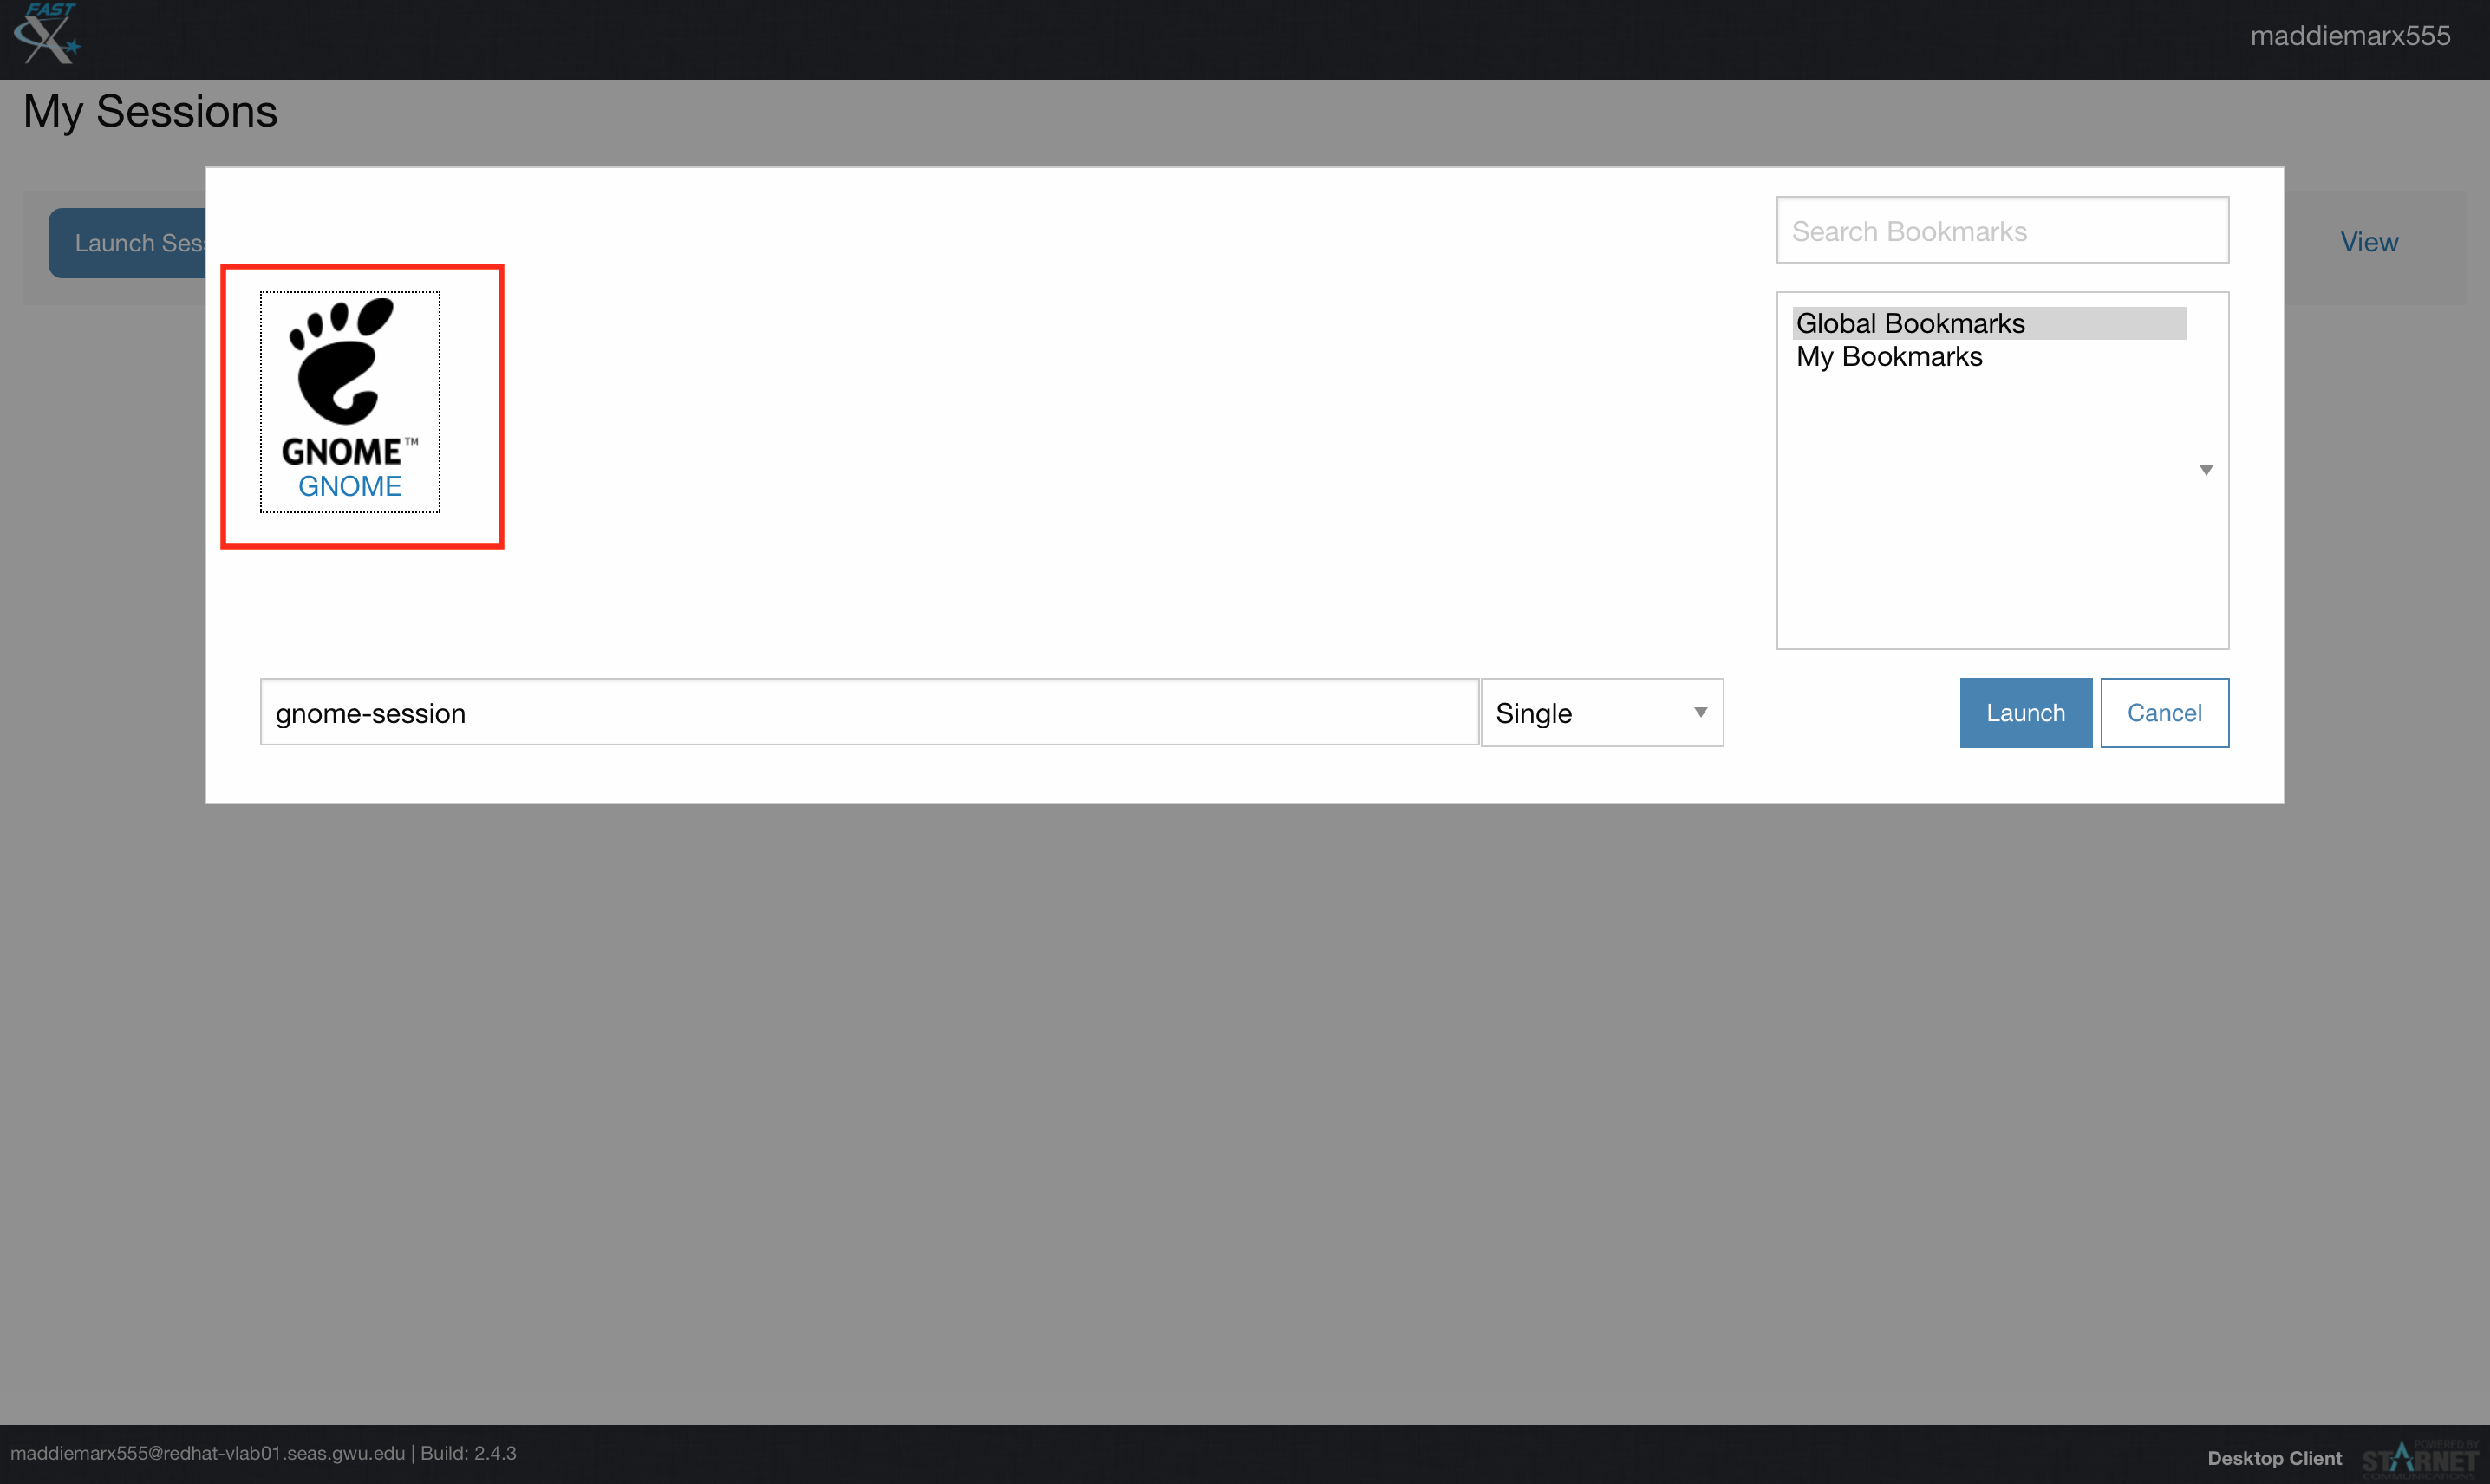
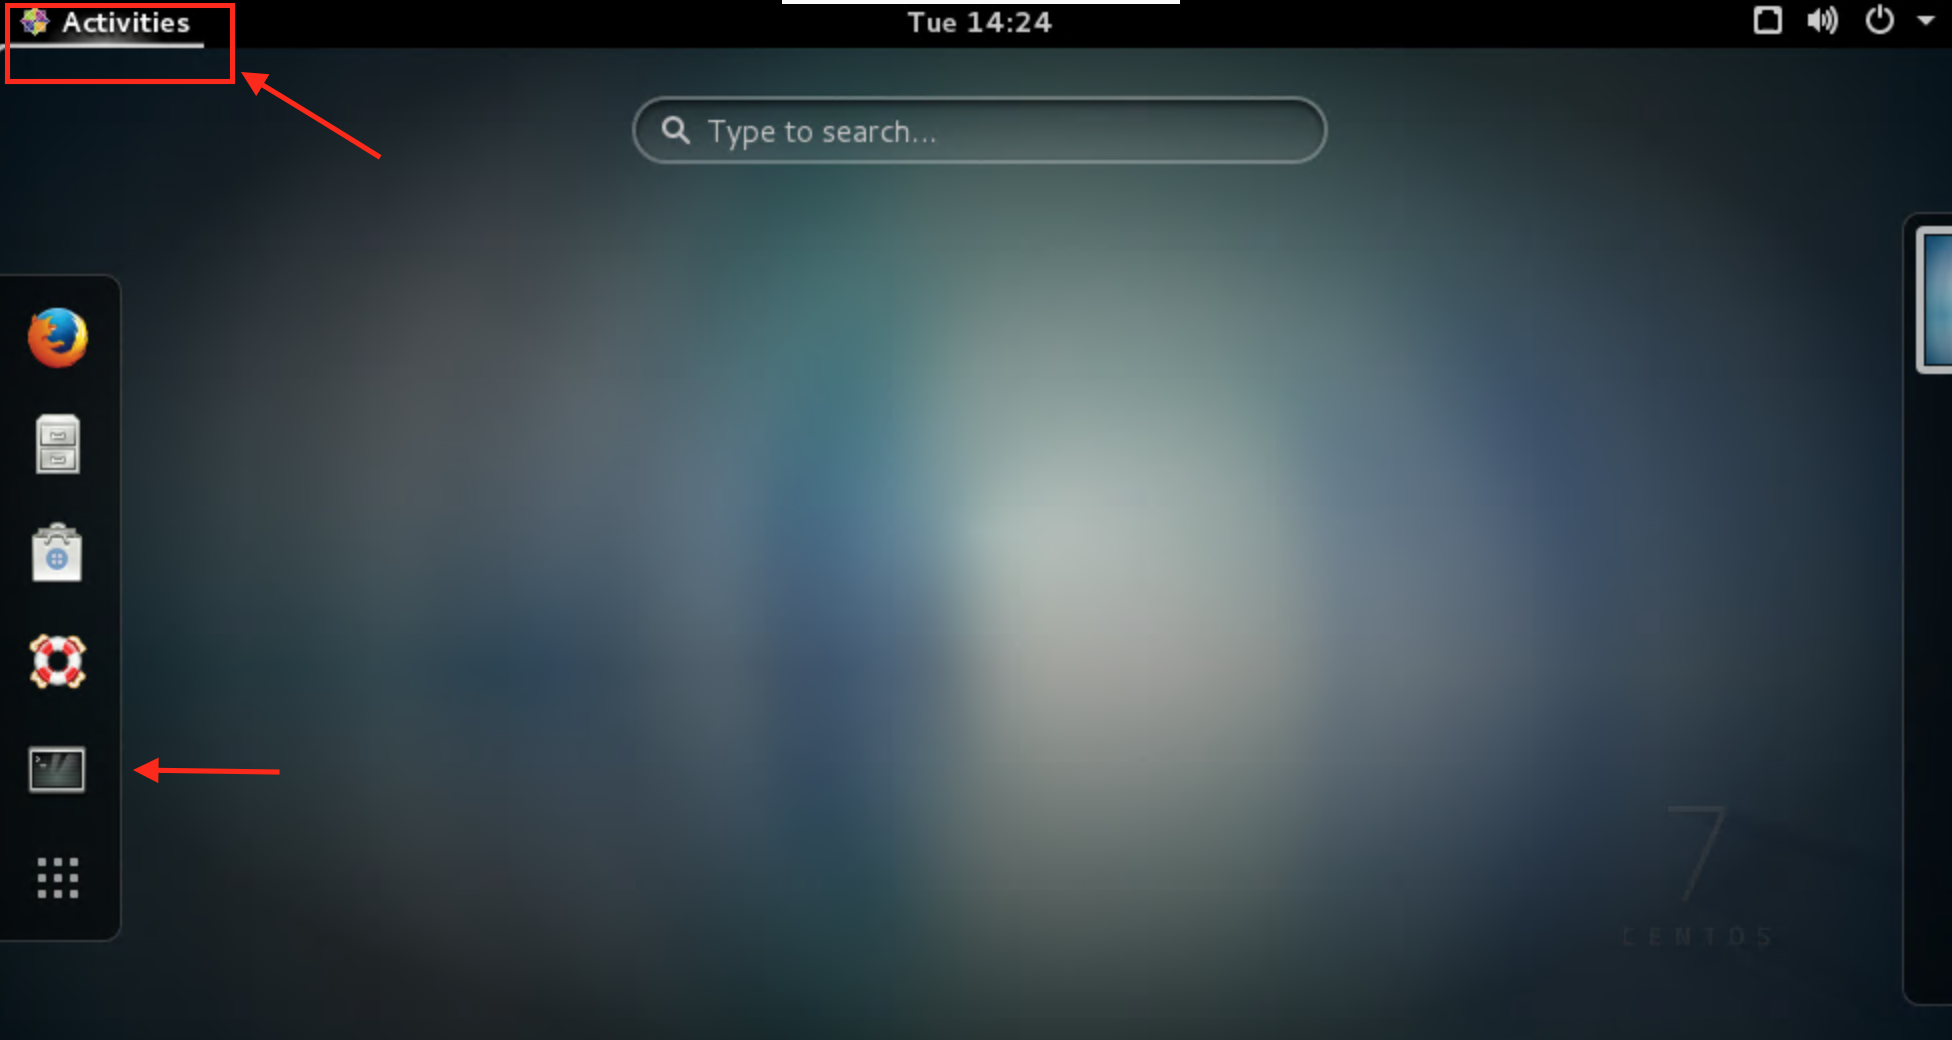
- Eventually, you'll be at the "sessions" screen, which is
what you'll see in every subsequent login, which we'll cover below.
Note: at any time during the process, your browser may complain that you've disabled popups, in which case you need to allow them.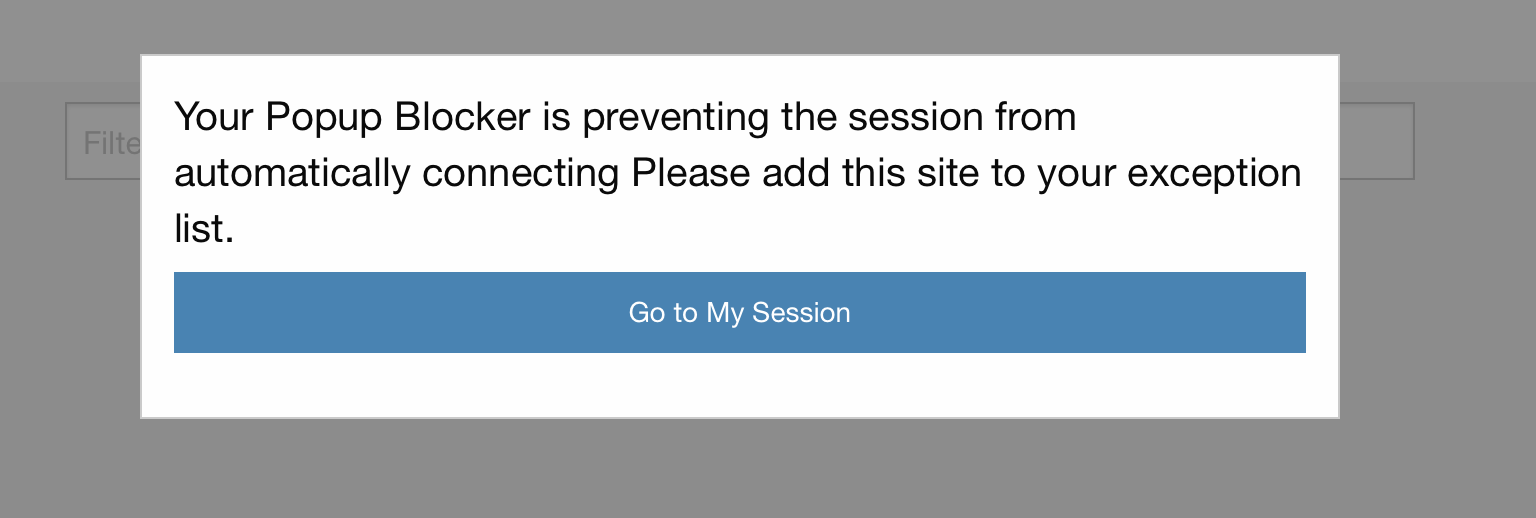
Subsequent logins
Important: Your screen background may look a little different
from the screenshots below. It should be reasonably close.

Useful things to remember
/home/ead/user_scripts/fix_firefox.sh