Eclipse is the name of the IDE (interactive development environment) in which we will develop Java programs. The June 2011 release of Eclipse (Indigo) for Java includes WindowBuilder, a toolbox that lets you build GUI Java programs visually. WindowBuilder is also available for earlier versions of Eclipse as a Plug-in. You will know that you have the Indigo version of Eclipse if it starts up and displays this logo:
If your Eclipse starts up with a different logo, I recommend that you reinstall Eclipse for Java (avoid the "EE" Enterprise Edition).
You will be asked to specify a workspace. Choose a reasonable name for a folder in which you are going to keep your Eclipse projects. Perhaps "CSCI1111" would be a good name for your workspace. If you are using a lab machine, you will want the folder to be on your own removable media or on your T: drive.
Once you have the large Eclipse opening screen, start up the workbench by clicking on its icon:

This will bring up the workbench

Now we'll create a new project by choosing
File > New > Java Project
Name it something like "cs1111".
Then make a new package
File > New > Package
and name it something like "lab5".
Now let's use a wizard to get us started building a JFrame. From the menu select
File > New > Other > WindowBuilder > htx lab6 SwingDesigner > JFrame
You can also access the wizards from the drop down wizard menu in the Eclipse toolbar. Note that we have chosen to use the JFrame wizard. It's a fairly simple one to use. You can read the documentation at Google if you are interested in what the other wizards can do for you.
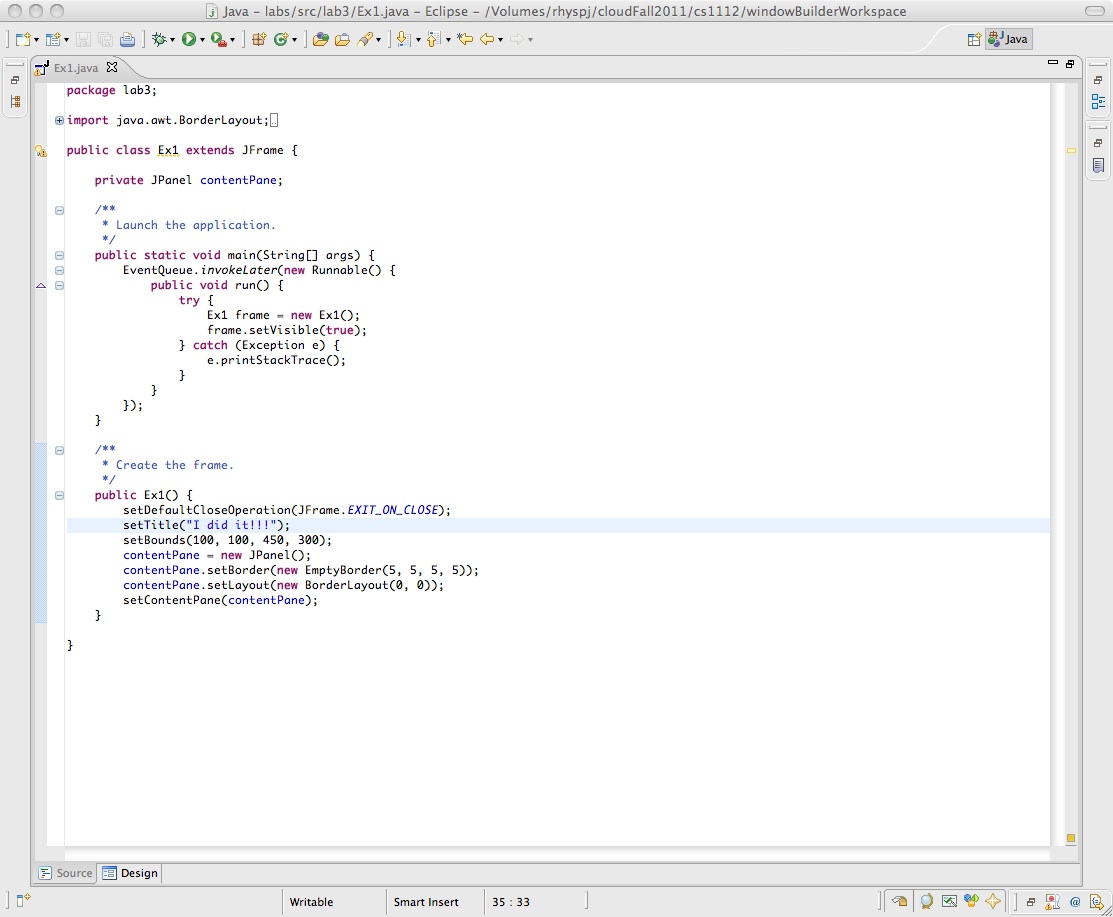
You'll need a name for the JFrame, something like "Exercise6". When you let the wizard do its thing, you will end up with something like
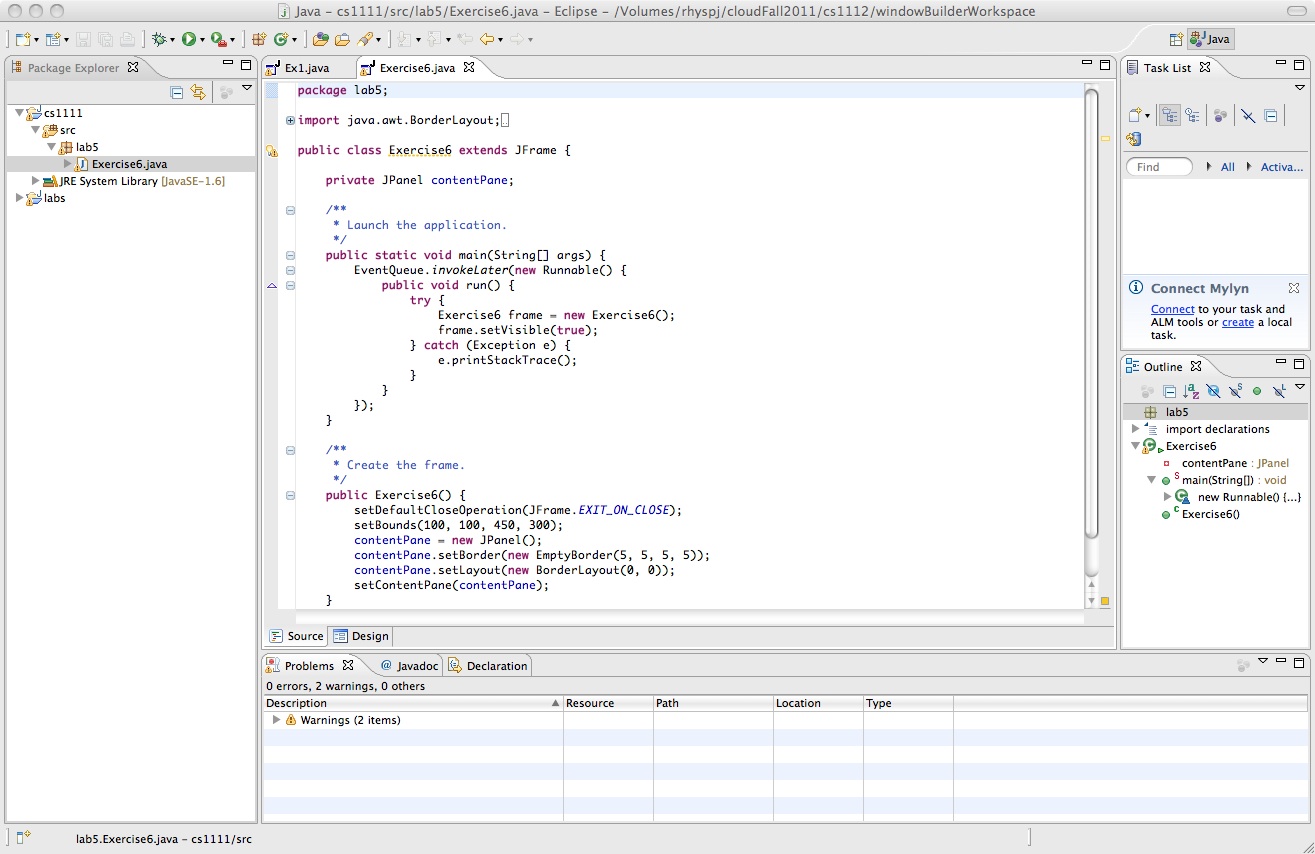
(Your title bar will be somewhat different because of where you set up yout workspace.) What you're seeing in the largest frame of your Eclipse window is Java code that Eclipse has generated for you. It's a program, just like the Alice programs you are familiar with. But it's in a different language. And most of the lines of code are gobbledygook to you. Which is fine at this stage.
You can run this program by clicking the green arrowhead near the top of
your Eclipse window. It will run and produce a very boring window that looks
like 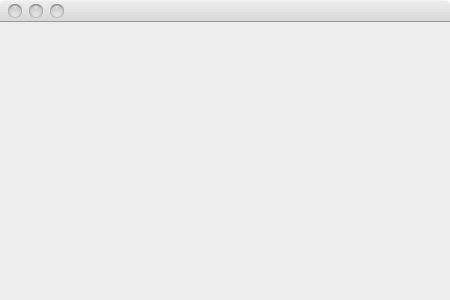
I'll explain two lines of code for you. See if you can find the line public class Exercise6 extends JFrame. This names the program and says it is an extension of a standard Java class called a JFrame. The image above is what a raw JFrame looks like. It would not hurt for you to think of it as an empty Alice world.
See if you can find a line much further down that says: setBounds(100, 100, 450, 300);
This establishes the size of the JFrame as 450 pixels across and 300 pixels down and places it on your computer screen 100 pixels from the left side and 100 pixels from the top. The method setBounds is available to the JFrame class, as you can discover if you look up JFrame in The Java API documentation. (Technically, the method setBounds belongs to the class Window and the class JFrame inherits the method.)
Also listed in the documentation is another method belonging to the JFrame class. It is called setTitle.